Intro
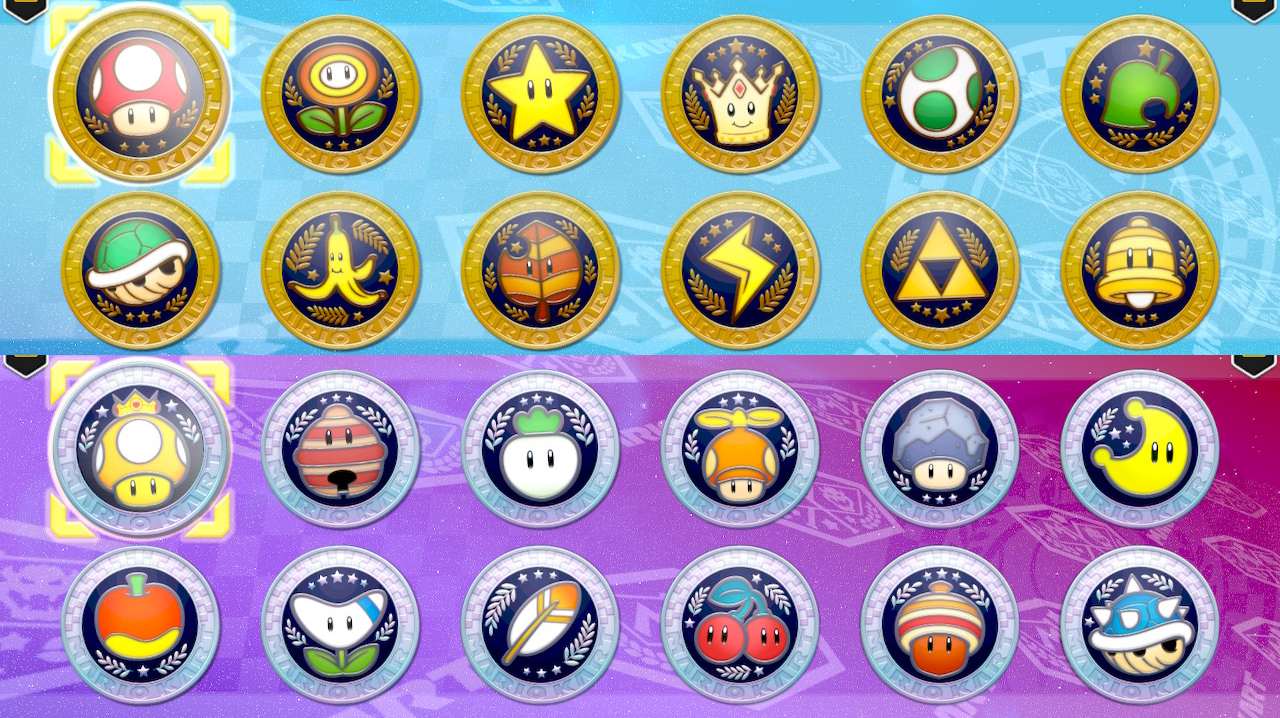
Bought an Elegoo Saturn 8K resin printer a couple of months ago and I’d been playing around printing things available on the thingiverse when I started thinking of doing something simple to bring back some of the CAD skills I acquired a long while back while working at Volvo Buses México. After some time I figured I could do something with the Mario Kart 8 Cups Logos and that’s how this adventure began.
Modelling and Printing
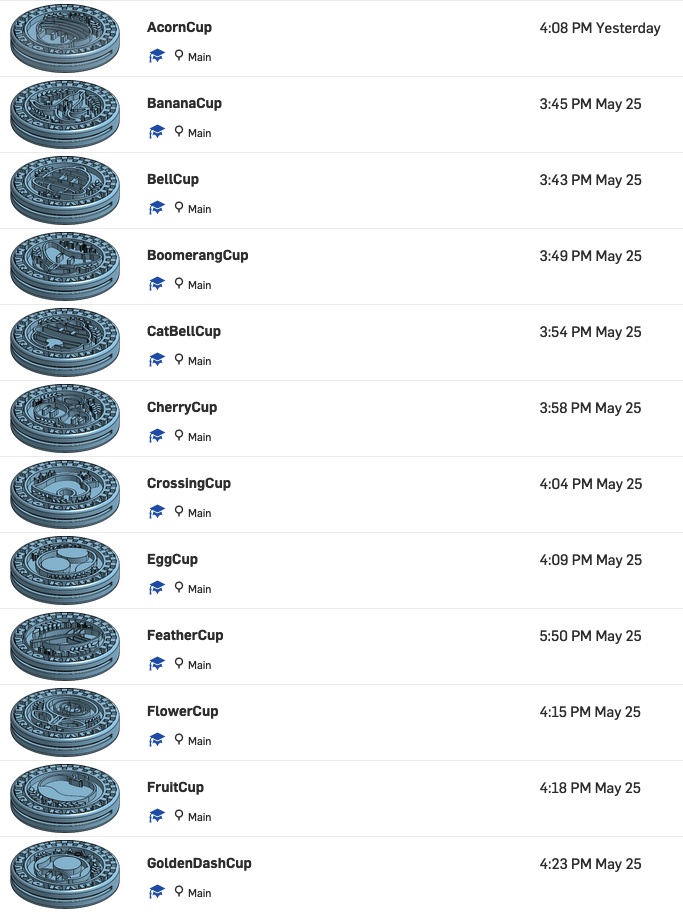
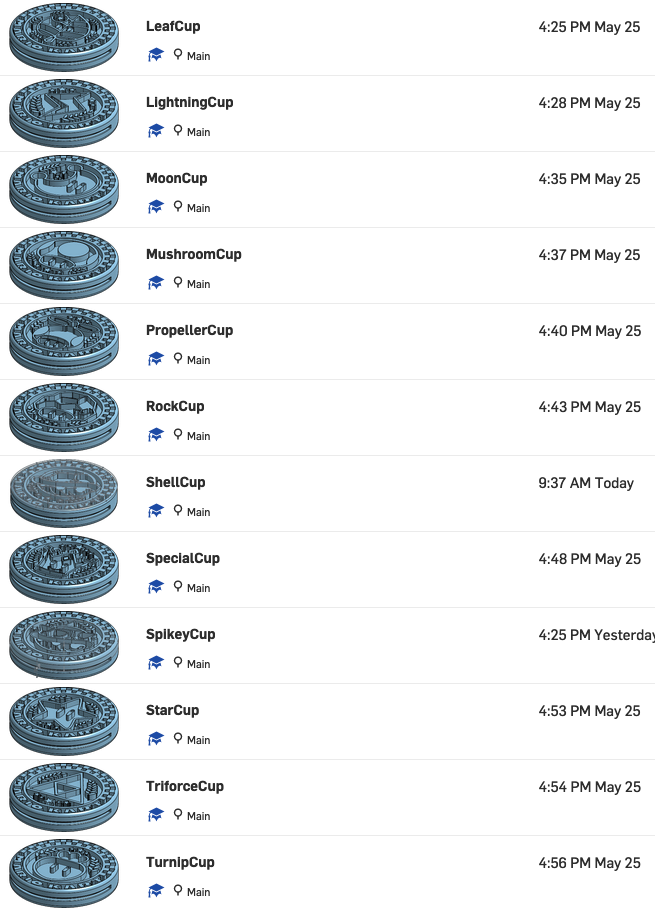
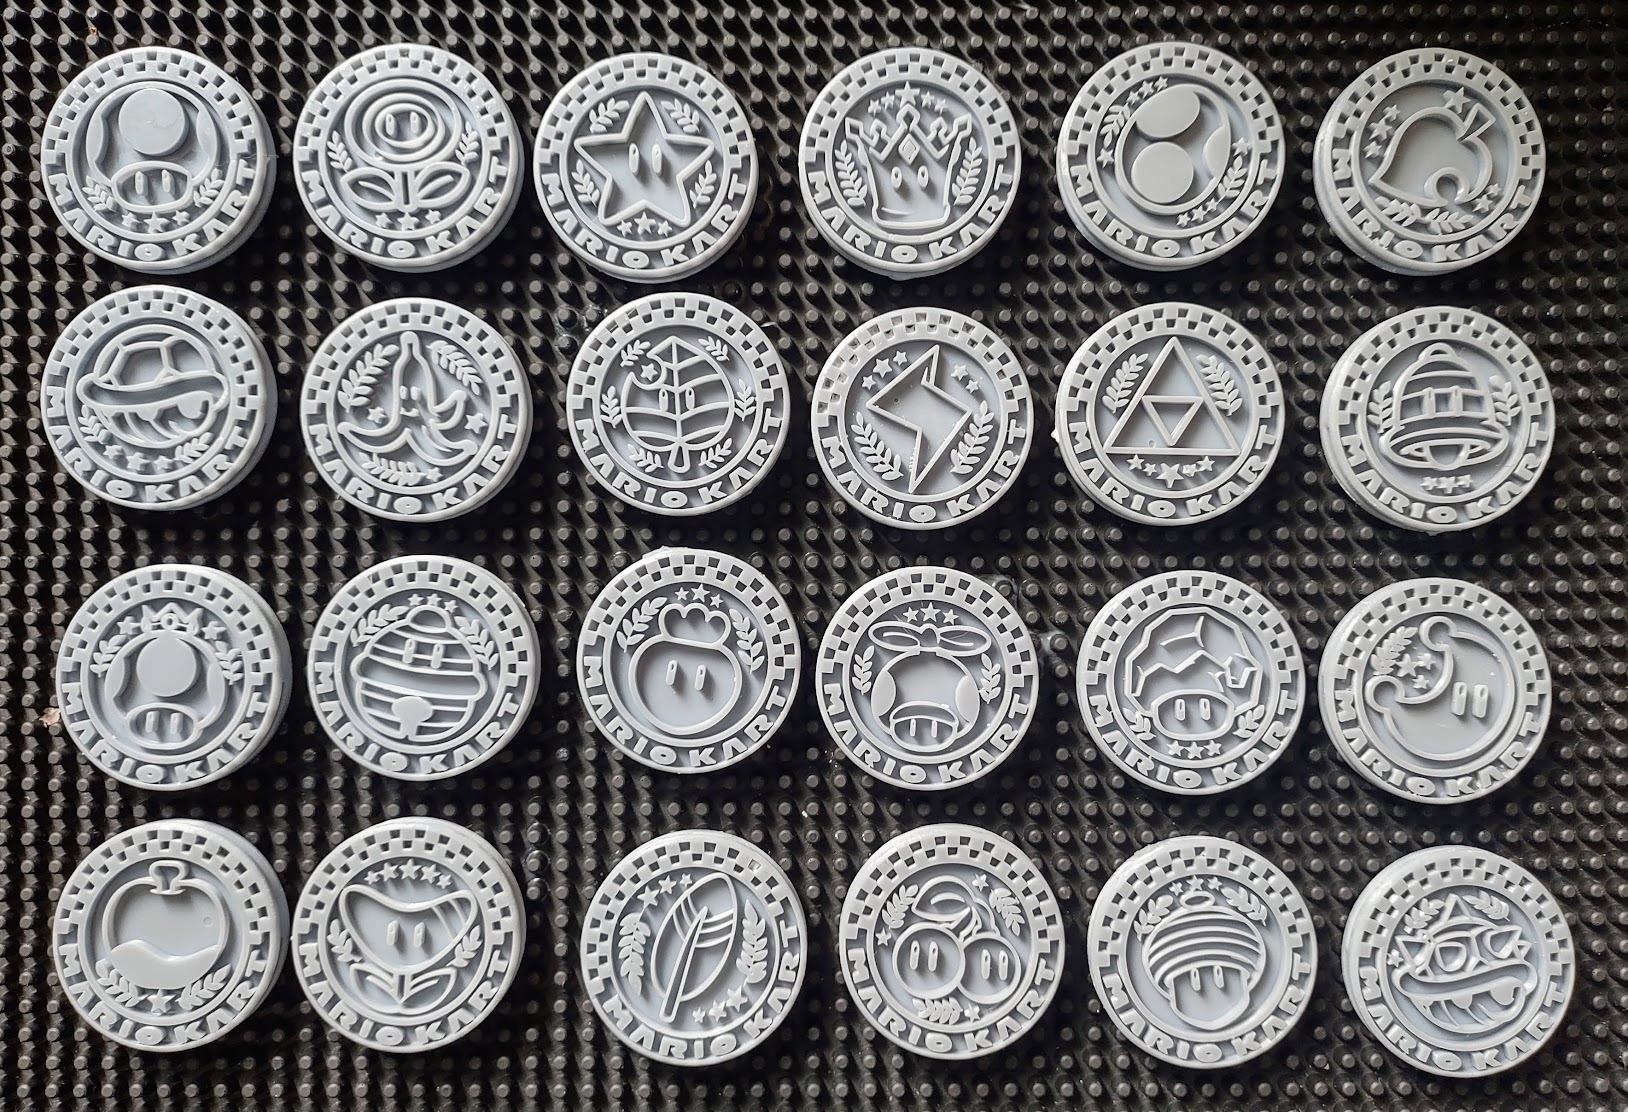
It had been a while since I last did some CAD modelling so I had to get back up to speed with the basics of solids design, along with the specifics of learning the 3D printing process, with this in mind I decided to create a set of tokens or coins with the logos so that we could end up with a display of the whole collection.
Getting the SVG Files
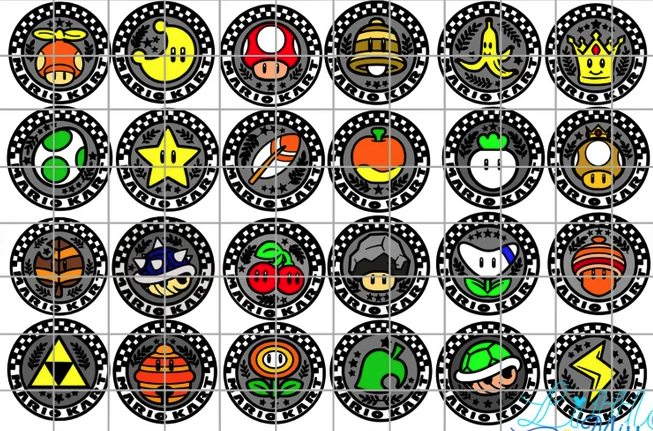
First thing was to find all the emblems in a vector format, so that I could use it in CAD software. This proved a bit difficult as some of the not-yet-released cups were missing online. After some searching, I came across LittleMisCrafter’s etsy shop which was selling the SVG files at a good price (around 10 USD), so I bought them there (seller also included color and monochorme PNGs, so I highly recommend her shop).
With these in hand, it was time to figure out how to go about the 3D modelling process.
CAD Modelling
Throughout undergrad and my time at Volvo I learnt and used Dassault Systemes: CATIA, so I initially gravitated towards using it. After installing it through VirtualBox and jumping through some hoops I got my initial drafts modelled in it by importing DXF files to the draft editor, and successfully exported the STL files for use with the Chitubox slicer.
This, however, was a somewhat convoluted and time-consuming process which took a long time in order to get the 24 tokens print-ready. While watching some Youtube videos I came across the online onshape CAD development suite. I’m not a huge fan of web-based applications but I work on both MacOS and Linux, so gave it a try and was pleasantly surprised. It took me some time to get used to the interface and differences to CATIA but the whole workflow was quite streamlined, aside from some slight awkwardness in the controls here and there.
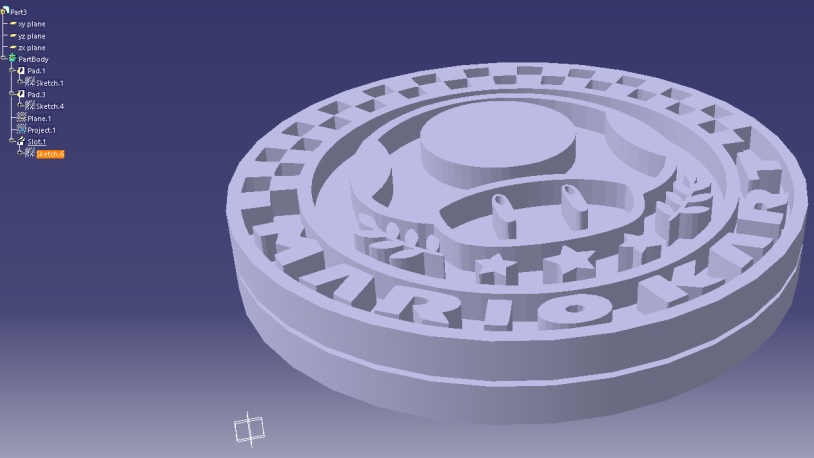
With the new software at hand I came back to re-do all the tokens in amore streamlined way. The way I went about it was to create a blank token object with a groove (to create a support for the coins), then import the logo tracing (as DXF) and carve the “logo” shape into the solid object.
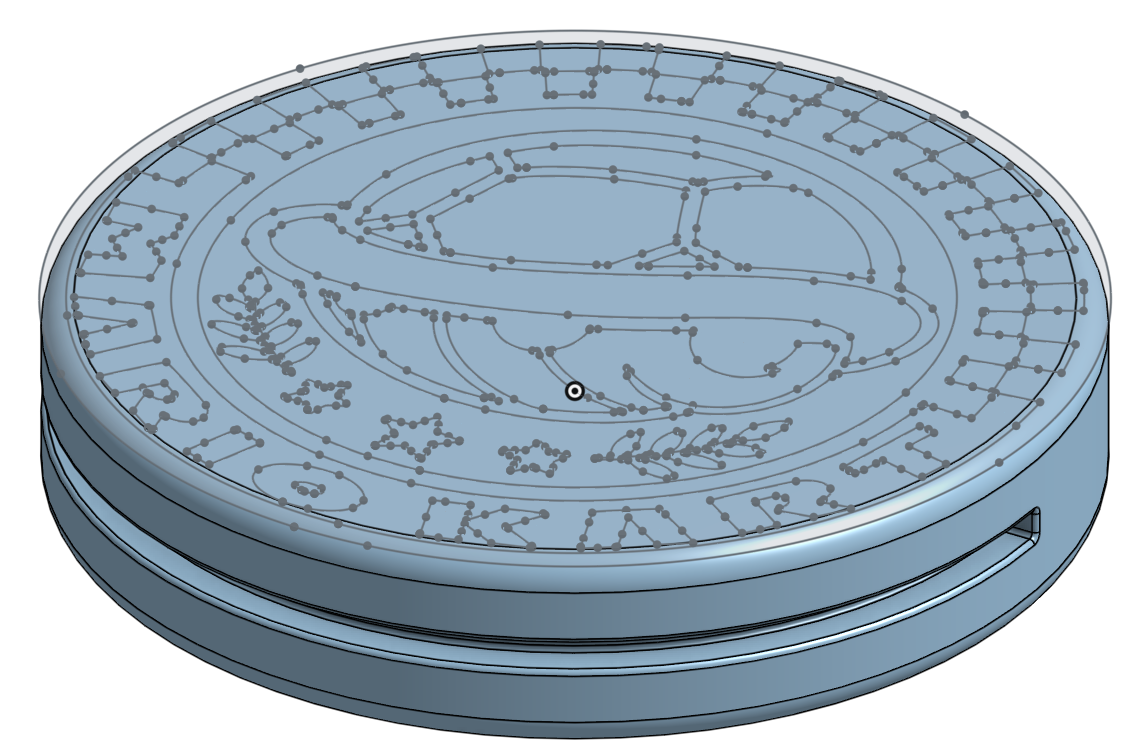
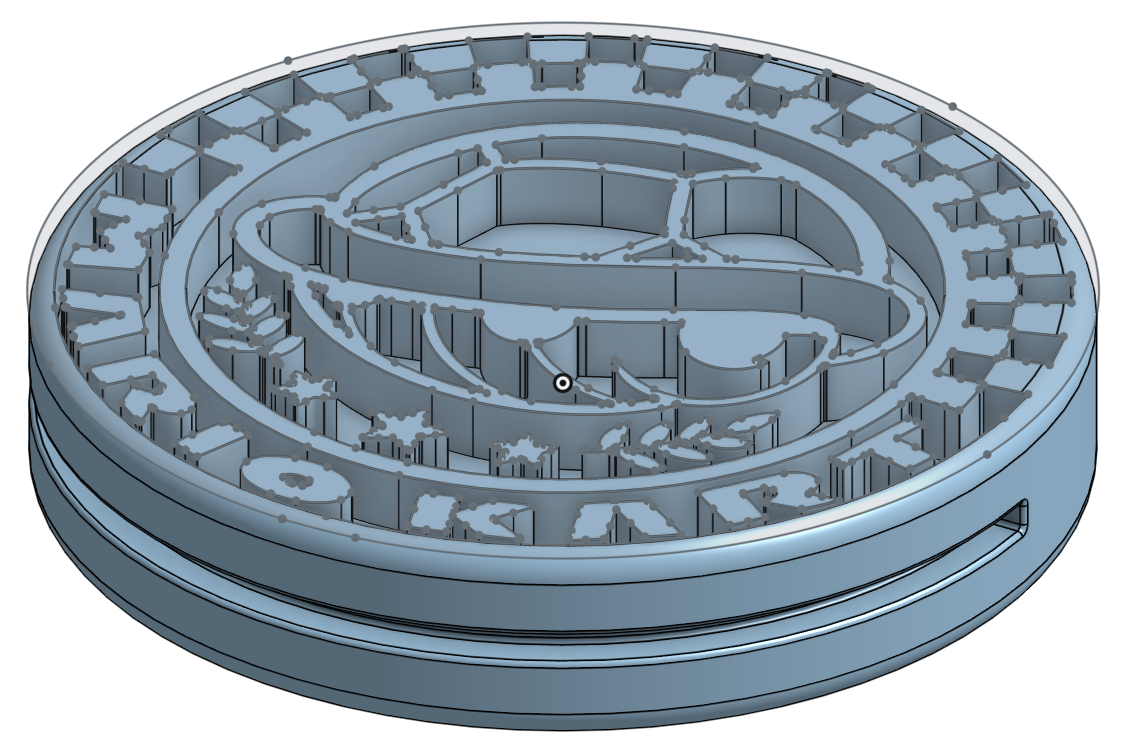
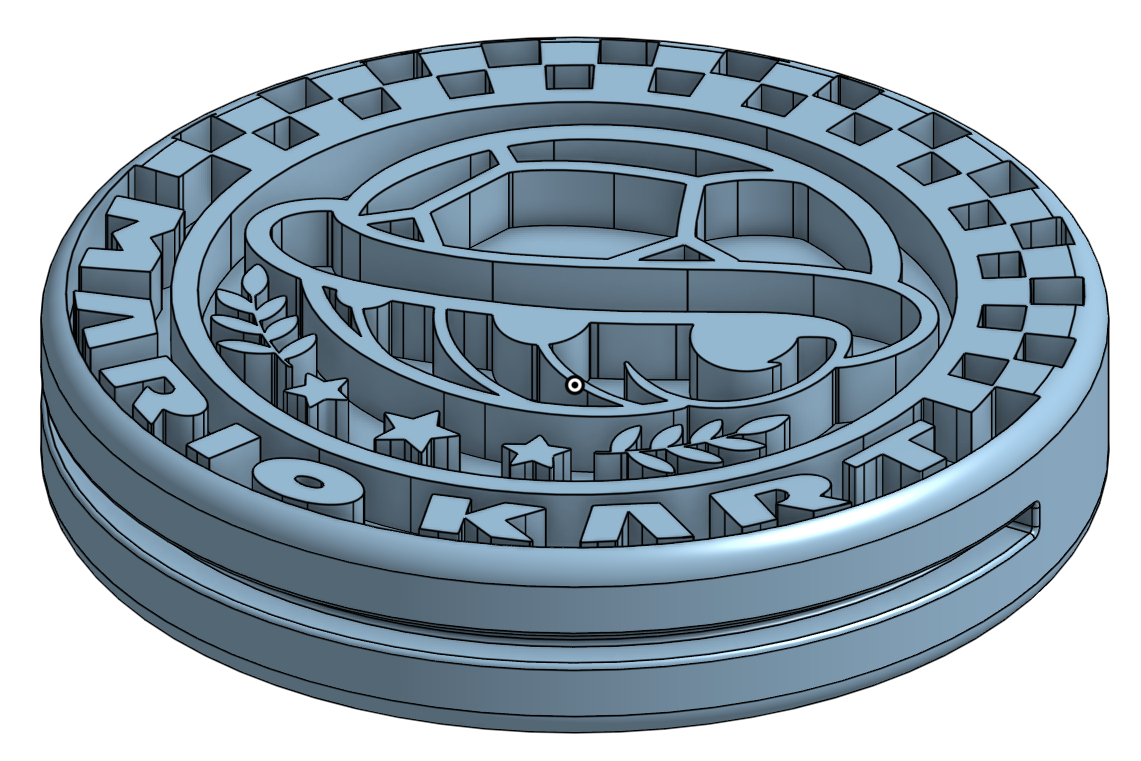
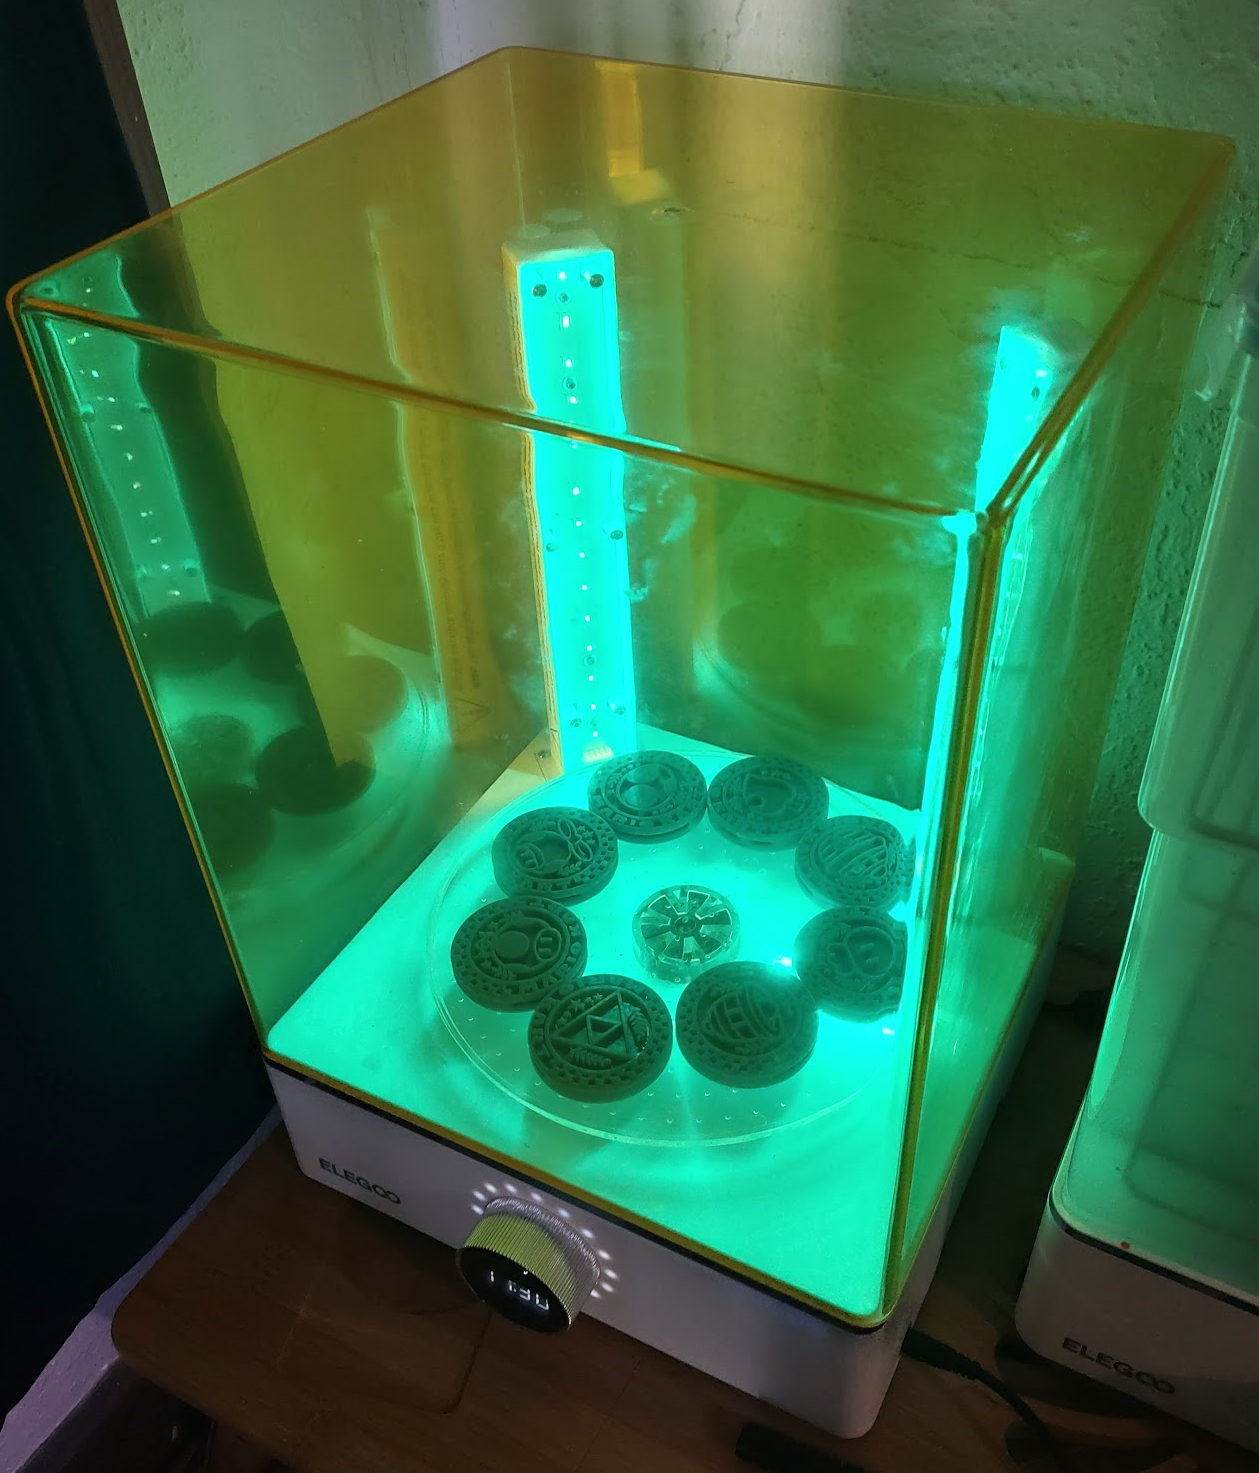
This whole process took a couple of hours but was finally able to get all the 3D models done and exported to STL files for the next step of this project.
3D Printing
Took a bit of testing and experimenting with the exposure, rafts, supports, and step to get the right level of resolution on the prints. In the end I ended up gravitating to the following parameters for the print:
- Step: 0.075
- Exposure: 2.625
- Bottom Exposure: 30
- Approximate Room Temperature: 25C
- Resin: Elegoo Standard Grey Resin
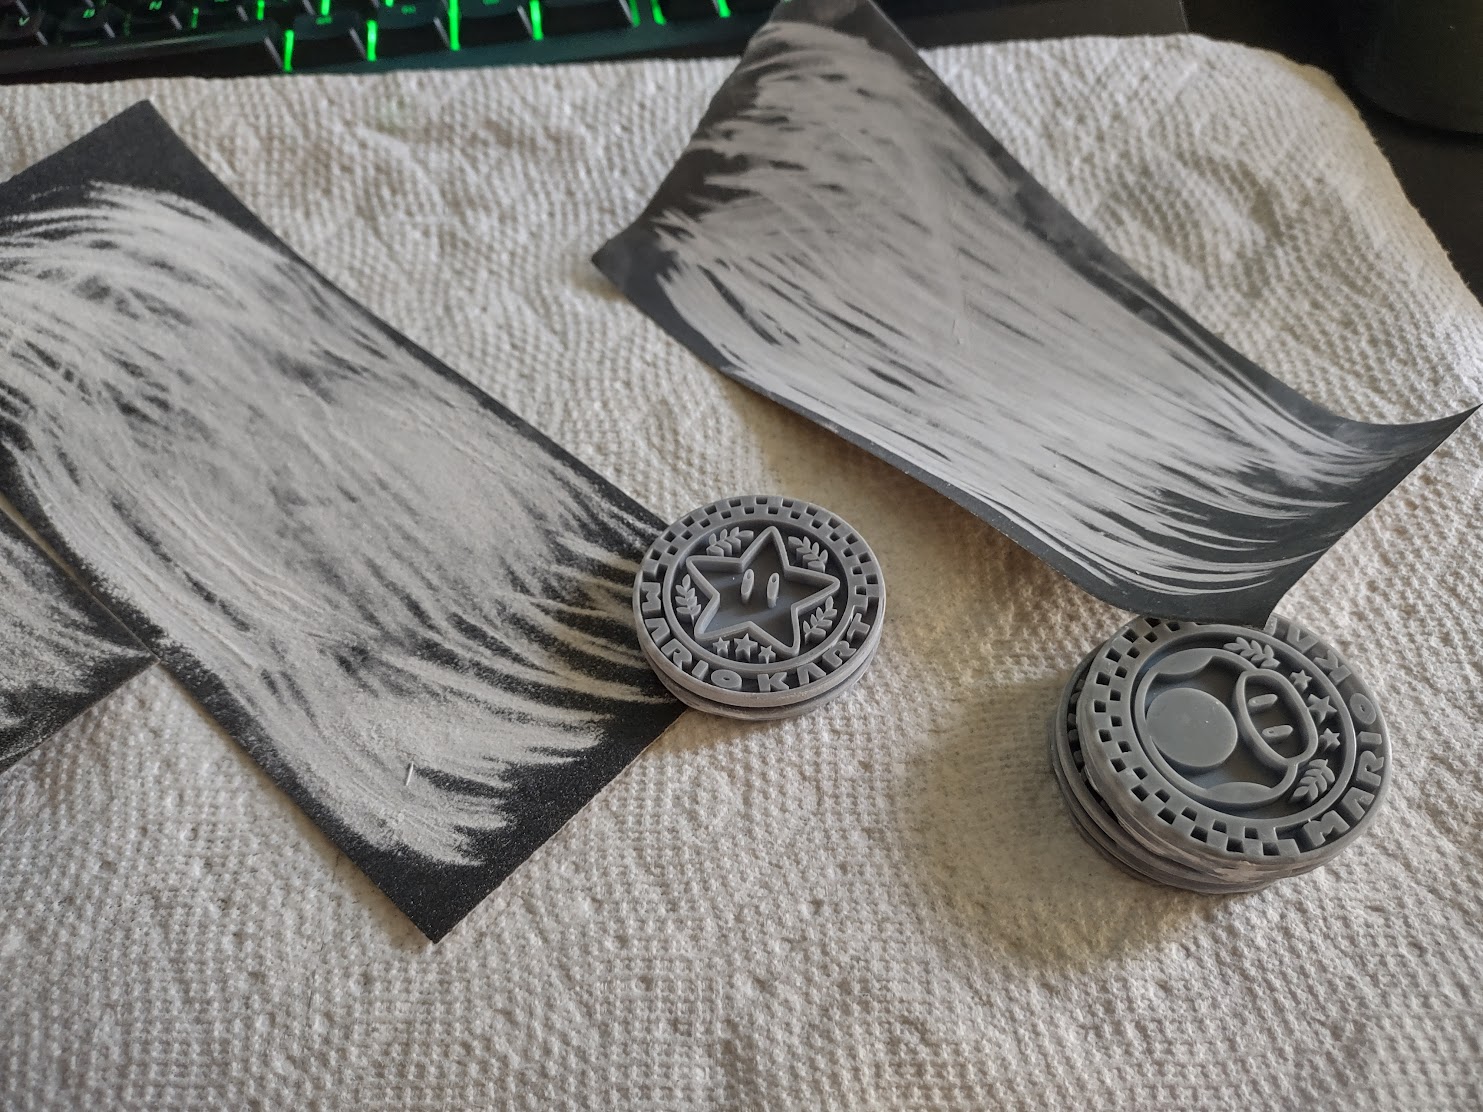
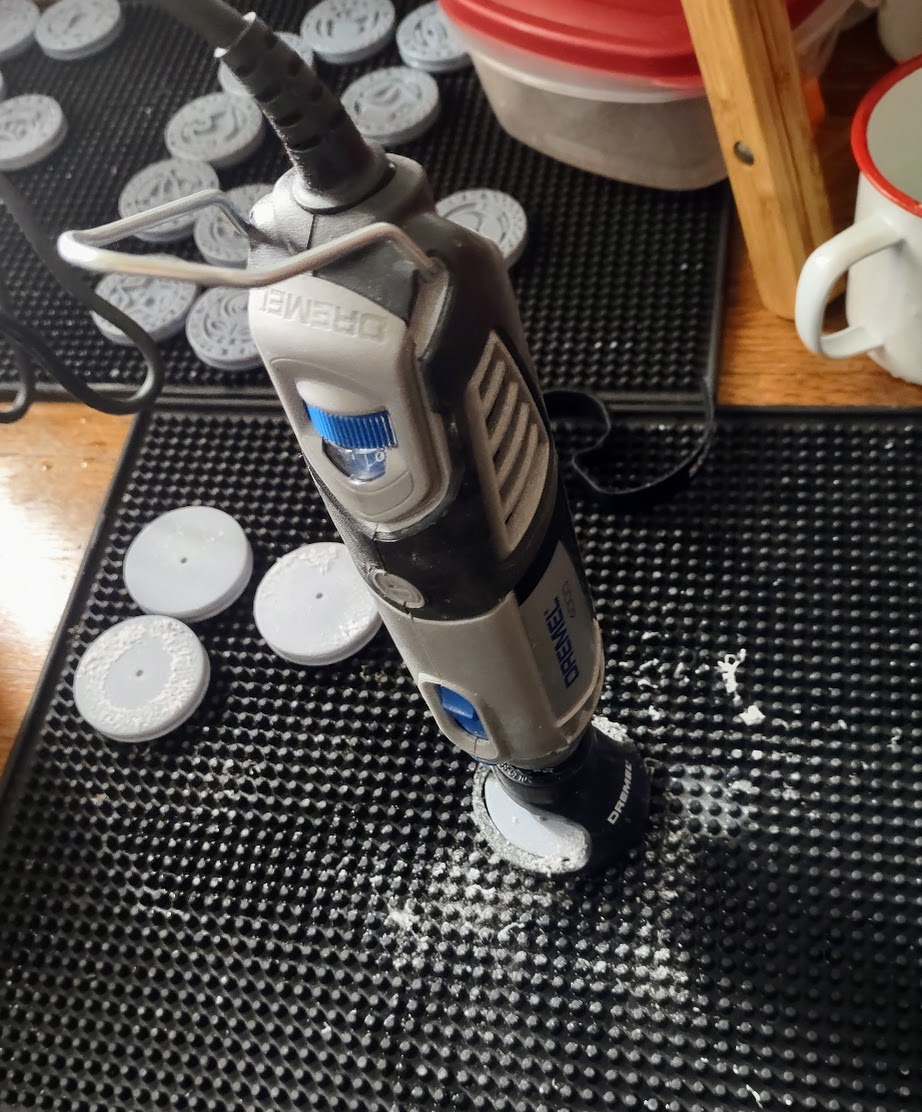
After some initial tests, I decided not to use rafts as it gave me better results that needed less sanding and postprocessing (removing the rafts was a time-consuming process involving a lot of sanding with the Dremel).
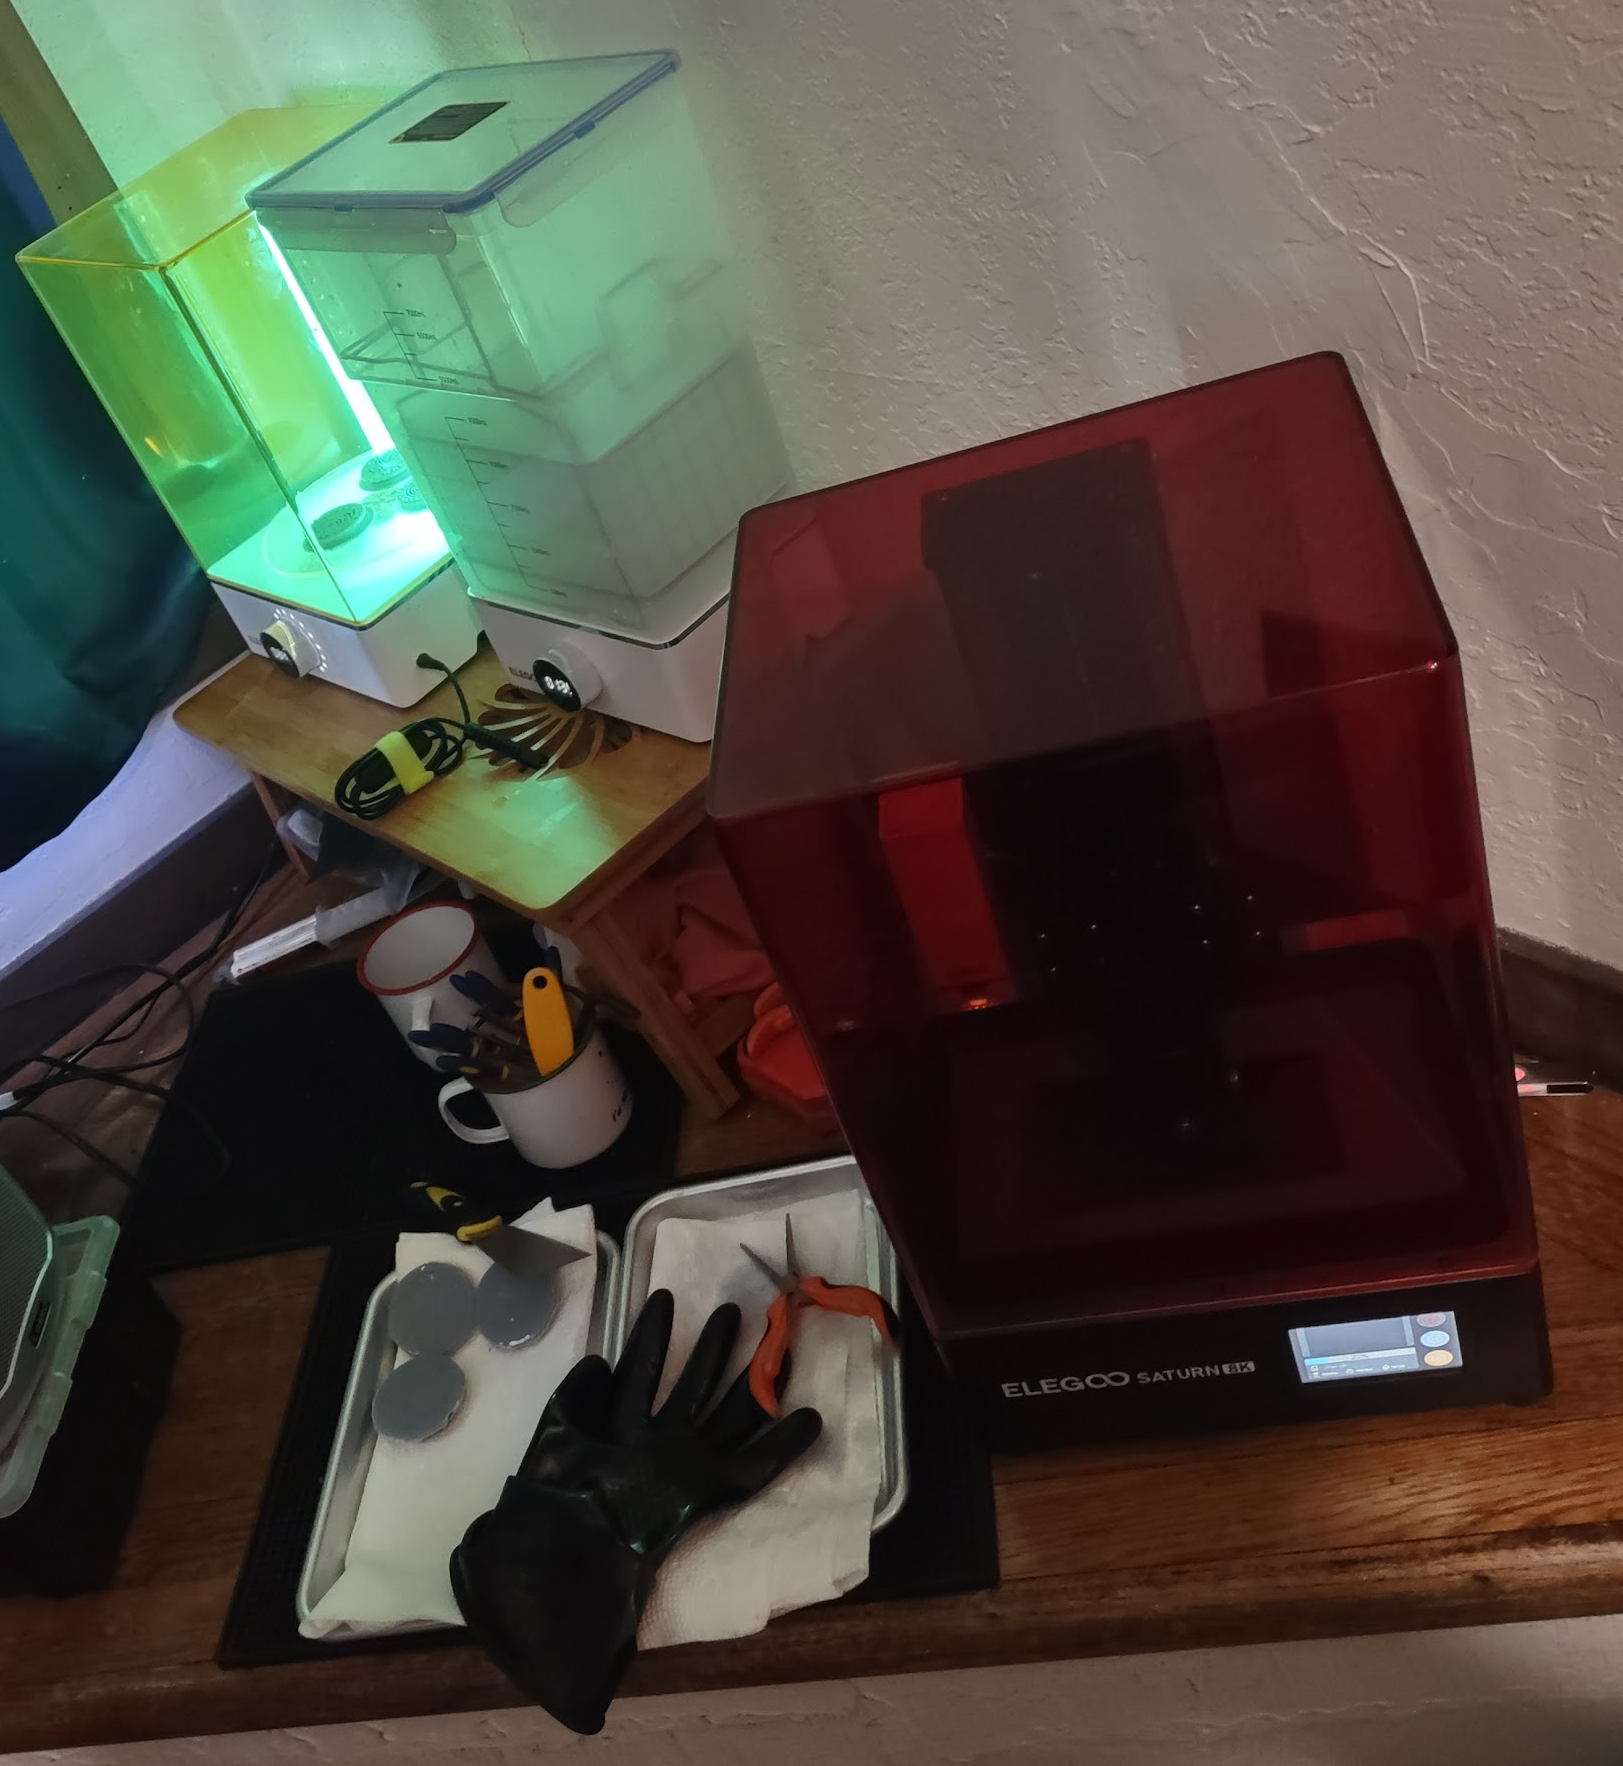
Postprocessing
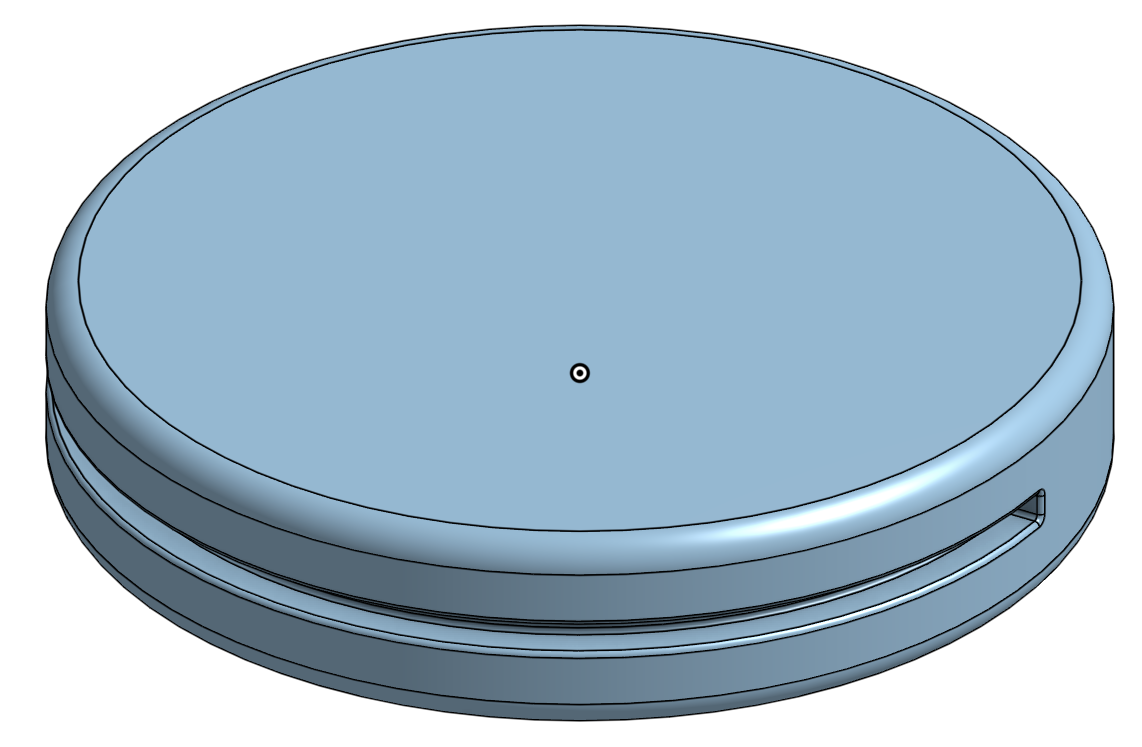
The prints came out relatively close to ready, but they did need some sanding on the bottom and some pressure-relieving holes drilled into them so that they wouldn’t “explode” due to temperature/pressure changes.
Final Thoughts
This has been a pretty fun project so far. It’s still missing the final touches with paint and finish but I’ll update the post with those in the near future!
Models
- STL Files: Thingiverse