I like recording my roadtrips using my GoPro Session 5 but generating the video from images is a bit of a hassle so I compiled a set of bash commands to automate the process.
GoPro Settings
The most important part of these timelapse applications is to setup the right settings for the captures. After lots of failed tests on previous roadtrips, I decided to go with the following settings for recording:
- Interval: 1 photo / 1 sec
- Megapixels: 10MP Linear
- Spot Meter: Off
- Protune: On
- Color: Flat
- White Balance: Auto
- ISO Max: 800
- EV Comp: 0.0
- Sharpness: Medium
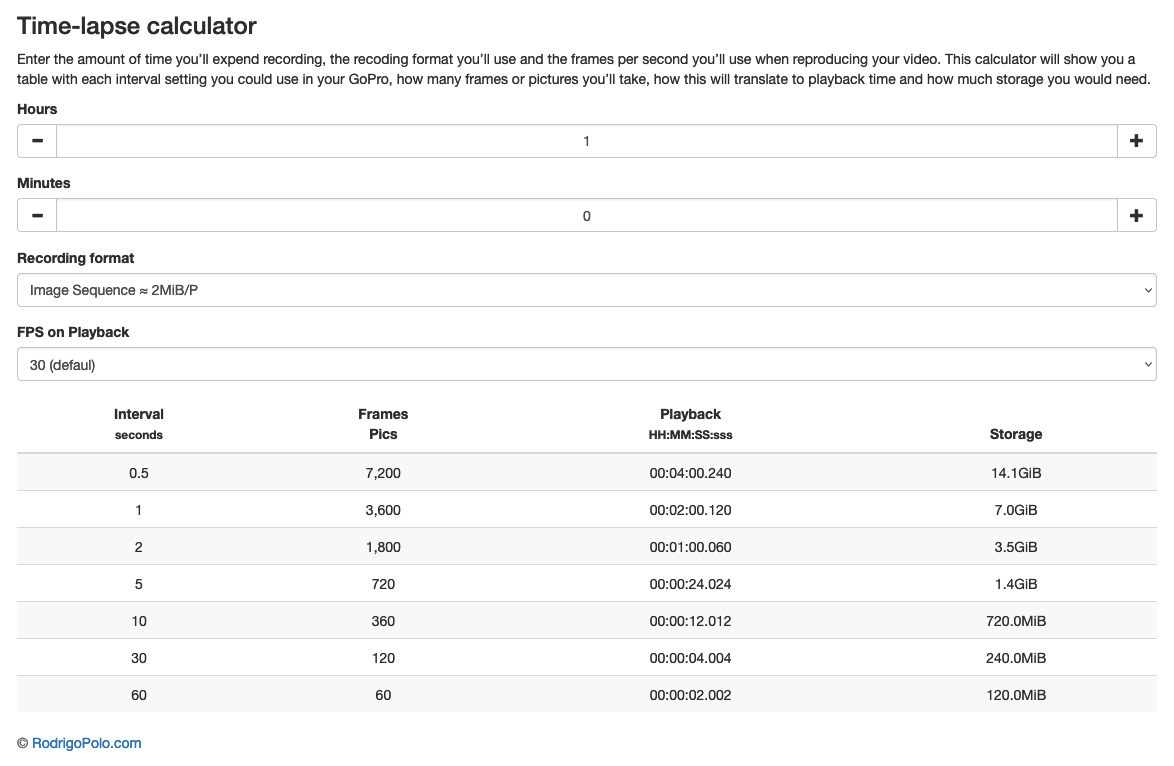
Where the time interval could also be 0.5 sec for more sinuous roads if memory capacity allows it. For reference, this time-lapse calculator is pretty useful to determine the number of images and required space in memory.
Workflow
Now, to get started with the bash pipeline. Please note that the script available in my github repo is much more flexible and provides the users with many more options than the ones shown in this example!
Moving Nested Photos
GoPro cameras store images in split folders, so it helps to have them all moved into the same location. For example, the following structure is an example of how images are stored in each subfolder in our SD card:
- DCIM
    - 144GOPRO
        - G0014667.JPG
        - G0014668.JPG
        ...
        - G0014987.JPG
    - 145GOPRO
    - 146GOPRO
    ...
    - 165GOPRO
I usually move all the photos out of the SD card into my computer’s memory before any processing, in this case I moved the ___GOPRO subfolders to: ~/Pictures/GoPro/Roadtrip. After doing this, we can run the following bash command which moves all the files in the nested folders into the parent directory (Roadtrip, in this example):
FNAME=Roadtrip
BPATH=~/Pictures/GoPro

find $BPATH/$FNAME -mindepth 2 -type f \
    -exec mv {} $BPATH/$FNAME \;
This will allow us to process them more easily in the next step, as our GoPro cameras number the files monotonically (even if it skips some numbers every now and then).
Generating Video
Now, the fun part, we will ask ffmpeg to generate a video from the images in our folder in sequential order. To do so, we need to find matching JPG images and provide them to our function call. Fortunately, GoPro cameras add zero padding to the filenames, so we can use glob to the script as follows:
ffmpeg -framerate 30 \
    -pattern_type glob -i "*.JPG" \
    -vcodec h264 $BPATH/$FNAME".mp4" \
    -r 30
Where the -framerate and -r tags specify the number of images per second that will be shown in our video (fps).
Postprocessing Video
Finally, we will do a little postprocessing on the video. Namely, we will stretch luminance to full range and resize the video to the scale we need it to be (1440x1080 for linear, and 1920x1080 for wide angle):
ffmpeg -i $BPATH/$FNAME".mp4" \
    -vf "pp=al, scale=$ANGLE" $BPATH/$FNAME"-PP.mp4"
And that’s it! It will take some time to run, depending on the presets and number of images but we will end up with our video files ready for some FinalCut/Shotcut/Premiere editing if we need it!
Putting it All Together
I coded a full bash routine that takes arguments and does the whole process in one go, so please have a look at the repo, but the main parts look as follows:
###############################################################################
# Move files to same parent folder
###############################################################################
echo -e "${CGRN}[-] Moving files to parent directory from: ${BPATH}/${FNAME} ${COFF}"
find $BPATH/$FNAME -mindepth 2 -type f \
    -exec mv {} $BPATH/$FNAME \;
###############################################################################
# Generate video
###############################################################################
echo -e "${CGRN}[-] Compiling video to: ${BPATH}/${FNAME}.mp4 ${COFF}"
CDIR="$PWD"
MDIR="${BPATH}/${FNAME}"
cd $MDIR
ffmpeg -framerate $FRATE \
    -pattern_type glob -i "*.$EXTENSION" \
    -vcodec h264 $BPATH/$FNAME".mp4" \
    -r $FRATE \
    -tune $TUNE \
    -preset $PRESET \
    -hide_banner  \
    -loglevel $VERBOSE \
    -c:v libx264 \
    -crf $CRF \
    -async 1 -vsync 1 \
    -$OVERWRITE
cd $CDIR
###############################################################################
# Postprocess video
###############################################################################
echo -e "${CGRN}[-] Postprocessing to: ${BPATH}/${FNAME}-PP.mp4 ${COFF}"
ffmpeg -i $BPATH/$FNAME".mp4" \
    -vf "pp=al, scale=$ANGLE $ROTATE_FLAGS" $BPATH/$FNAME"-PP.mp4" \
    -vcodec h264 \
    -loglevel $VERBOSE \
    -hide_banner  \
    -crf $CRF \
    -async 1 -vsync 1 \
    -tune $TUNE \
    -preset $PRESET \
    -$OVERWRITE
Result
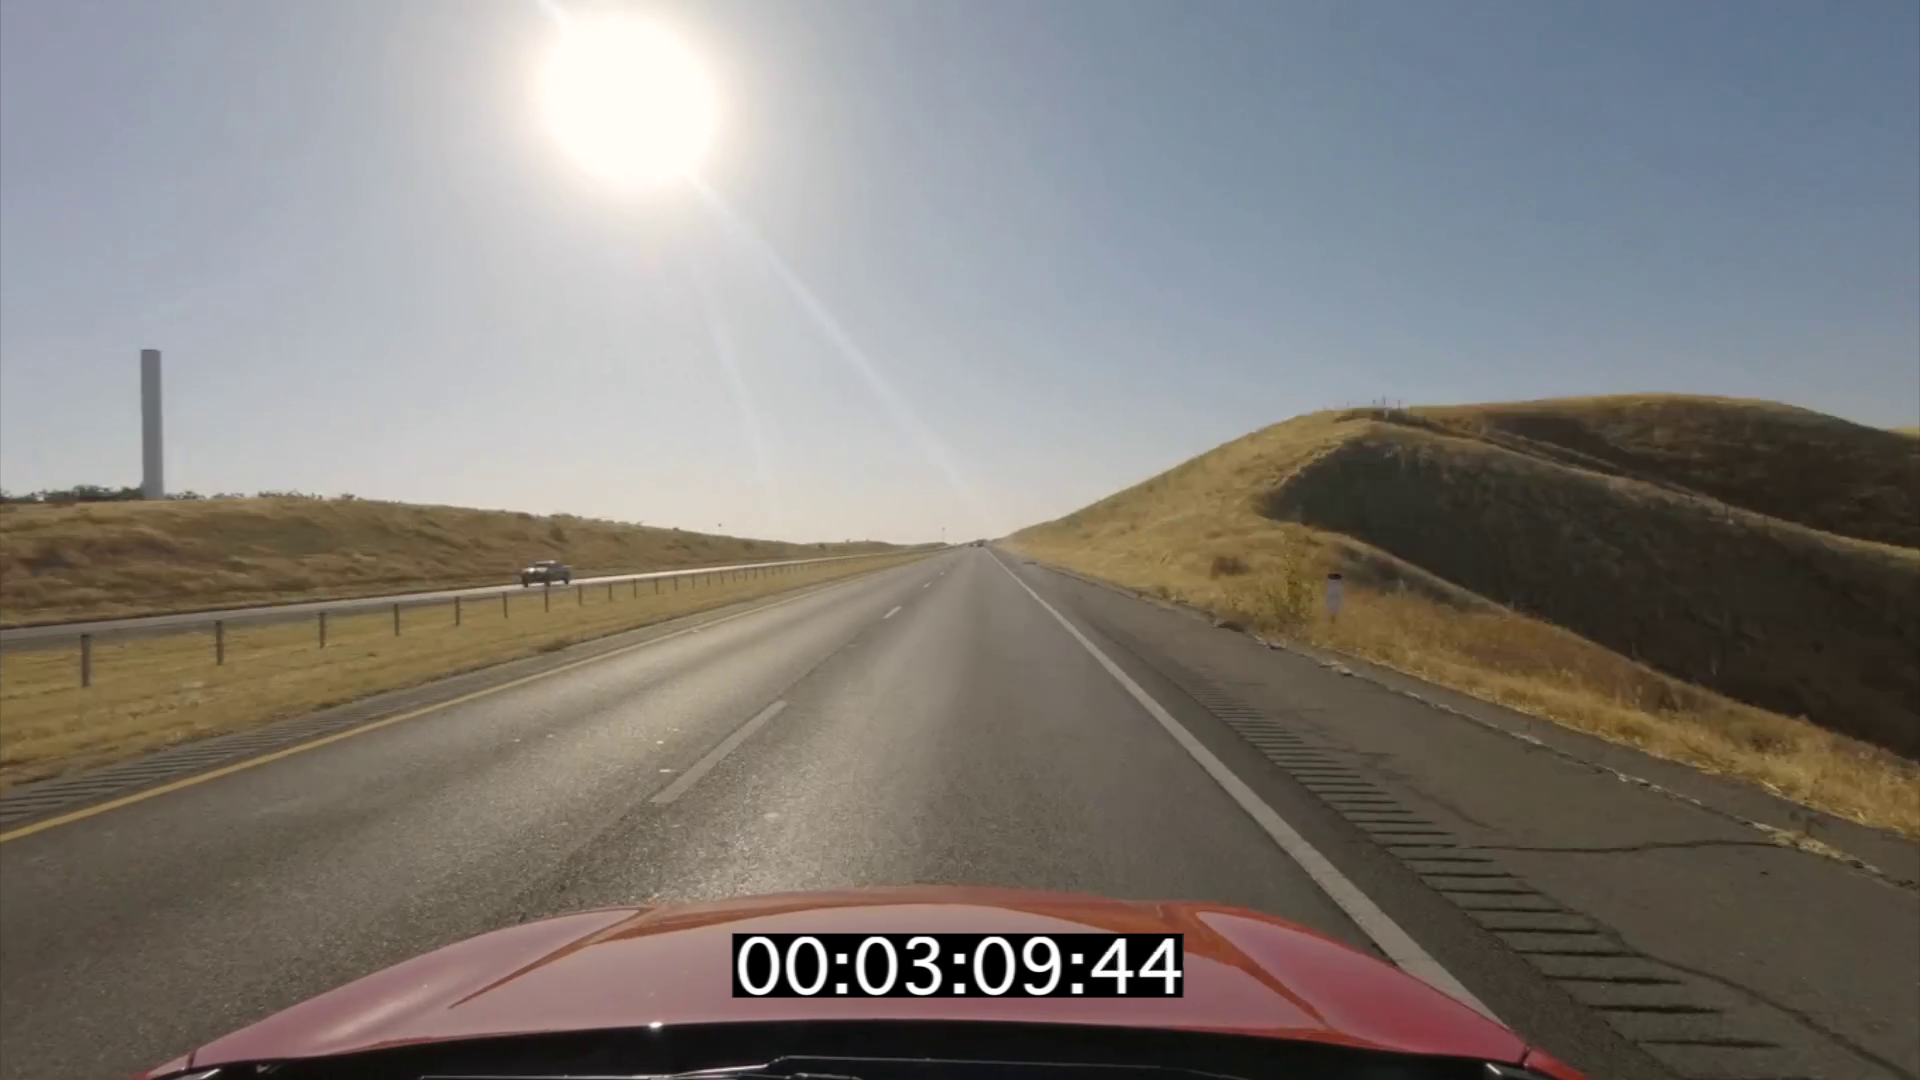
Click on the following image to see the result of the scripts after some minor editing in Final Cut to add music and the timer.
Finally, do have a look at the github repo, as it has better and more flexible code!
Code Repo
- Repository: Github repo
- Dependencies: ffmpeg