Whilst playing Advance Wars by Web with my friends it came to us that it’d be kinda cool to create some pixel patterns to do beads crafts. I initially thought that we could use the pixelator code I’d coded before, but this was unfortunately not the case. Some additional features were required, along with some improvements upon the previous codebase, so a new github repo was created with this application in mind.
Code Dev
This blogpost will go through how the routines work together, but it is strongly suggested to have a look at the demos section of the github repo first to have a clearer idea of how the scripts are used.
Loading Image
Pretty normal stuff here, we load the image to PIL in RGB form:
pth = path.join(BASE_PATH, PNG_NAME)
img = Image.open(pth).convert('RGB')

Color Mapping
First thing we want to do is to load an ad hoc CMapper.map file if provided. This file is nothing else than a txt saved with a .map extension in which each row contains two hex-defined colors that should be mapped to one another (left to right). An example of this file can be found following this link.
fileMapper = path.join(BASE_PATH, 'CMapper.map')
if exists(fileMapper):
    cMapper = fun.readCMapperFile(fileMapper)
    img = fun.mapColors(img, cMapper)
This will take all the entries of the file and change the colors accordingly. The main use for this step is to either remove a solid background or change the color palette manually. The functions to do these operations are pretty simple and can be seen in CMapper parser, and background remover.

Quantizing
The next step is to take our mapped image and quantize the colors to either reduce them in number or swap the color palette to a custom one. The case in which there is no custom palette is the base one, in which we call PIL’s quantize with the desired number of colors:
imgQnt = img.quantize(colorsNumber, dither=False)
For the case in which a color palette is provided in the form of a .pal file, we need to reshape the color palette a bit so that it can be used by the same PIL function. This is particularly useful if we know the colors of the beads we have at hand, as it will try to match the colors as closely as possible with what we have available:
palDict = fun.readPaletteFile(path.join(BASE_PATH, PAL_NAME))
cpal = fun.paletteReshape(palDict['palette'])
imgQnt = img.quantize(palette=colorPalette, dither=False)
Either of these approaches will do the same: to try and map the original colors to the “closest” ones in the available palette to reduce the number of different colors needed to create our beads art (from a possible 256 in the original image).
Downscale and Re-Upscale
The next step is to downscale the image to the desired pixel dimensions. This is useful in cases where we want to reduce the image’s size to reduce the number of beads required to generate the pattern:
dsize = fun.downscaleSize(imgQnt, DOWNSCALE)
imgDwn = imgQnt.resize(dsize, resample=Image.BILINEAR)
We then upscale it again so that we can work with an image that is not tiny:
upscaleSize = [UPSCALE*i for i in dsize]
imgUps = imgDwn.resize(upscaleSize, Image.NEAREST)
imgUps.save(pthUPS)

After taking these steps, we have a pixel-based image ready for the “beadifycation” step!
Beads Plot
We can now generate our beads plot by replacing each pixel with “donut” shapes using matplotlib (for the full function definition please follow this link):
imgTmp = imread(pthDWN)
(fig, ax) = fun.genBeadsPlot(
    imgTmp, bgColor=fun.BEAD_BKG,
    inRadius=fun.RADII[0], outRadius=fun.RADII[1], imgAlpha=fun.BEAD_ALPHA
)
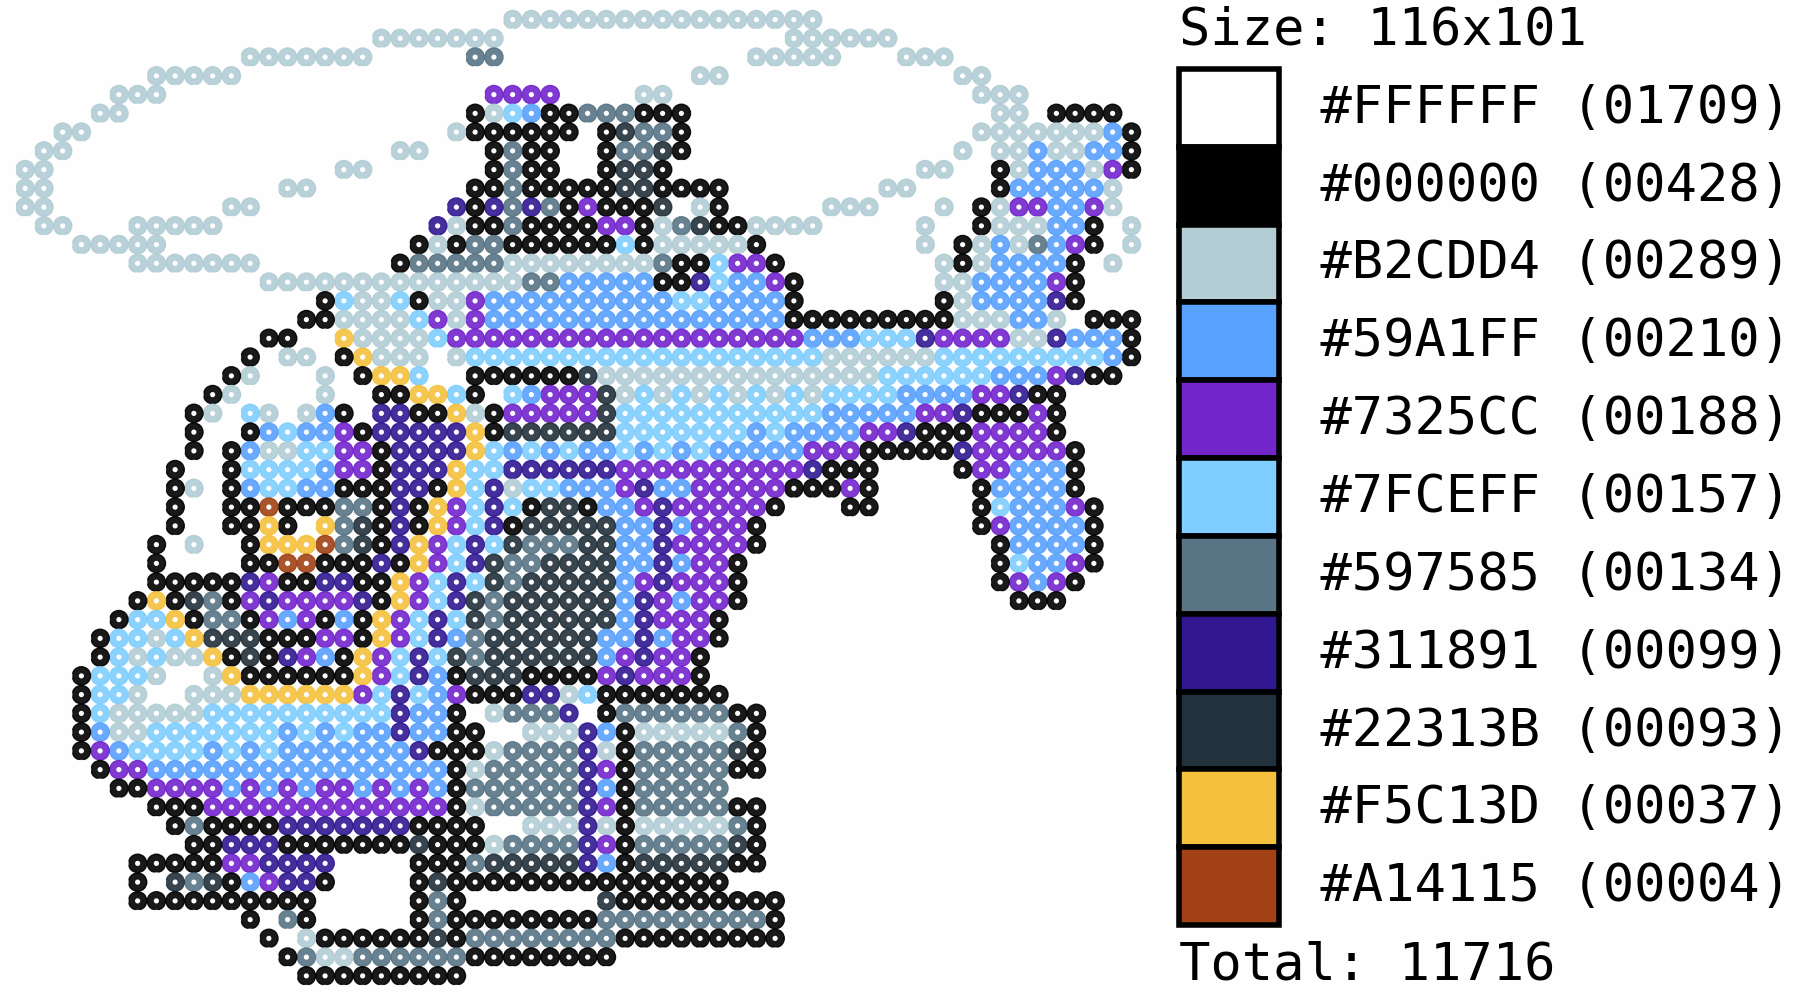
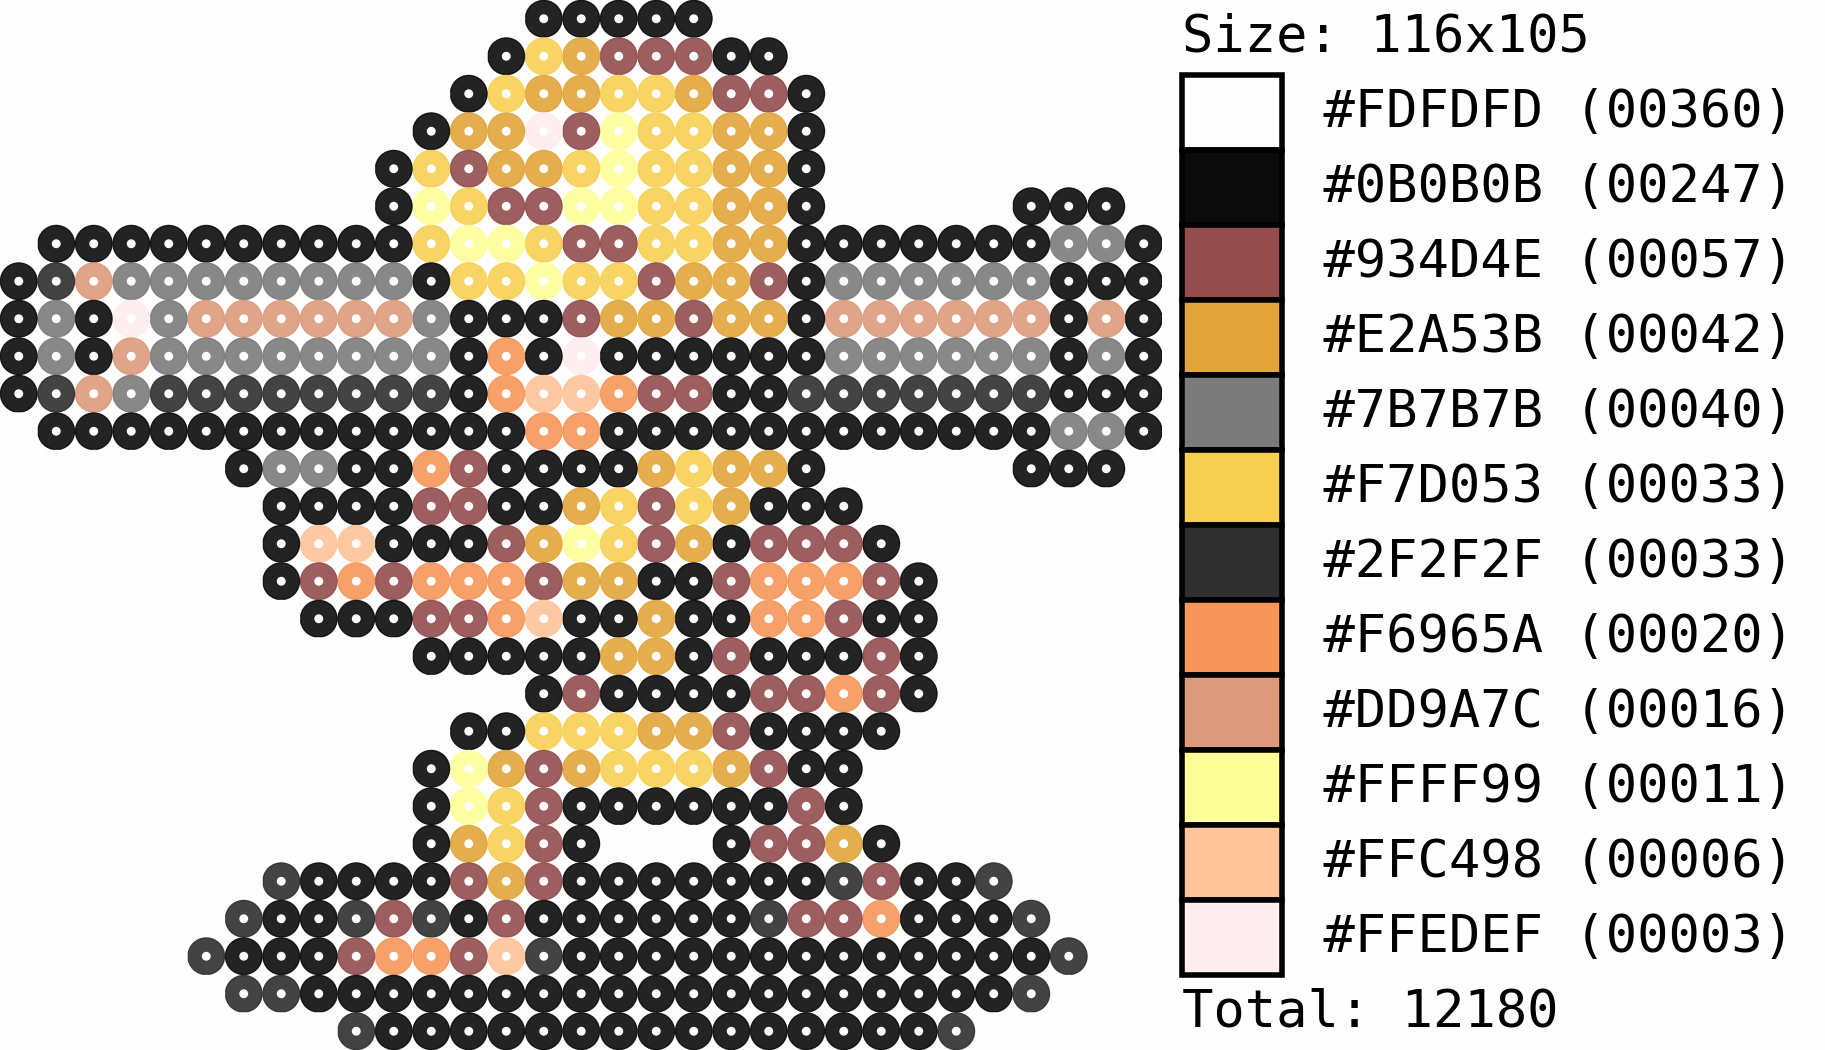
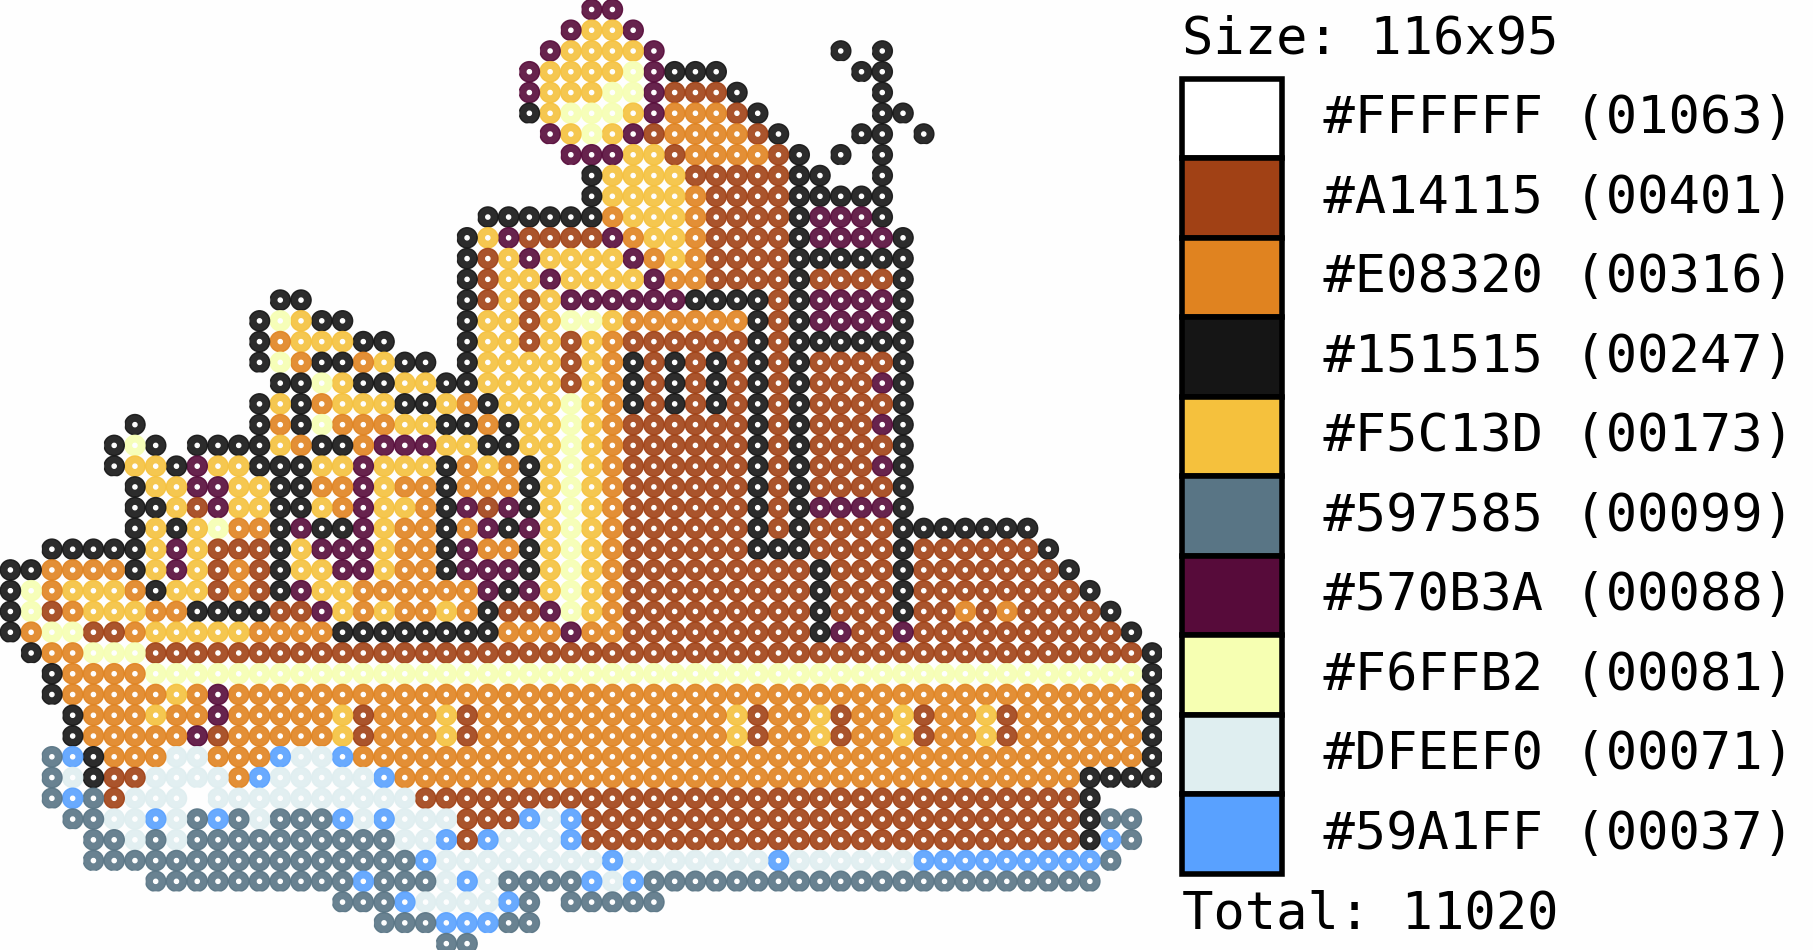
Swatch and Final Figure
The final required element is to calculate the number of beads we will need by color and to generate the swatch with these quantities (function definition here):
swatch = fun.getImagePalette(imgTmp)
imgSwt = fun.genColorCounts(swatch, 500, imgBDS.size[1], imgDwn.size)
And we can now assemble the result!
(imgBDS, imgSWT) = (
    Image.open(pthBDS).convert('RGB'),
    Image.open(pthSWT).convert('RGB')
)
ccat = fun.hConcat(imgBDS, imgSWT)
ccat.save(pthFNL)
Final Notes
As mentioned before, the code is available in its entirety in this github repository. It contains some documentation, demos and color palettes! Additionally, it contains some bash scripts to automate the processing of images.
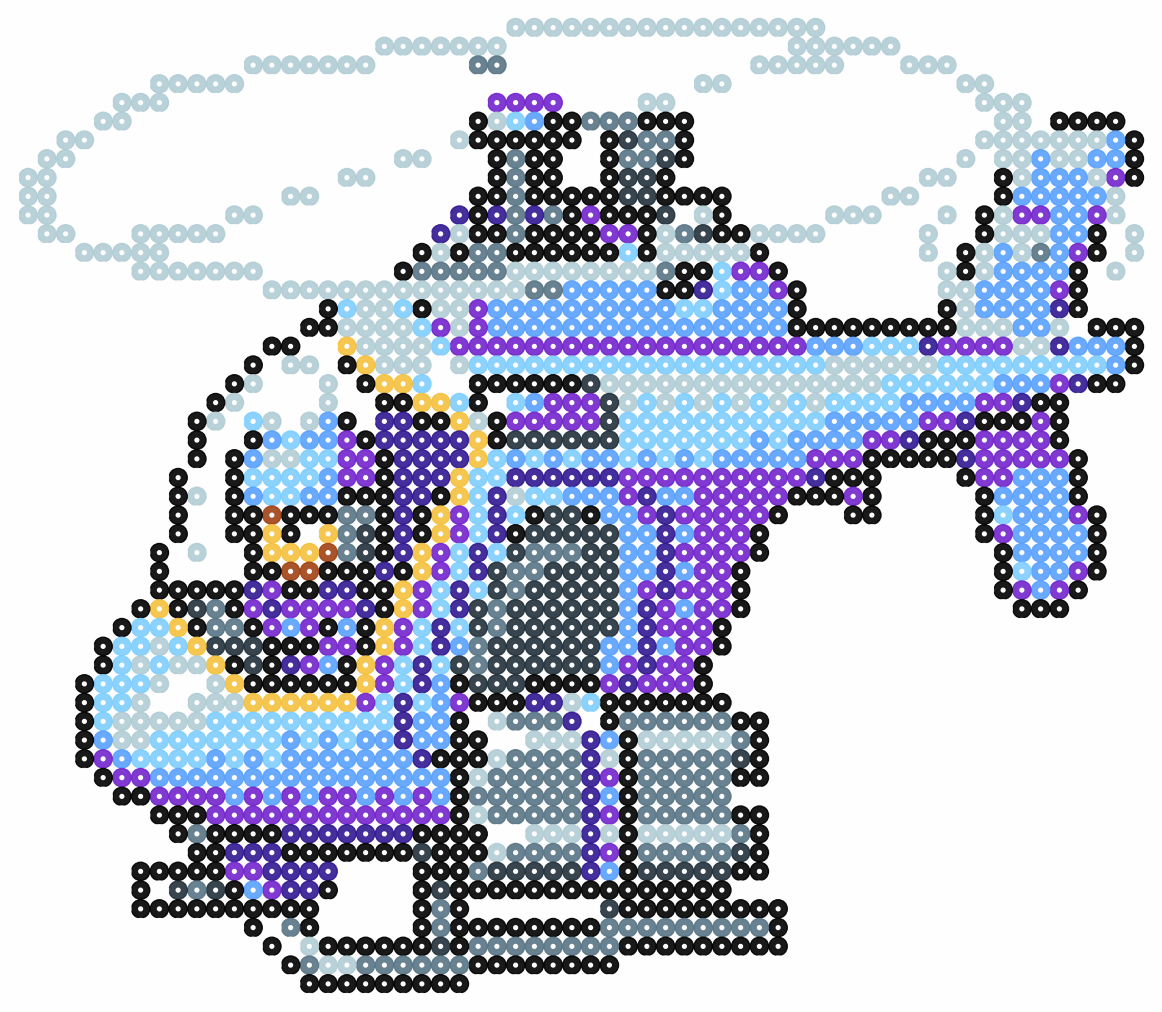
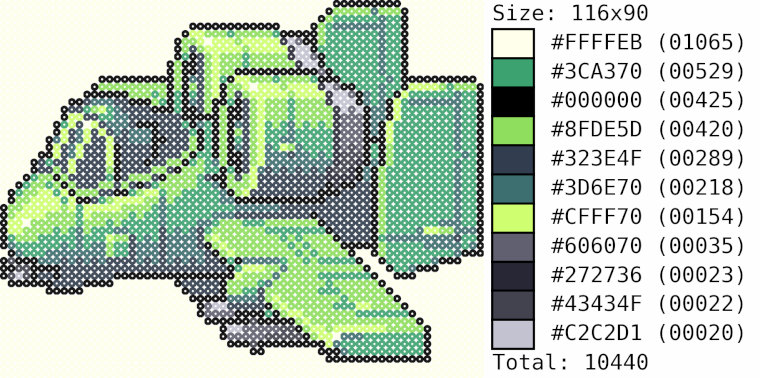
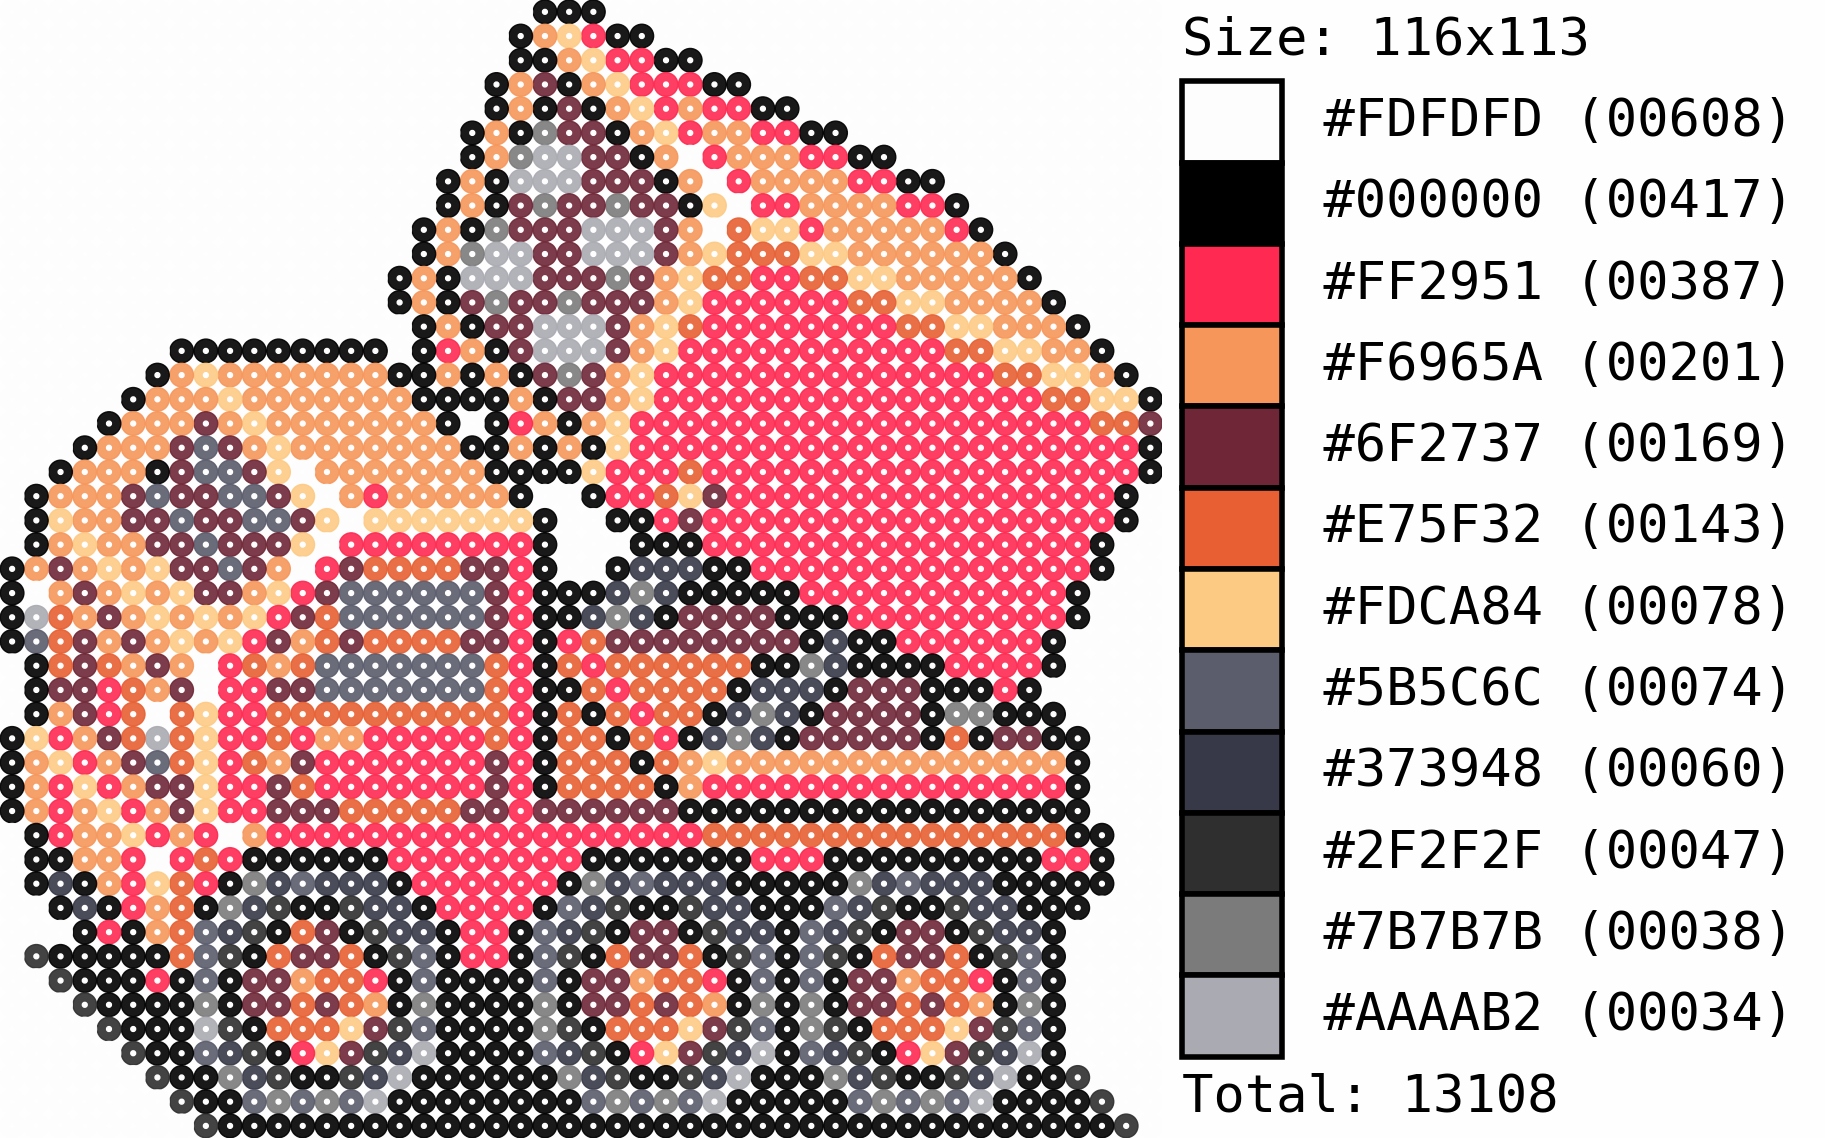
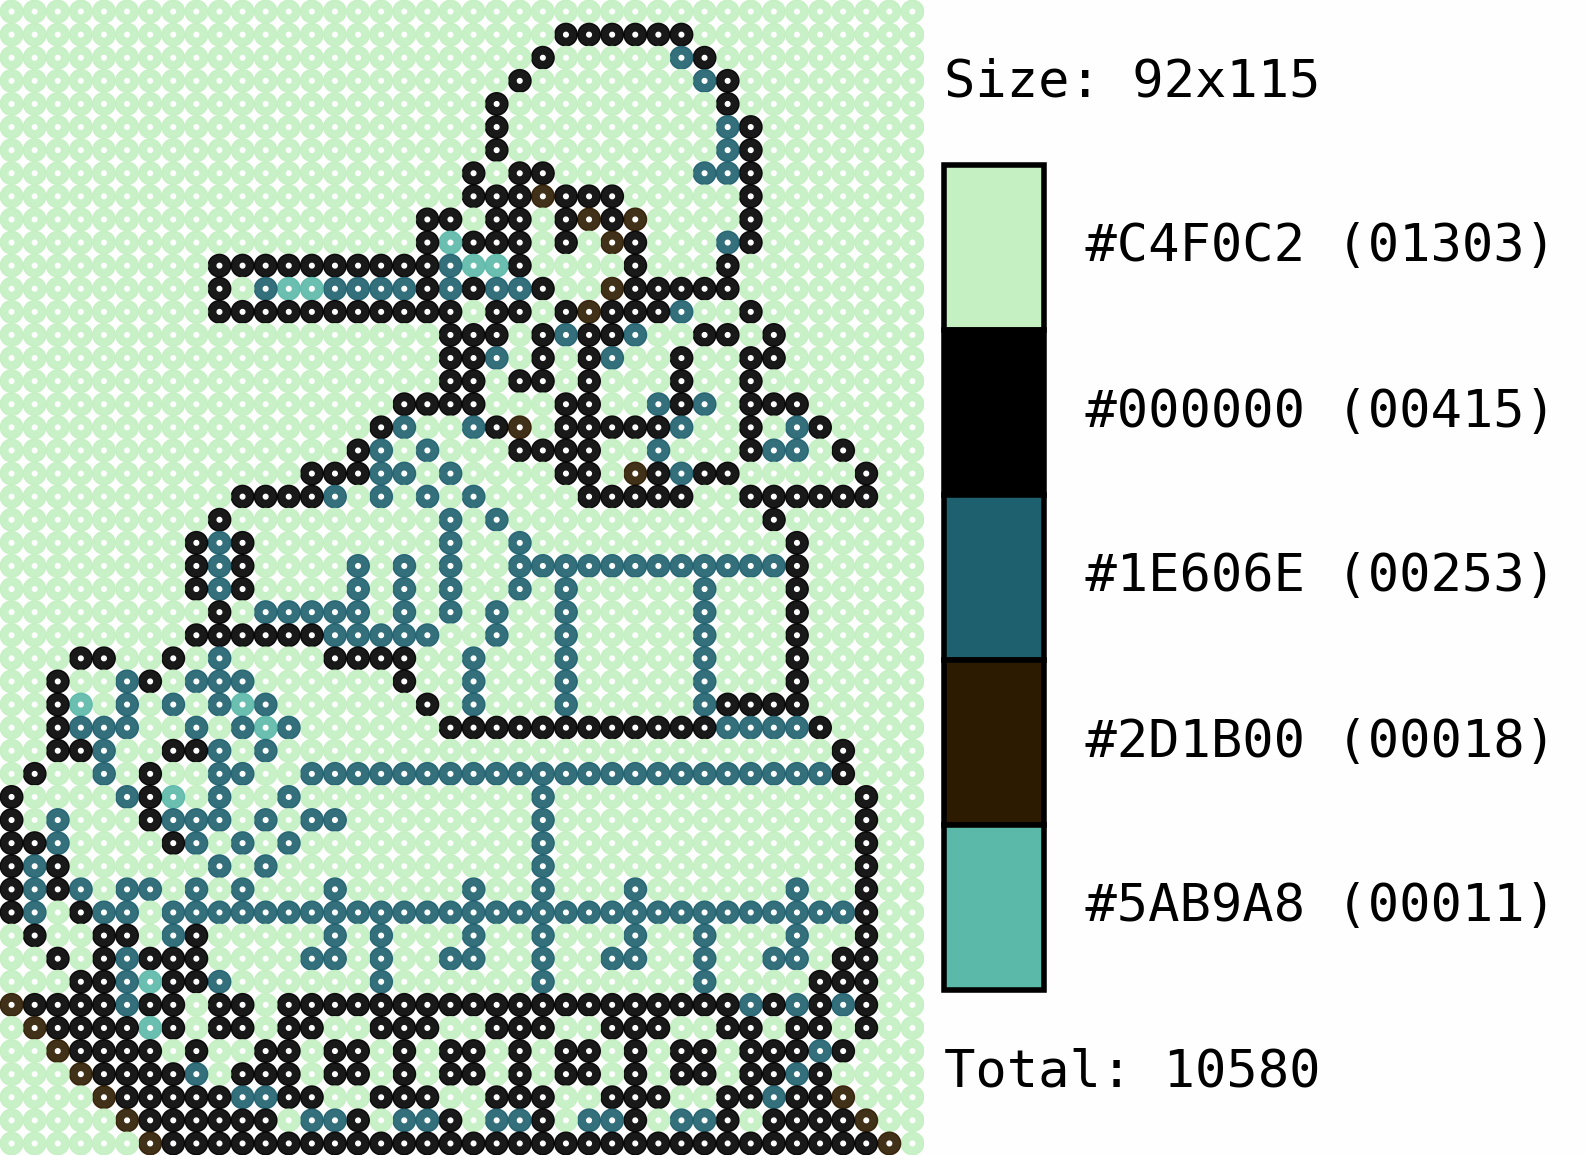
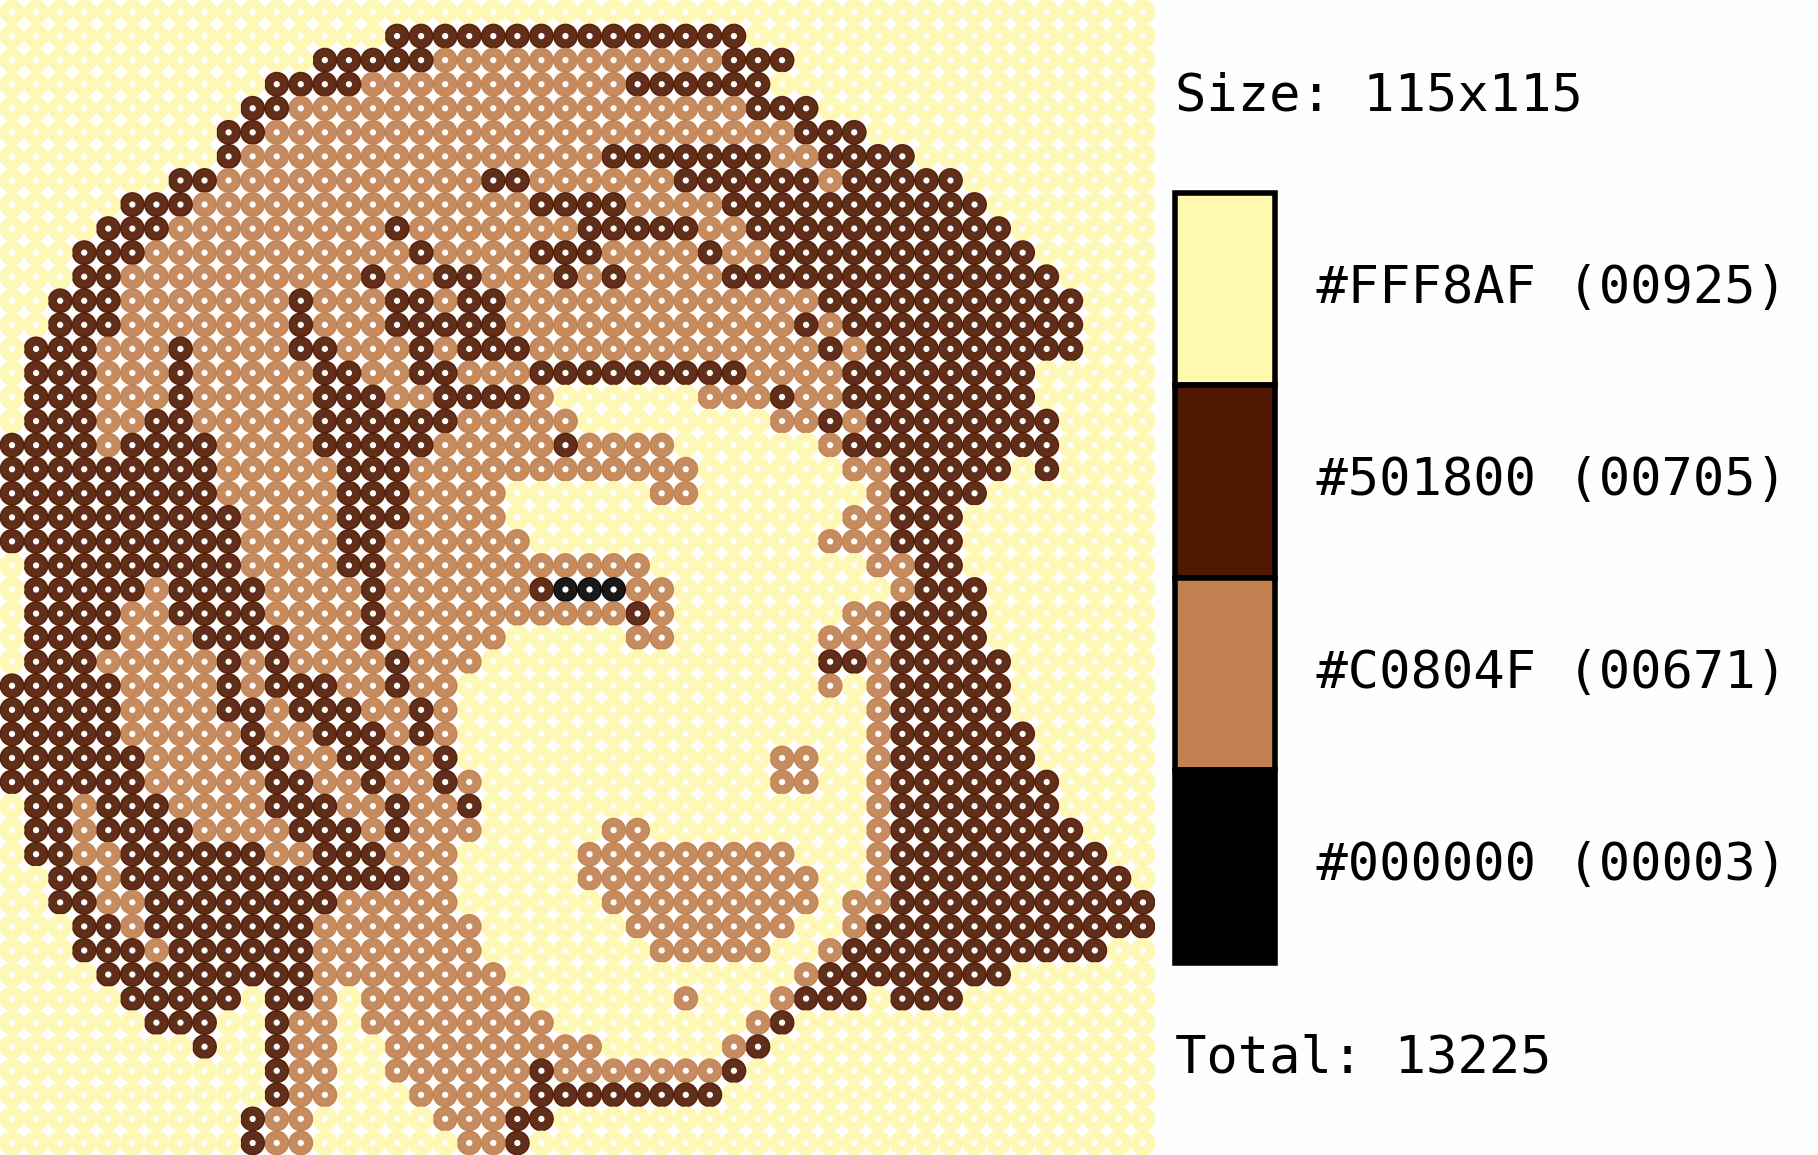
Gallery

Code Repo
- Repository: Github repo
- Dependencies: opencv-python, Pillow, numpy, PIL