Intro
I’ve been using jellyfin to host my own local media center so that I can watch series, movies, and listen to music on all of my devices. I was doing this by using an old Mac from 2013 but unfortunately it got too old to update to any supported version that is compatible with the one running on my Firestick, so I was forced to upgrade it to a more recent computer I had laying around. This ended up being a bit more complicated than I expected as the native application files available in the Jellyfin website kept giving me errors, so I just decided to use its Docker version, which was a bit of an adventure due to slight differences between Linux and MacOS (and the way they handle drives and permissions). This post is based and adapted from “How to run Jellyfin within a Docker Container”, which is meant to be used to setup the server on Linux.
Materials
Strictly speaking, only a Mac computer that can get Docker installed and an internet connection, but an external HDD is strongly recommended to store all the media.
Computer
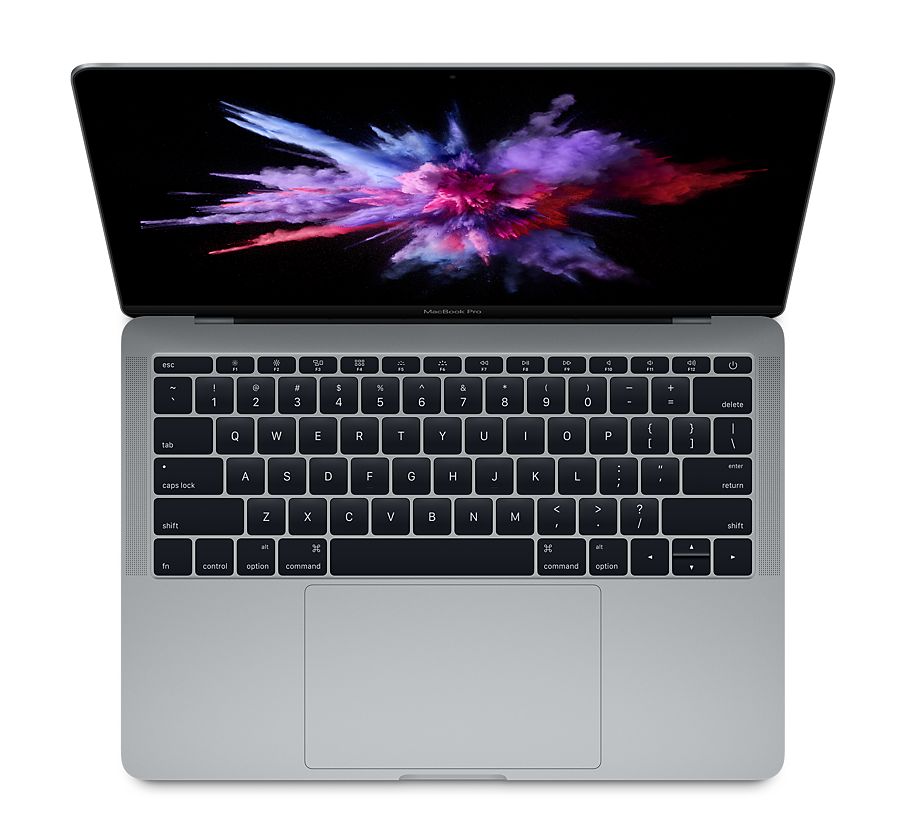
I’m using a 2017 13-inch MacBook Pro running on Ventura 13.6.9 for this setup.

External Drive
I decided to buy a dedicated HDD for this project and went with the Avolusion PRO-5Y Series but any external or internal drive should work for these purposes, we just need to make sure to map the locations to our running docker container. In my case, I’ve named my disk Samus and it mounts on the following location in the system /Volumes/Samus/. In this drive, I have created three different folders for my media types:
/Volumes/Samus/TV
/Volumes/Samus/Music
/Volumes/Samus/Movies
so these are the paths I will be mapping to my docker media center (and will need to be replaced for other users).
Installing Docker
Finally, we need to install Docker in our system. This is pretty straightforward, as we only need to go to their website and download the DMG that matches our OS. The version used in this example is 4.33.0, with the 27.1.1 engine.
Docker Server
Setting Directories Up
We will need two folders to be created in our computer, so that we can map them to the docker instance:
sudo mkdir -p ~/jellyfin/cache
sudo mkdir -p ~/jellyfin/config
These folders can be anywhere in our system, we just need to keep track of them for the setup. This next step might not be necessary but it ensures that we have ownership of the created folders:
sudo chown $USER: ~/jellyfin/cache
sudo chown $USER: ~/jellyfin/config
Docker Compose
Now, the easiest way to map the folders and ports necessary to run our server is by creating a docker-compose file. This can be done either with a plain text editor, an IDE, or directly in the terminal. For this guide, we will follow the terminal route by using nano:
cd jellyfin
sudo nano docker-compose.yml
And adding the following contents:
services:
  jellyfin:
    image: jellyfin/jellyfin
    container_name: jellyfin
    ports:
      - 8096:8096
    volumes:
      - ~/jellyfin/config:/config
      - ~/jellyfin/cache:/cache
      - type: bind
        source: /Volumes/Samus/Movies
        target: /movies
      - type: bind
        source: /Volumes/Samus/Music
        target: /music
      - type: bind
        source: /Volumes/Samus/TV
        target: /tv
    restart: 'unless-stopped'
If you are following this guide, feel free to copy and paste, but remember to change the /Volumes/Samus/ path to the specific location where you are setting up your media.
One note. In contrast to how it is setup in Linux, I had to remove the following line that is commonly stated in guides for Ubuntu, as it would cause problems with accessing the server even locally:
network_mode: 'host'
Drive Permissions
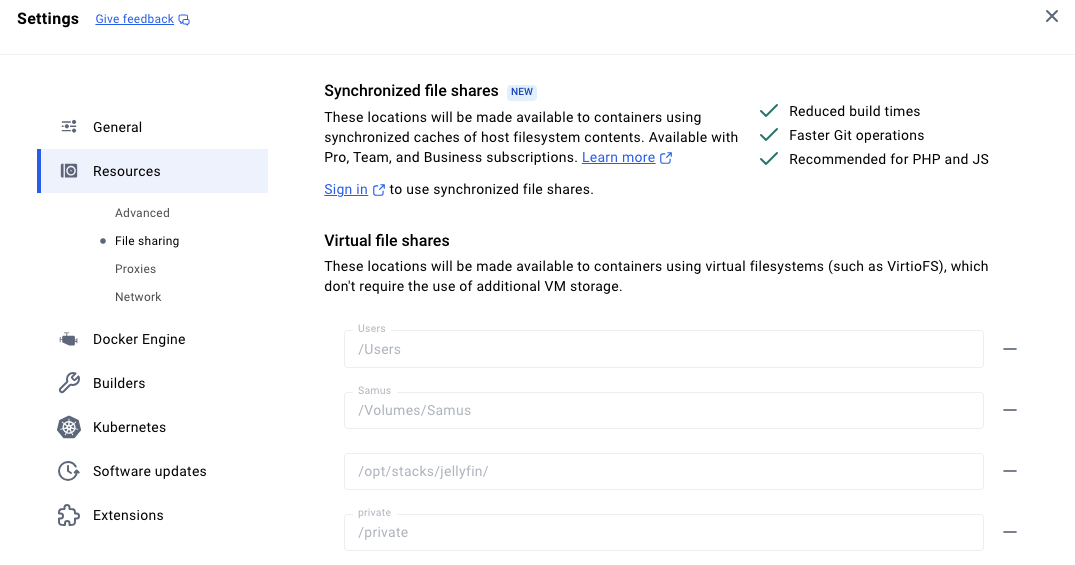
Compared to the Linux setup guide, in MacOS we need to manually give permission to the docker container to access the media, config, and cache folders by opening Docker’s preferences, going to Resources/File Sharing, and adding them to the Virtual file shares:

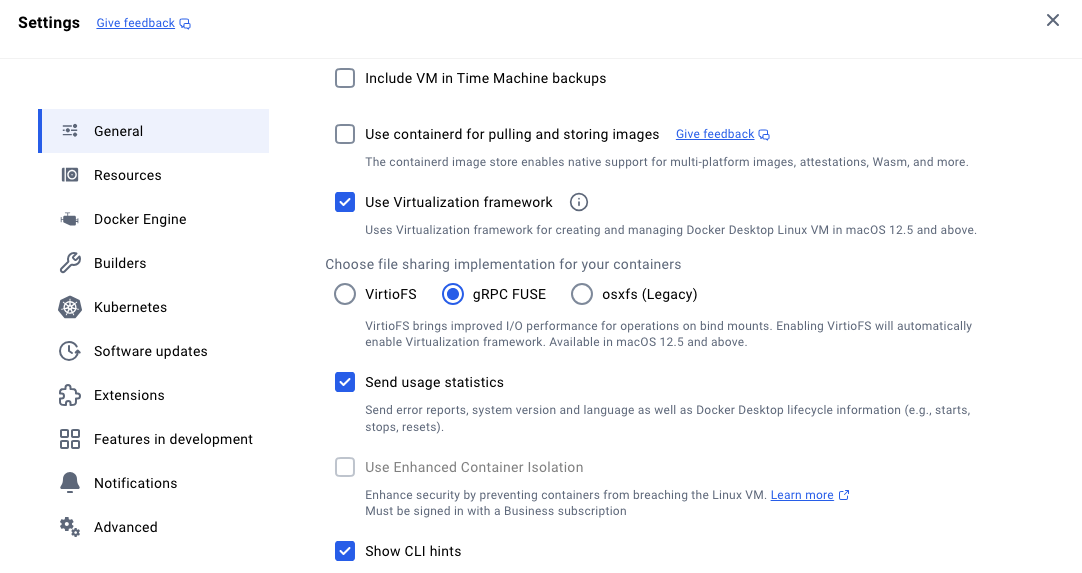
Additionally, I had to change from VirtioFS to gRPC Fuse, as I was getting drive access errors when I first booted up my media center:

With these settings in place, we are ready to launch our jellyfin server.
Launching
To run the server, just navigate to the folder where you created the docker-compose file, and run the following command:
docker compose up
Or, alternatively, to run it in detached mode:
docker compose up -d
Now, let’s wait for a couple of seconds for docker to setup the jellyfin container up.
Accessing Locally
Once the server has launched, let’s access it in the same computer by opening http://localhost:8096 in any internet browser.
Accessing in Network
To open our server from a different device in the same network, we first need to figure out our system’s IP Address, something we can do by running: ifconfig | grep "inet " | grep -Fv 127.0.0.1 | awk '{print $2}'; which, in my case, is: 192.168.1.175. So, to open my media center, I’d just need to open http://192.168.1.175:9999 in any device on my network.

Updating
Finally, to update the image, we can run the following commands:
docker stop jellyfin
docker rm jellyfin
docker pull jellyfin/jellyfin:latest
Creating Alias
As a final step, I decided to create an zsh alias to launch my server easily when booting my computer. This can be done by opening the zshrc file with nano ~/.zshrc, adding the following lines to launch and update:
alias jelly="cd ~/jellyfin; docker compose up"
alias jellyUpdate="docker stop jellyfin;docker rm jellyfin;docker pull jellyfin/jellyfin:latest;"
and then re-sourcing it with source ~/.zshrc.
Wrap-Up
In general, the process to setup the server in MacOS with docker is relatively straightforward and very similar to the one followed in Linux but some of the network and permissions settings are different, so they need a couple of tweaks in the docker-compose file and docker drive permissions. Finally, I won’t go into details on how to setup the server once it has launched and accessed correctly, as its wizard is pretty easy to follow, but for more information on these, and other steps, please have a look at the following sources section of this document.