As part of our work with the Melinda & Gates Foundation we’ve developed a couple of webinars for our software packages using Docker with other packaging tools to make it as easy as possible for our audience to get the materials up and running.
Most of our software deliverables were developed to be used by researchers with diverse backgrounds. To improve the reach and accessibility of our toolkits we’ve developed some webinars built with Docker so that everyone can get the basics of running analysis in our frameworks.
Why use Docker?
When we started thinking on putting together our webinar we realized the first hurdle for attendees was going to be to get the software running correctly with all its dependencies. In both cases, MGDrivE and MGSurvE, we provide installation instructions and as few dependencies as we can but it’s inevitable that one of the three main operating systems (Linux, MacOS, or Windows) is going to have some problem eventually, and this is where Docker comes in. In a nutshell, Docker allows us to create an “image” which will run an operating system along with all the things we need for our frameworks to run correctly. When attendees download and launch the container, they already have a working and running version of the whole set of materials. Moreover, as we are using Python and R, we make use of Jupyter and RStudio so that our audience can simply head to a web-browser after launching the container, and start working right there and then.
# Downloading the container
docker pull chipdelmal/mgsurve_webinar2023
# Launching the materials
docker run -p 8888:8888 chipdelmal/mgsurve_webinar2023
In this post I go through some of the details of how the materials and code were setup.
How is it done?
Creating and shipping the materials for the webinars is a bit complicated the first couple of times and requires some setup so that it’s not more of a pain than strictly necessary. In general, doing our docker-packaged webinars involved the following steps:
Additionally, we created a couple of makefiles to help us with the repetitive tasks!
Webinars’ Contents
One of the advantages of working with Docker in conjunction with virtual environments and VSCode is that all the materials we need for our sessions could be generated locally in our personal computers in regular R files and Jupyter notebooks, and, when we were ready, we just bundled everything together and released to our DockerHub account.
Dockerfile
To get started with our docker images, we need to create a Dockerfile which acts as a recipe that will be run to generate our container. This is not intended to be a docker tutorial but, in summary, we need to create a file with the instructions to be run whenever we build our image. In our case this involved:
- Using an external image as a basis for our container.
- Installing the required Linux dependencies into the image.
- Creating the folder structure.
- Copying the contents of the webinar into the image.
- Installing the required R or Python packages.
- Setting up the commands to run when the image is launched.
We will now show the way these dockerfiles were created for each of the webinars.
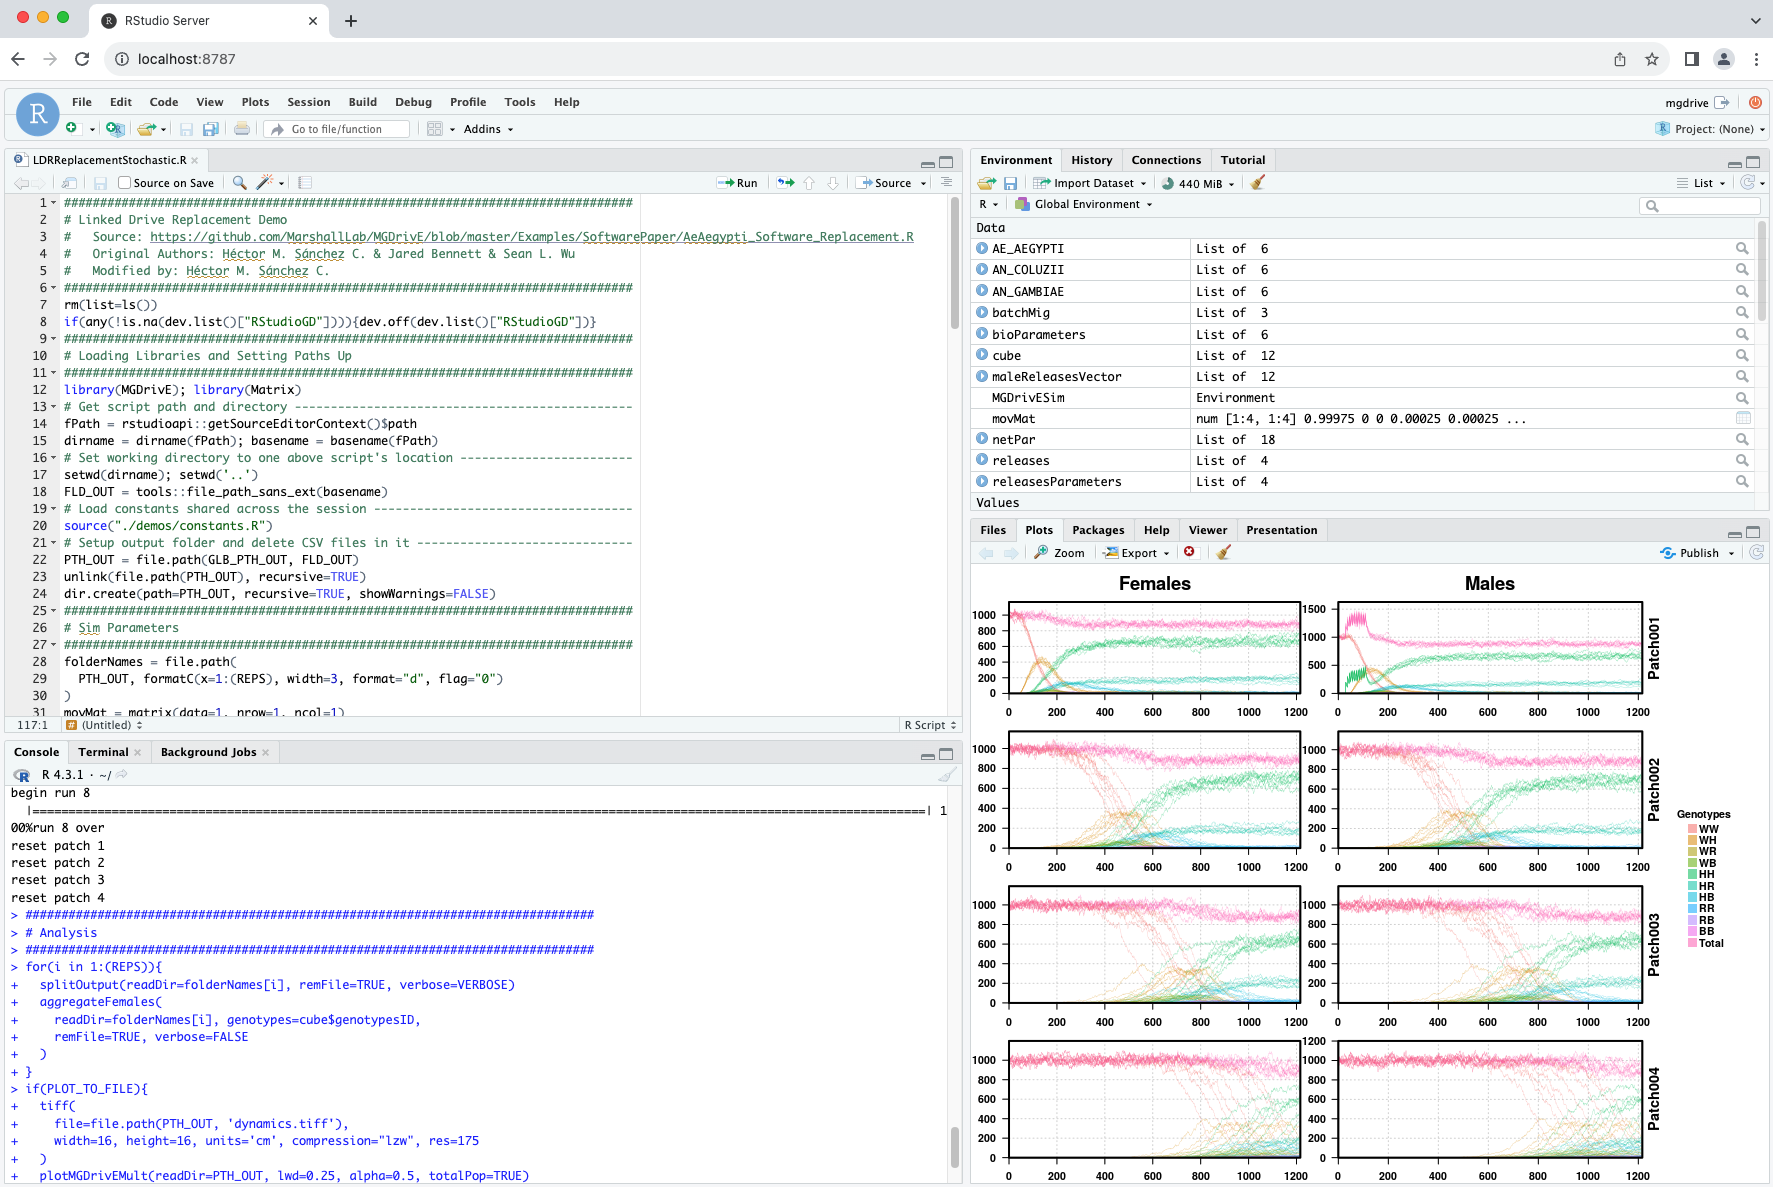
Rocker-RStudio (MGDrivE)
In the case of the R webinar, we decided to use the rocker/rstudio image as it provided users with an experience that would be almost the same as the one they’d have the most familiarity with. This image comes with RStudio pre-installed and runs it on our web browser, so in this case we just needed to copy our materials into the image, and to install MGDrivE from CRAN to get our materials up and running.
FROM rocker/rstudio
LABEL maintainer="Hector M. Sanchez C. <sanchez.hmsc@berkeley.edu>"
###############################################################################
# Setup Structure
###############################################################################
RUN mkdir /home/mgdrive \
    && mkdir /home/mgdrive/demos \
    && mkdir /home/mgdrive/sims_out
COPY README.md /home/mgdrive
COPY ./demos/ /home/mgdrive/demos
###############################################################################
# Install R Packages
###############################################################################
RUN R -e "install.packages('MGDrivE', dependencies=TRUE, repos='http://cran.rstudio.com/')" \
    && R -e "install.packages('MGDrivE2', dependencies=TRUE, repos='http://cran.rstudio.com/')" \
    && R -e "install.packages('rstudioapi', dependencies=TRUE, repos='http://cran.rstudio.com/')"
###############################################################################
# Install Linux Packages
###############################################################################
RUN apt-get update \
    && apt-get install nano \
    && apt-get install -y --no-install-recommends libxt6 \
    && apt-get install htop
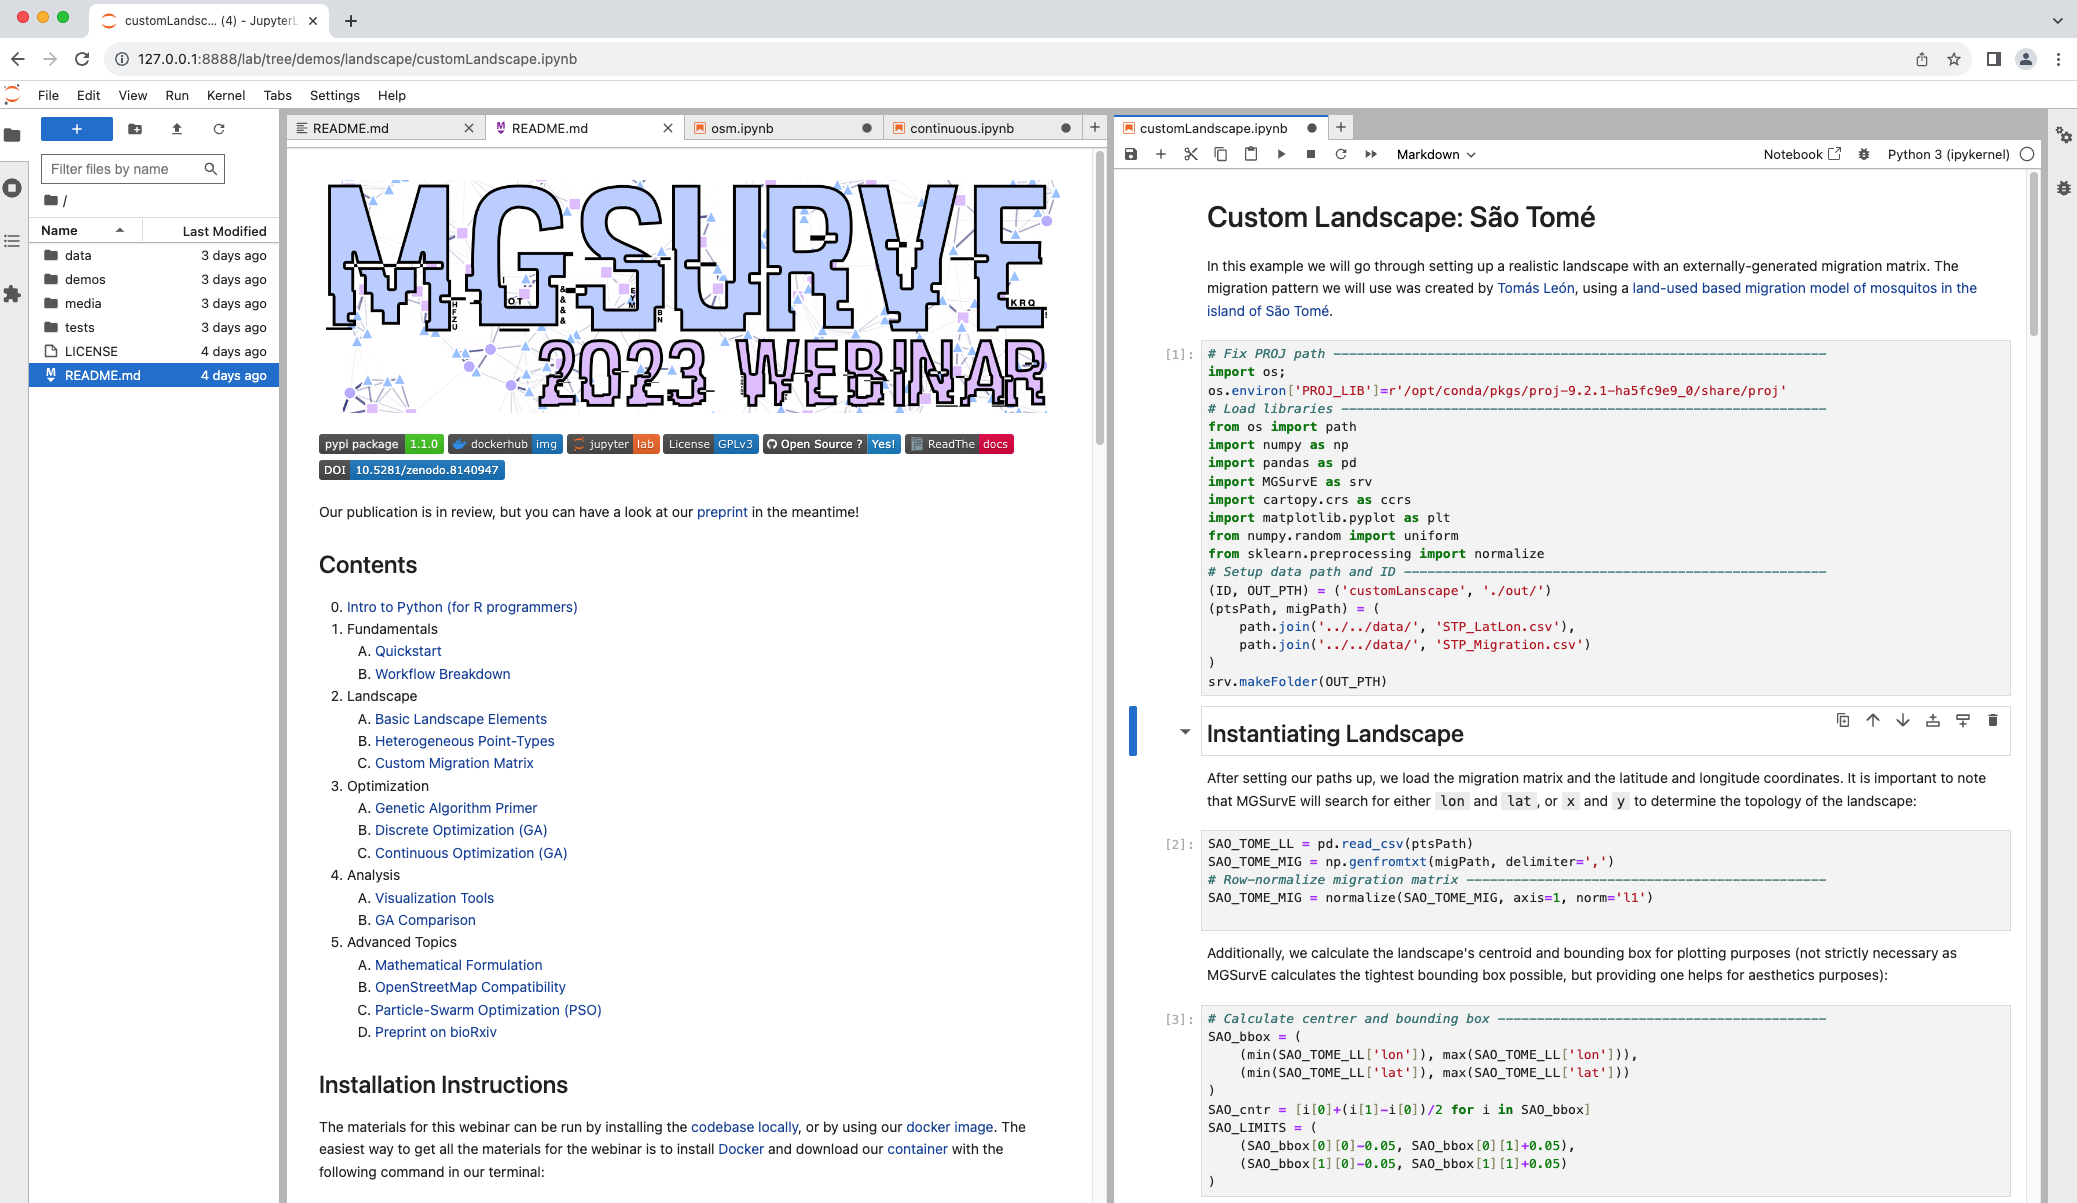
Jupyterlab (MGSurvE)
Getting MGSurvE up and running was a bit more complicated. We started with the base continuumio/miniconda3 image as it already provided a way to install most of the packages we needed on top of generating a jupyterlab session for our browser. The one major difficulty in this case was that some of the non-essential dependencies that are used to generate maps and GIS-related operations are a bit trickier to get up and running (some packages need to be installed directly into the OS). It took a bit of looking around but we finally got our dockerfile to work correctly.
FROM continuumio/miniconda3
LABEL maintainer="Hector M. Sanchez C. <sanchez.hmsc@berkeley.edu>"
###############################################################################
# Setup Structure
###############################################################################
RUN apt-get update \
    && apt-get install nano tini \
    && apt-get install gcc -y \
    && rm -rf /var/lib/apt/lists/* \
    && mkdir MGSurvE_Webinar2023
WORKDIR /MGSurvE_Webinar2023
RUN mkdir tests \
    && mkdir demos \
    && mkdir data \
    && mkdir media
###############################################################################
# Copy Files
###############################################################################
COPY ./demos/ ./demos/
COPY ./tests/ ./tests/
COPY ./data/ ./data/
COPY ./media/ ./media/
COPY LICENSE .
COPY README.md .
###############################################################################
# Install Packages
###############################################################################
RUN conda update -n base -c defaults conda \
    && conda config --set offline false \
    && conda config --add channels conda-forge \
    && conda config --add channels bioconda \
    && conda install gdal fiona pyproj cartopy libpysal -y \
    && conda install -c conda-forge deap nodejs osmnx -y \
    && conda install -c conda-forge jupyter jupyterlab basemap-data-hires -y \
    && python -m pip install termcolor MGSurvE
###############################################################################
# Entrypoint
###############################################################################
EXPOSE 8888
CMD ["jupyter", "lab", "--ip='0.0.0.0'", "--port=8888", "--no-browser", "--allow-root", "--NotebookApp.token=''","--NotebookApp.password=''"]
Building the Containers
With all our materials in place, and our Dockerfiles generated and tested, we can go ahead and build the containers locally so that we can test them before upploading them to dockerhub.
Local build and dockerhub
Building our container locally is relatively simple once we have the dockerfile in place, we simply run:
docker build -t mgsurve:dev .
and we can now run the image with:
docker run mgsurve:dev
In some instances we might want to add additional parameters to our run commands so that we can bind ports and volumes, but we detail those in our webinars’ repositories.
Multi-architecture support
One thing we realized whilst building our MGSurvE container was that we needed to take an additional step to support multiple processor architectures. As we started working on the newer Apple M2 chipsets (ARM-based), we needed to build our images so that they ran correctly on AMD-based architectures. To do this, we use the following command to build our images:
docker buildx build --platform=linux/amd64,linux/arm64 -t mgsurve_webinar2023:dev .
after having created a Docker driver with:
docker buildx create --name multiarch --use
Pushing to Dockerhub
In order for attendees to be able to download and run the image, we need to push it to dockerhub. Putting the previous step together into one, we can run the following command to do it in one step:
docker buildx build . \
    --platform=linux/amd64,linux/arm64 \
    -t chipdelmal/mgsurve_webinar2023:$(version) \
    -t chipdelmal/mgsurve_webinar2023:latest \
    --push
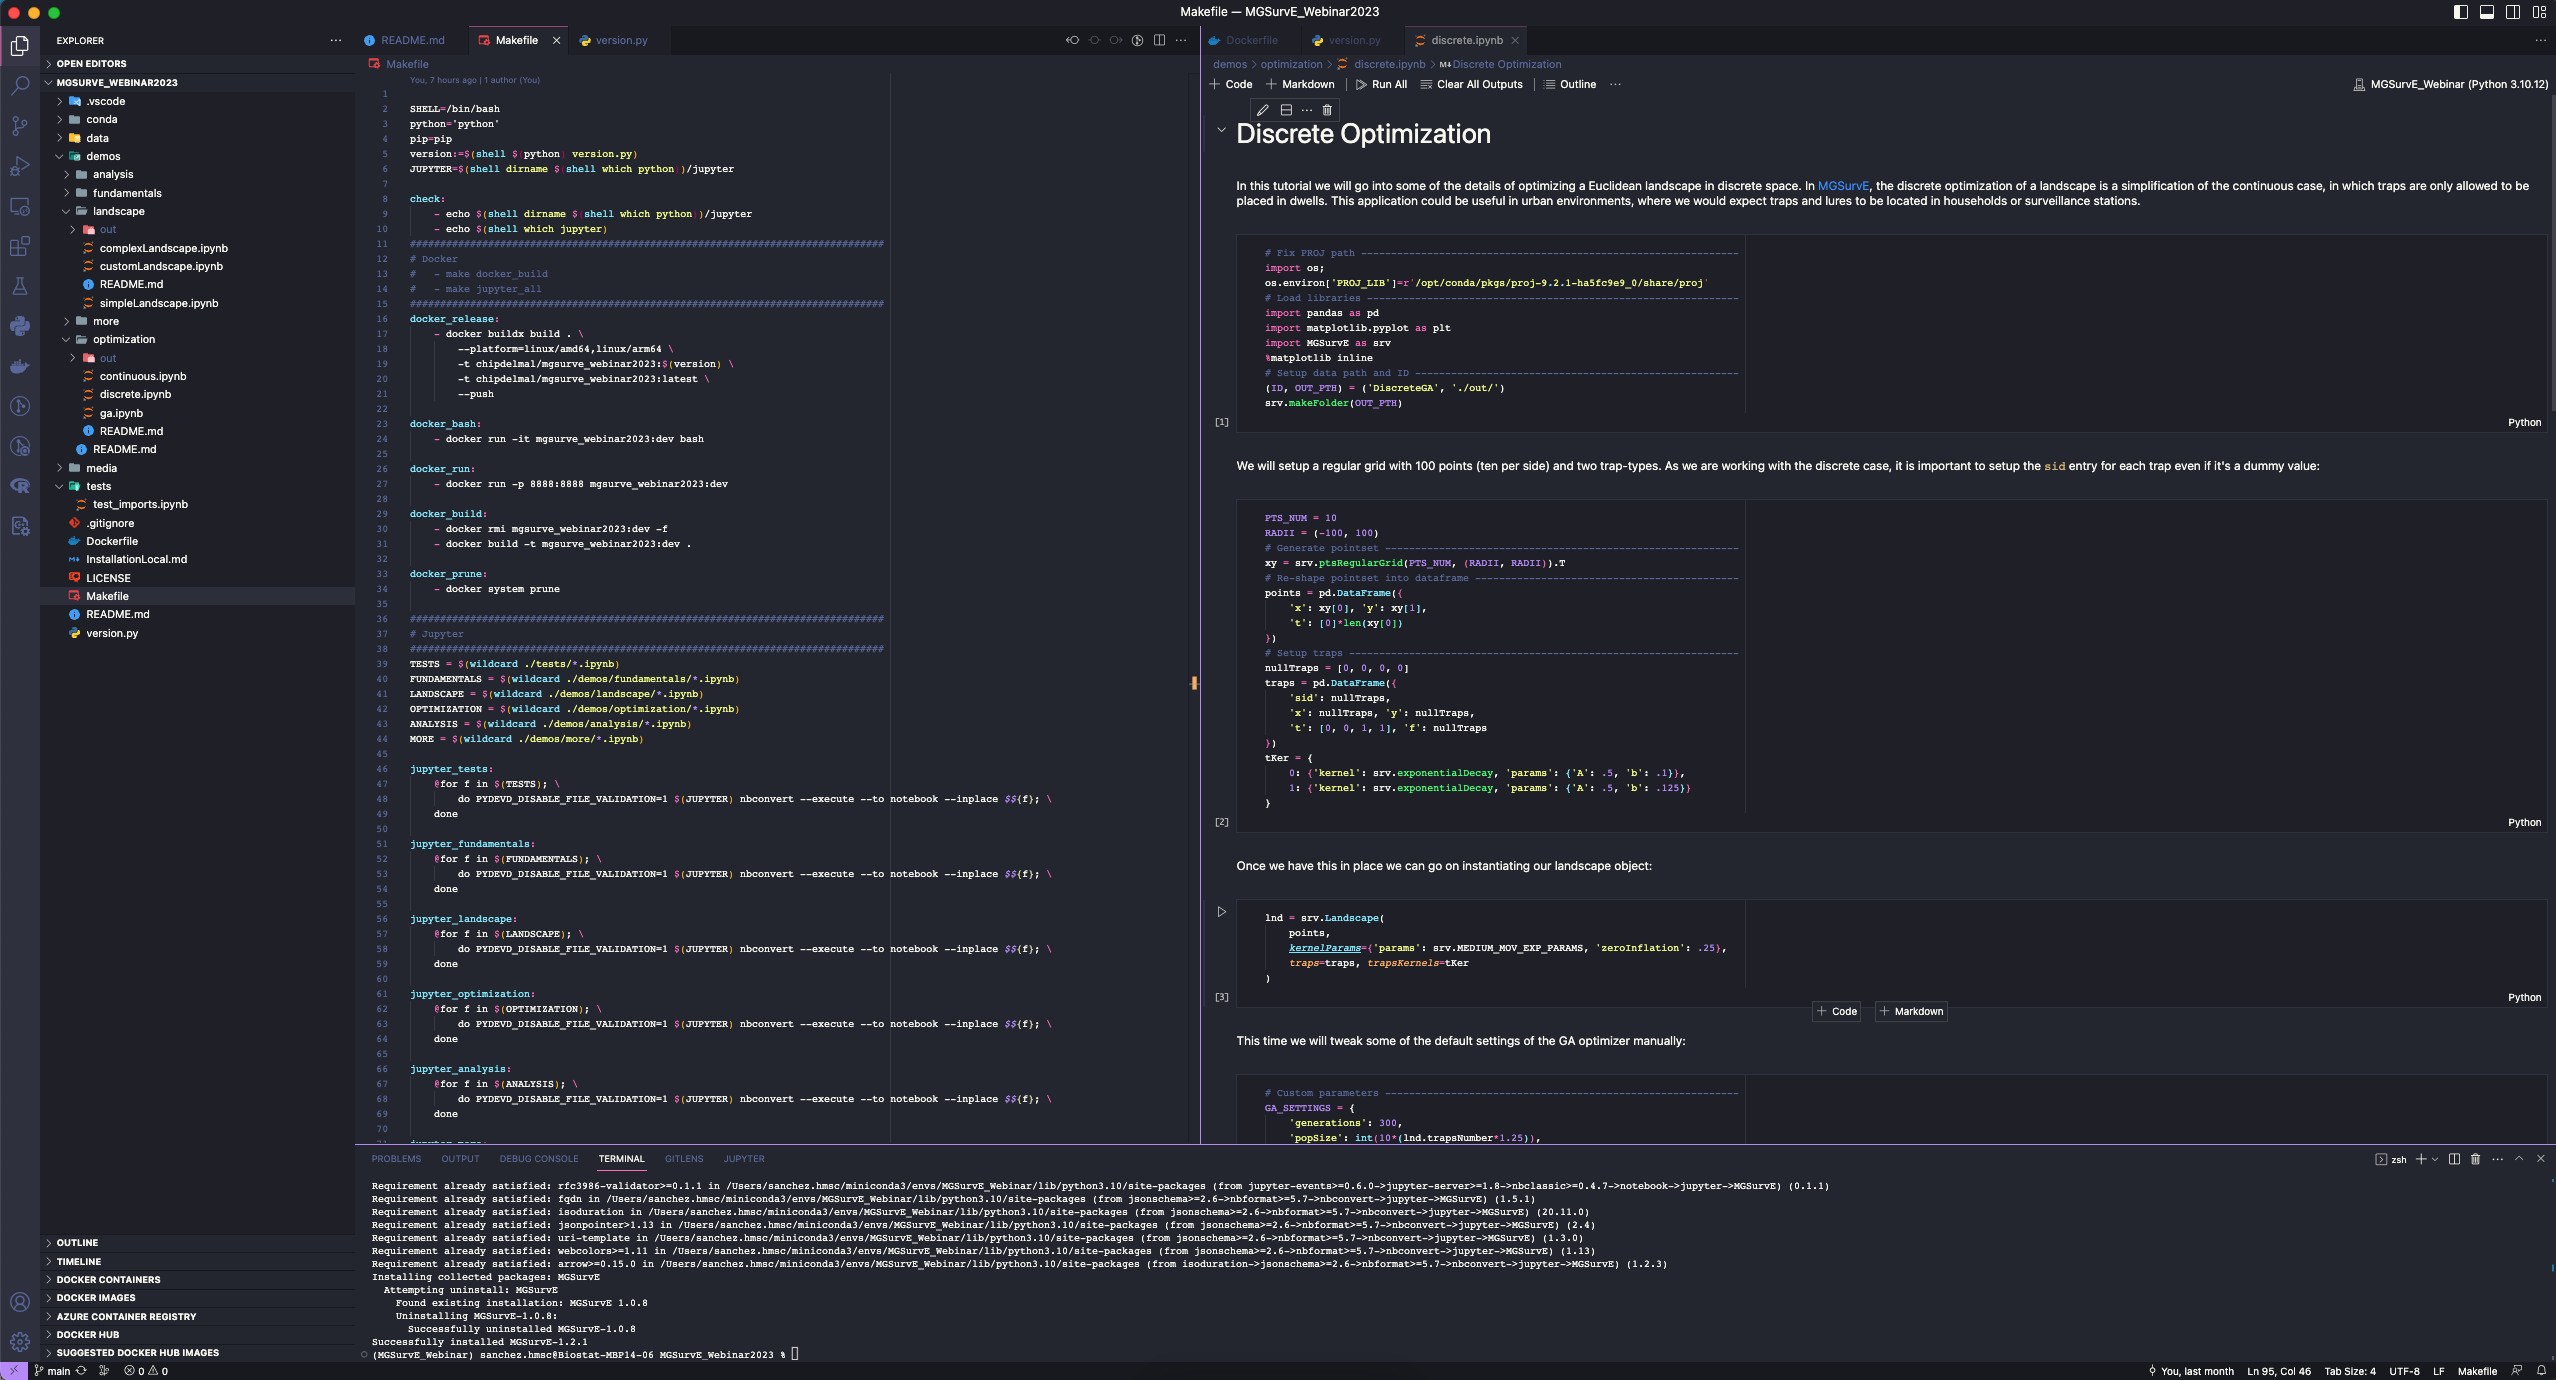
Makefile
Finally, creating some Makefiles makes automatic repetitive bash tasks easier and reproducible. My most used tasks for the MGSurvE Webinar, the docker part of the makefile looks as follows:
SHELL=/bin/bash
python='python'
pip=pip
version:=$(shell $(python) version.py)

docker_build:
	- docker rmi mgsurve_webinar2023:dev -f
	- docker build -t mgsurve_webinar2023:dev .

docker_run:
	- docker run -p 8888:8888 mgsurve_webinar2023:dev

docker_release:
	- docker buildx build . \
		--platform=linux/amd64,linux/arm64,linux/x86_64 \
		-t chipdelmal/mgsurve_webinar2023:$(version) \
		-t chipdelmal/mgsurve_webinar2023:latest \
		--push
Conclusions and Future
Packaging our materials in docker images does take some extra steps and changes in our workflows but it allows us to guarantee that a larger audience will be able to follow along as we showcase our software and frameworks. By using virtualized run-time environments, we can rest assured that people will have as little trouble as possible when dealing with dependencies and required packages; which, hopefully, enhances the learning experience of our audience.
Additionally, we have been slowly building images for our full software packages too (MGSurvE and MGDrivE), so that other research groups can run and adapt our software for their purposes; and we will also move towards creating images for our publications to improve their reproducibility.