Intro
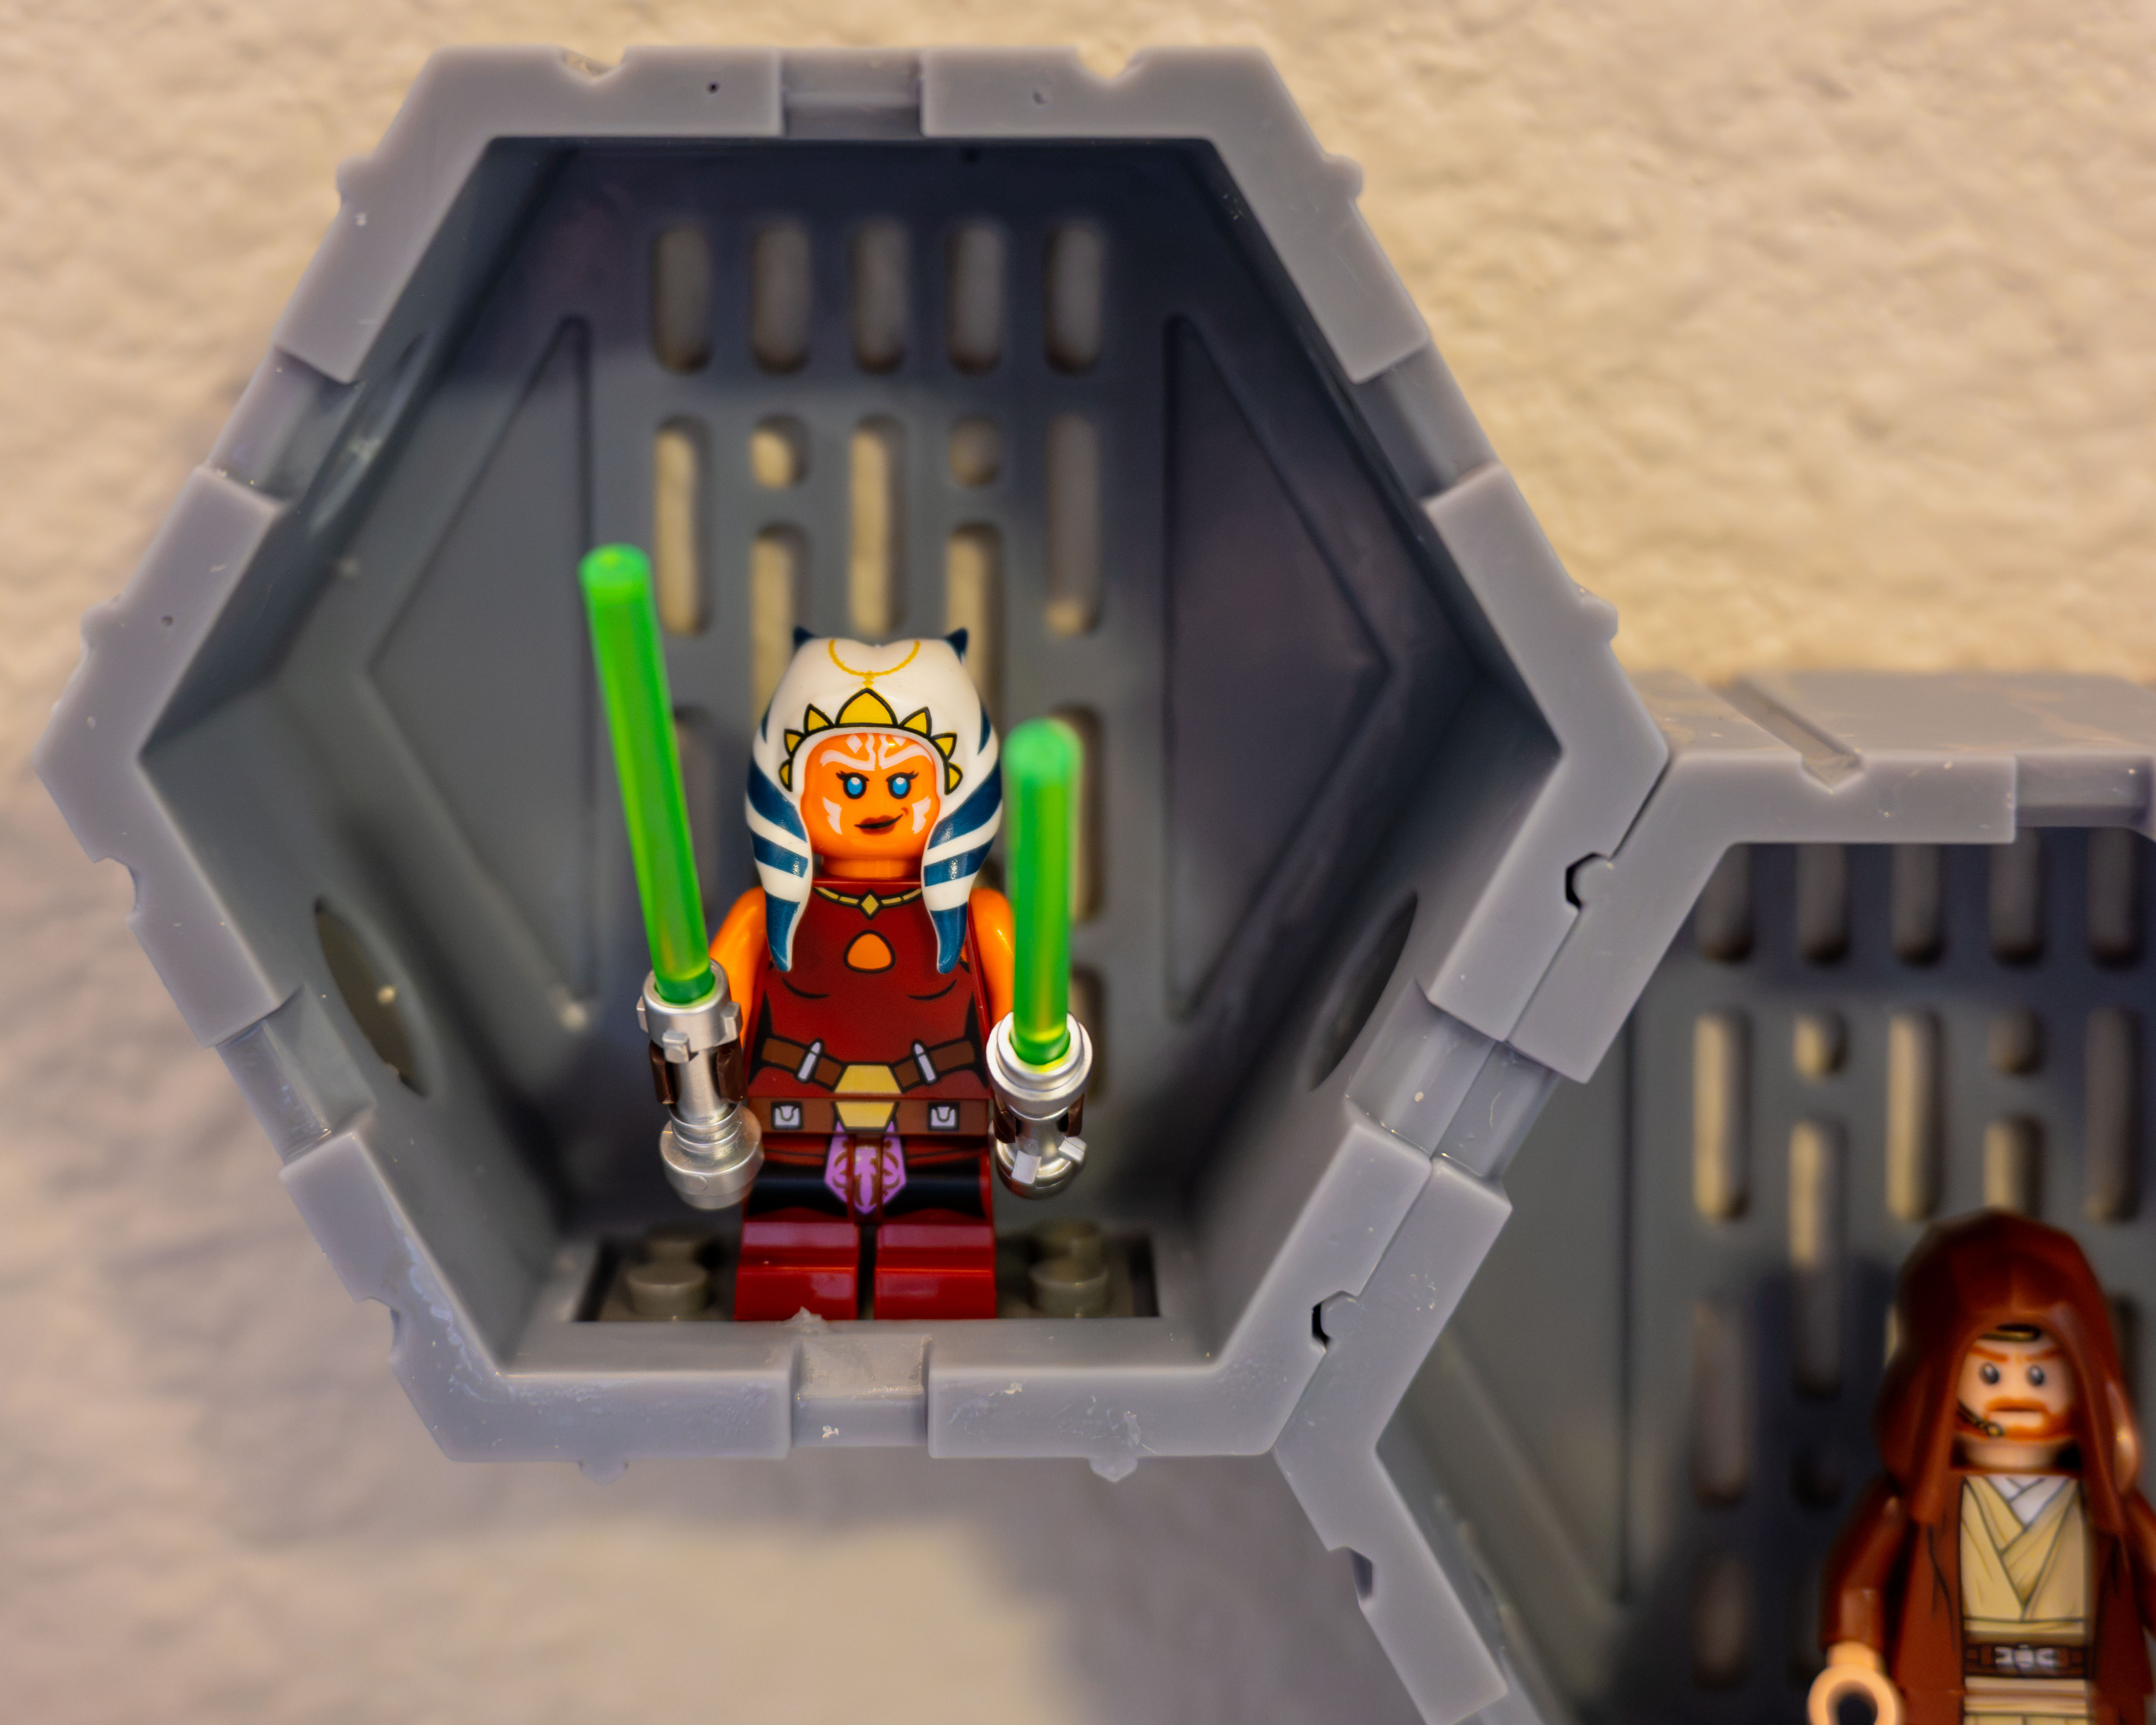
Some months ago came across this 3D printed idea for Star Wars Lego figures. After some test prints of the original model I found it difficult to get the parts to plug together so I decided to have a go at creating one what worked with magnets and was a bit easier to snap in place into a large panel.
Model
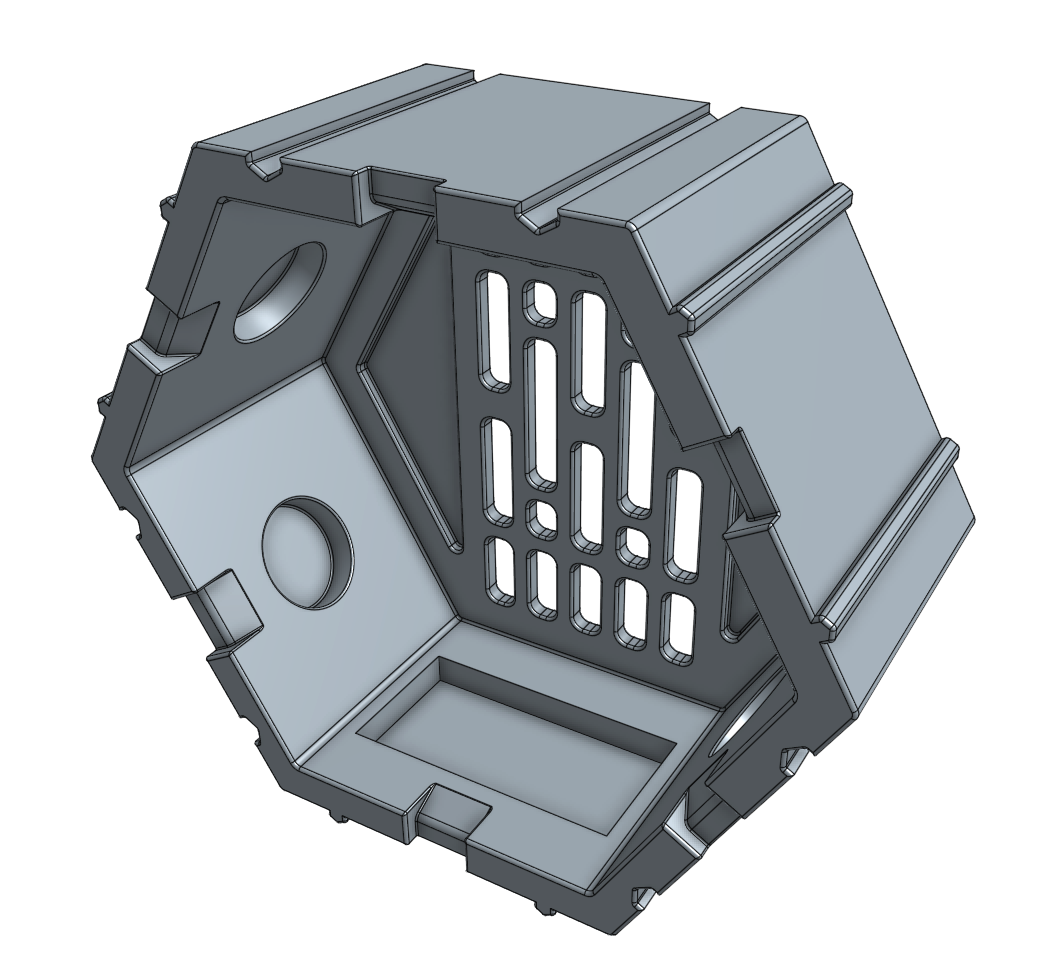
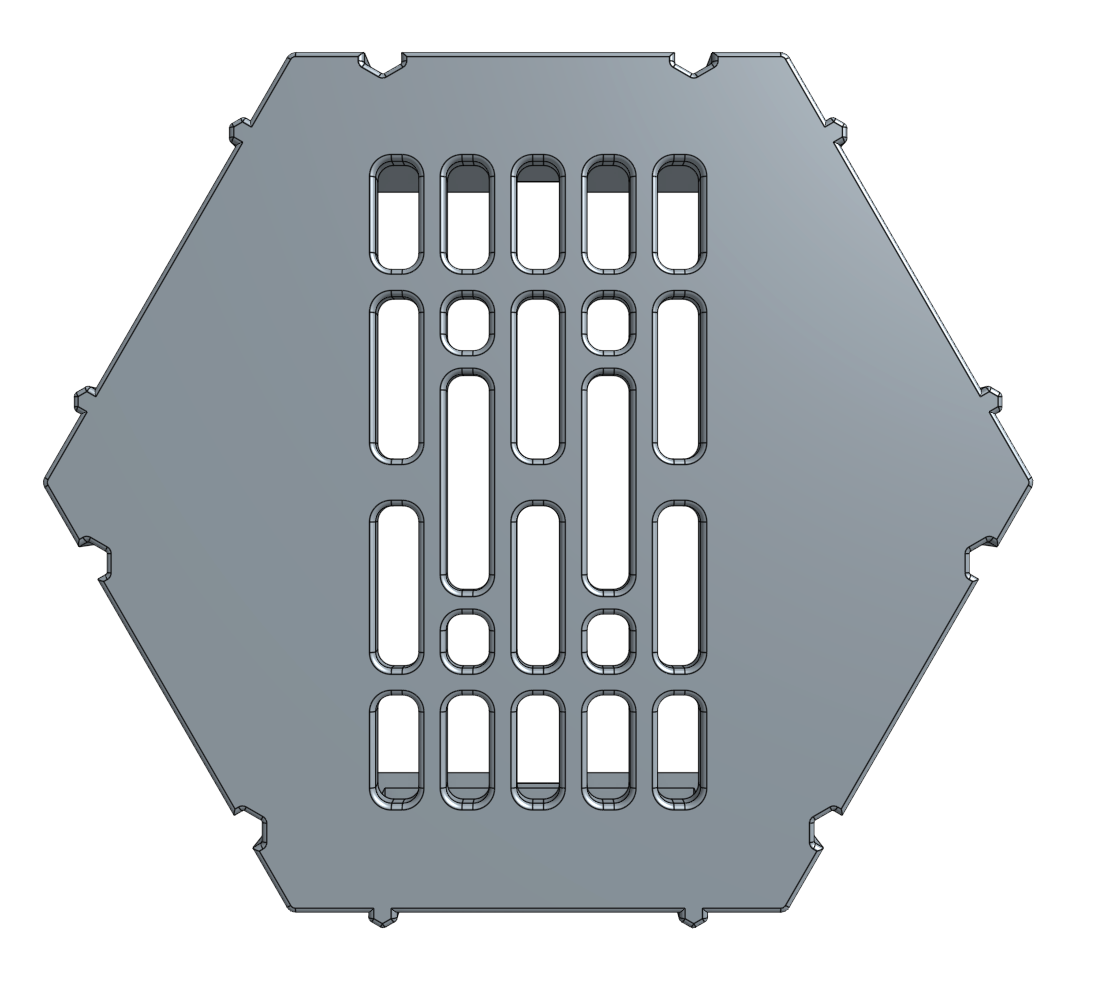
I really liked the original design so I kept most of the ideas intact (the hexagonal shape, the slots on the back) and did some minor modifications that I will describe briefly.
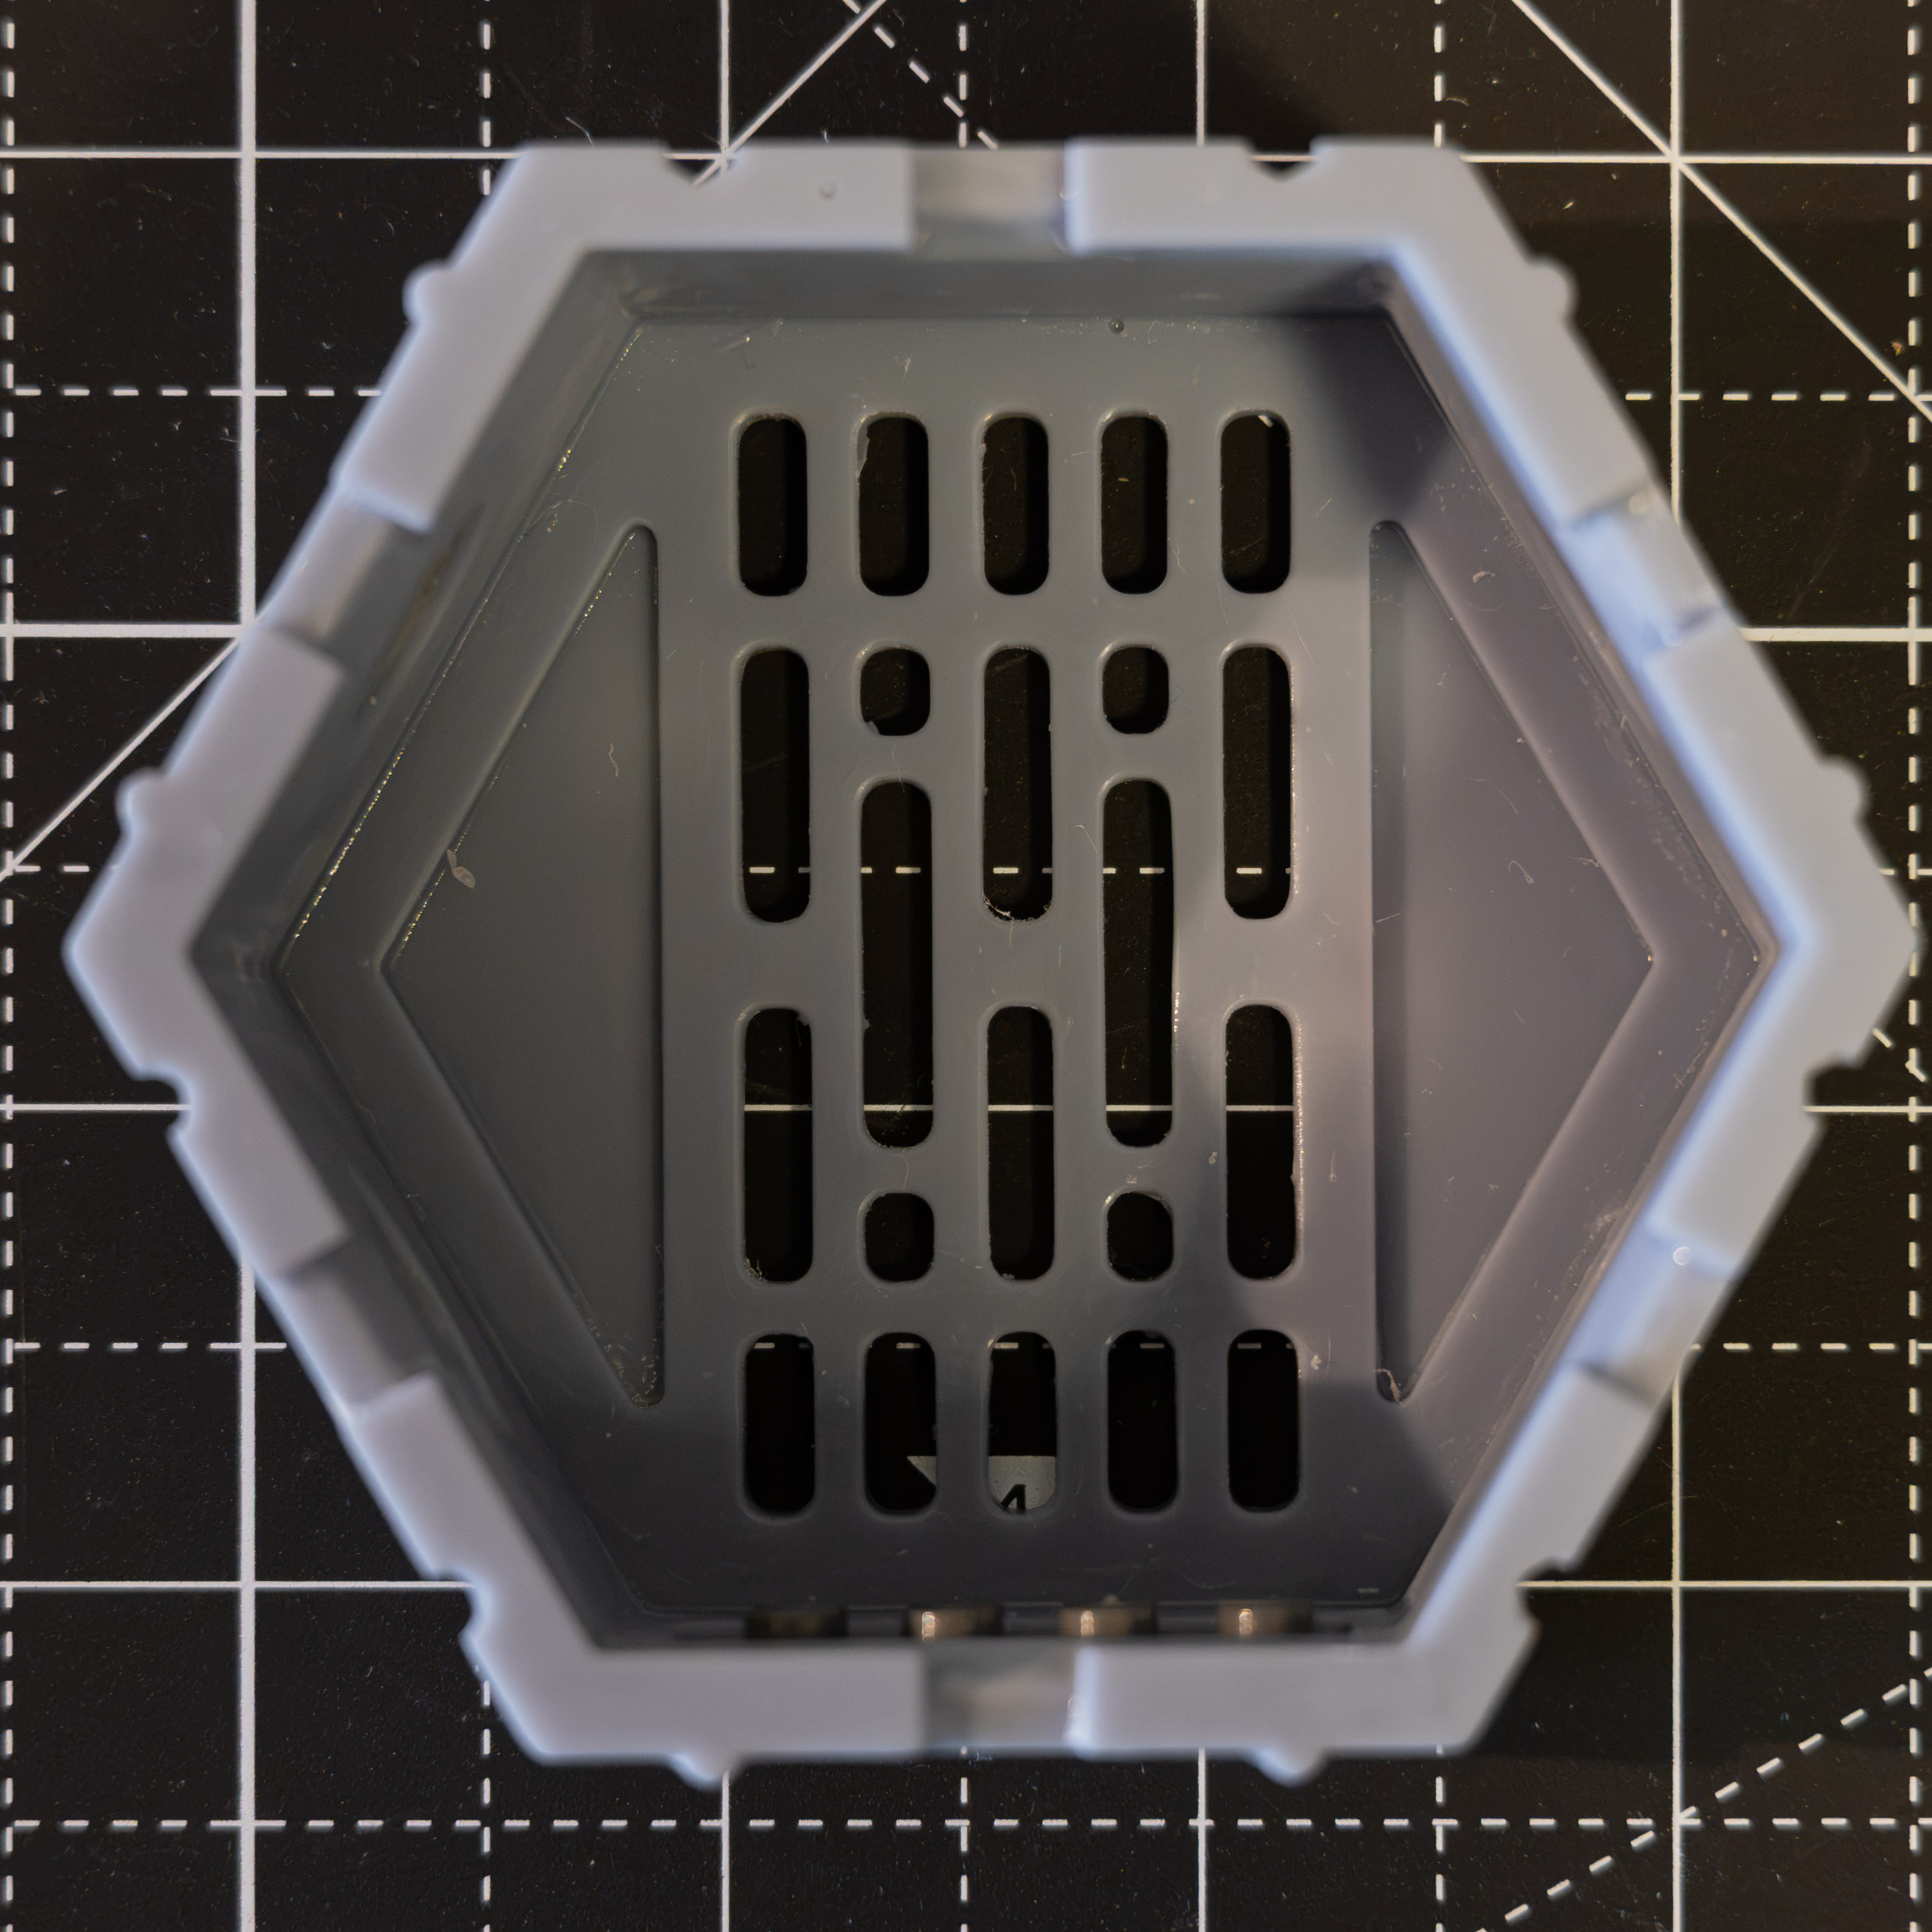
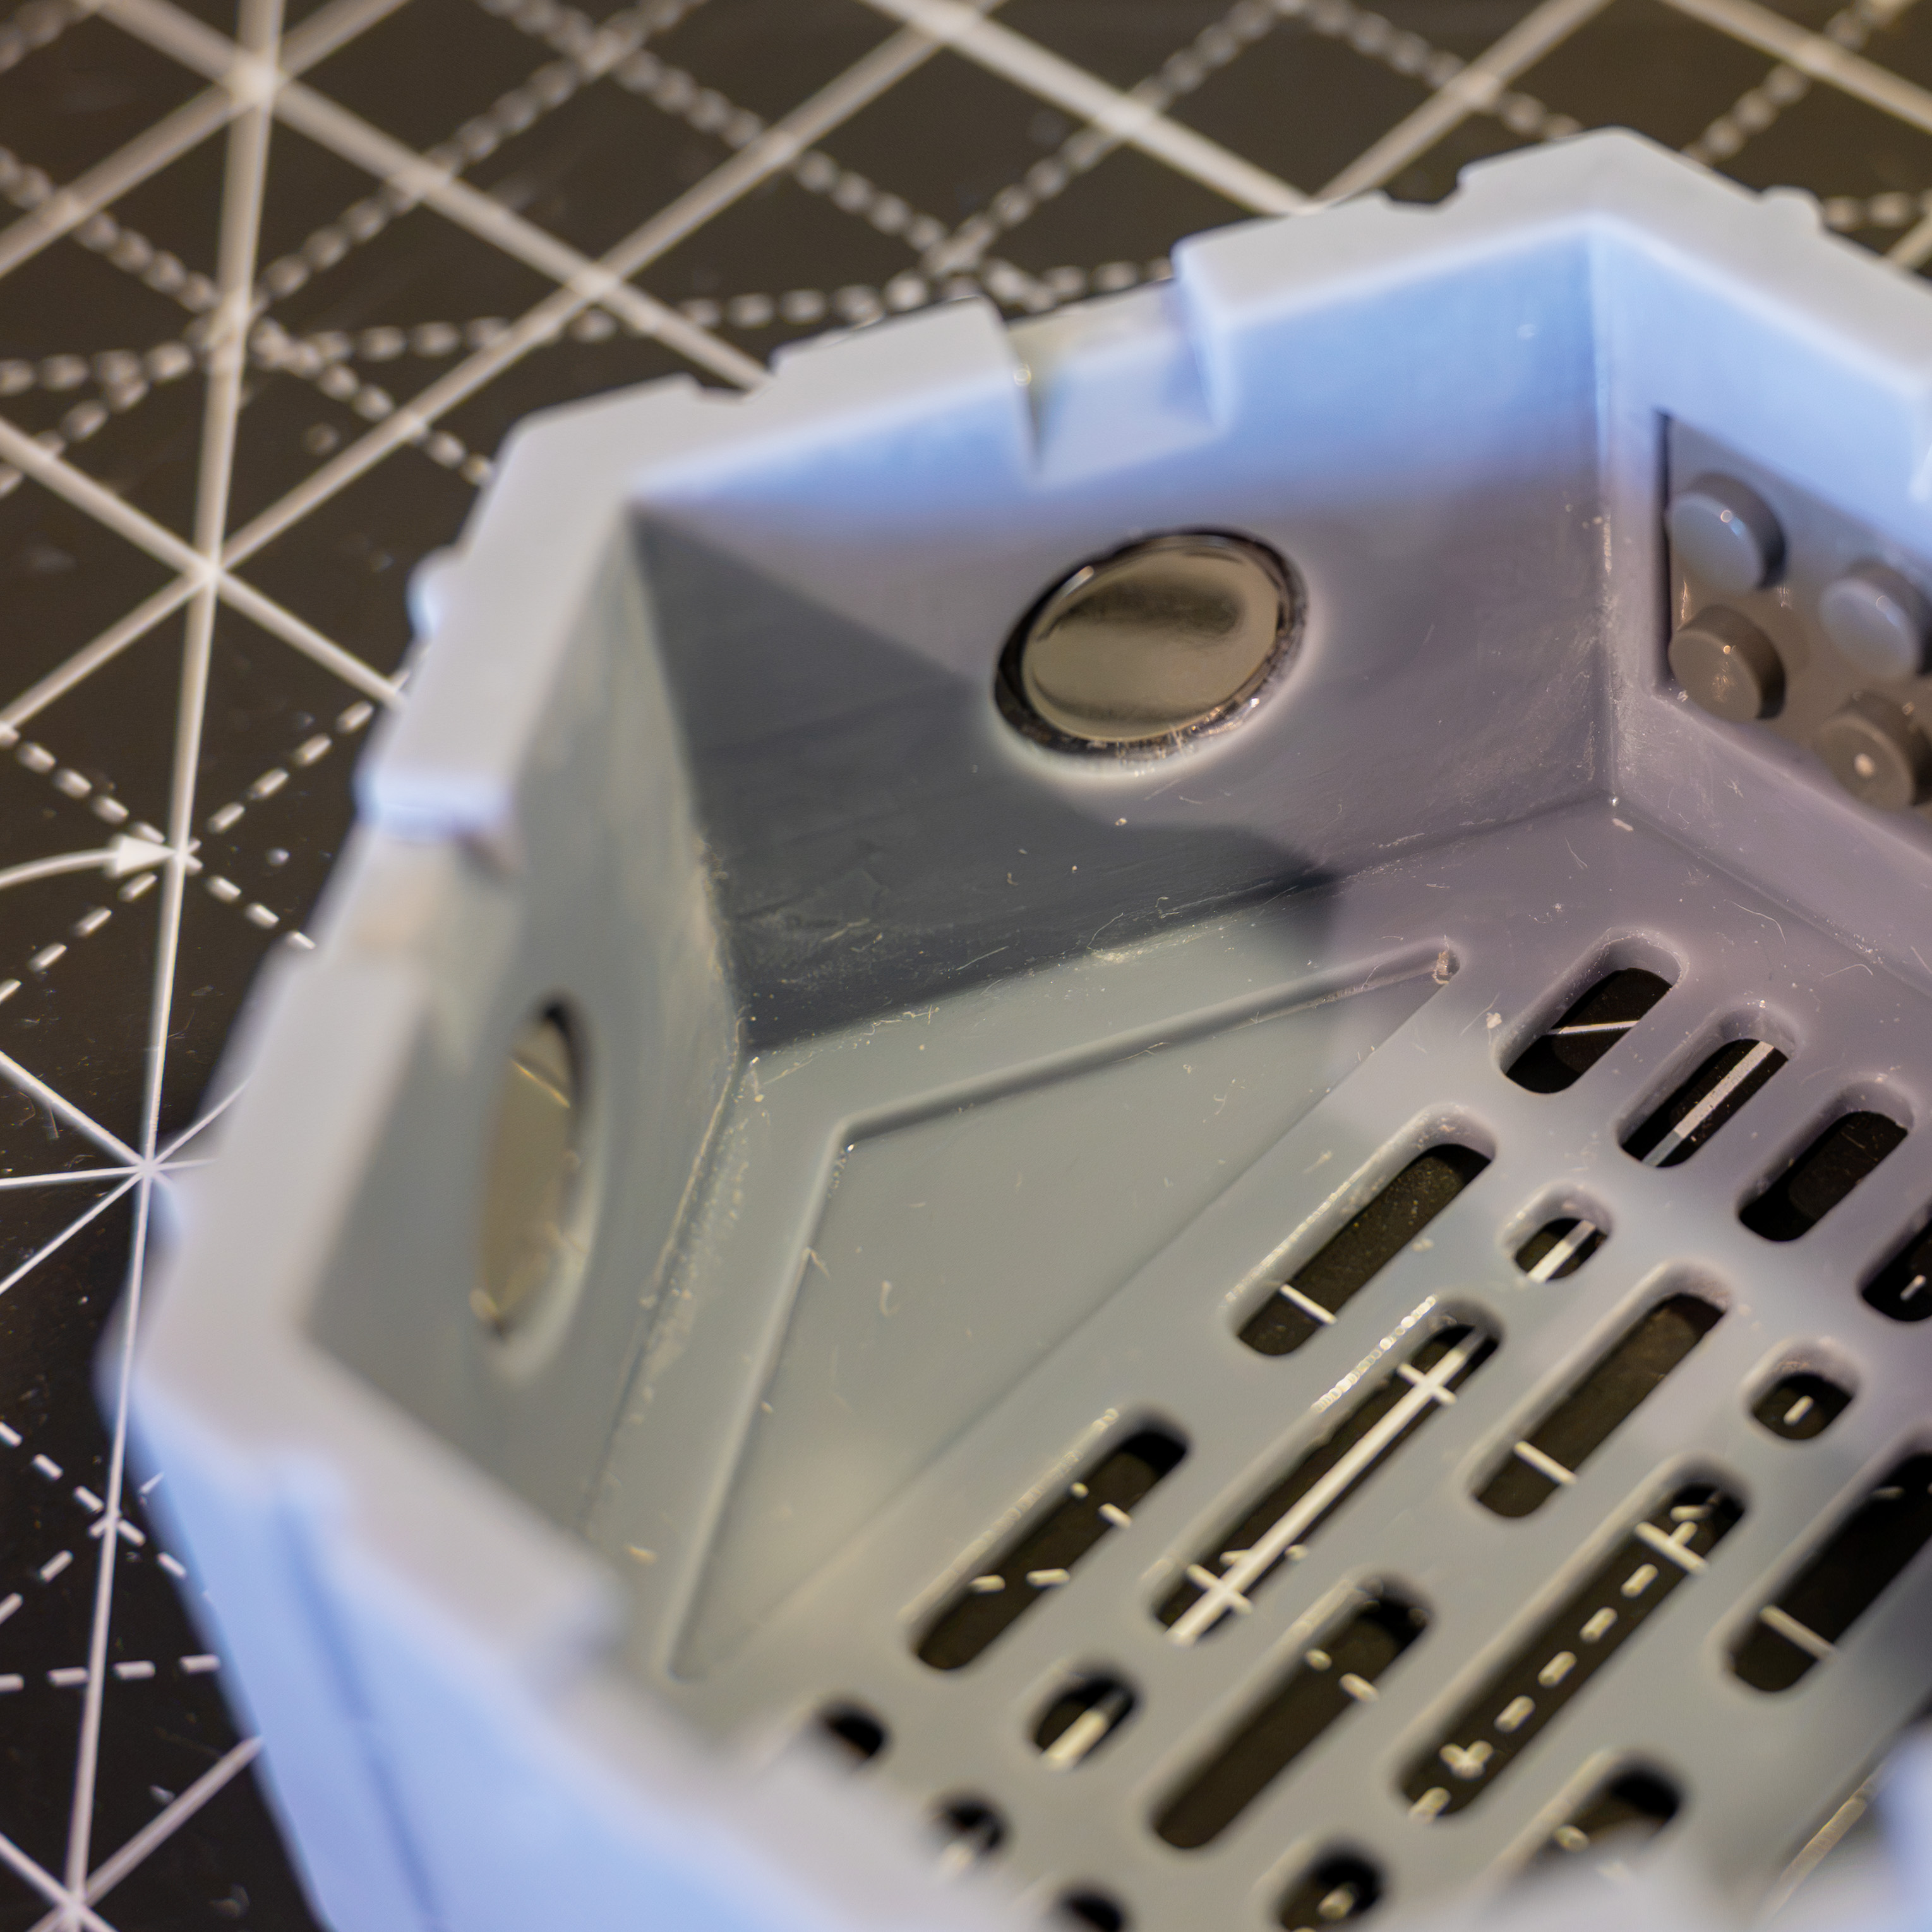
Magnet Holes
I wanted to use neodymium magnets to hold independent hexagons together, as the original tabs were very tight in tolerances to work without quite a bit of sanding and postprocessing. To be able to glue them in, circular holes were added on four of the lateral faces and the thickness of the walls was increased a tiny bit. After some searching around and quick tests, I settled on 12mm x 3mm N52 disc magnets and modeled the diameter and height of the recesses accordingly.
Ridges
To prevent the panels from sliding and help them lock in place with the magnets I added hexagonal ridges and grooves across the exterior of the model. I had initially made them circular in profile but I was a bit worried that they would allow for the hexagons to fall if they were too small.
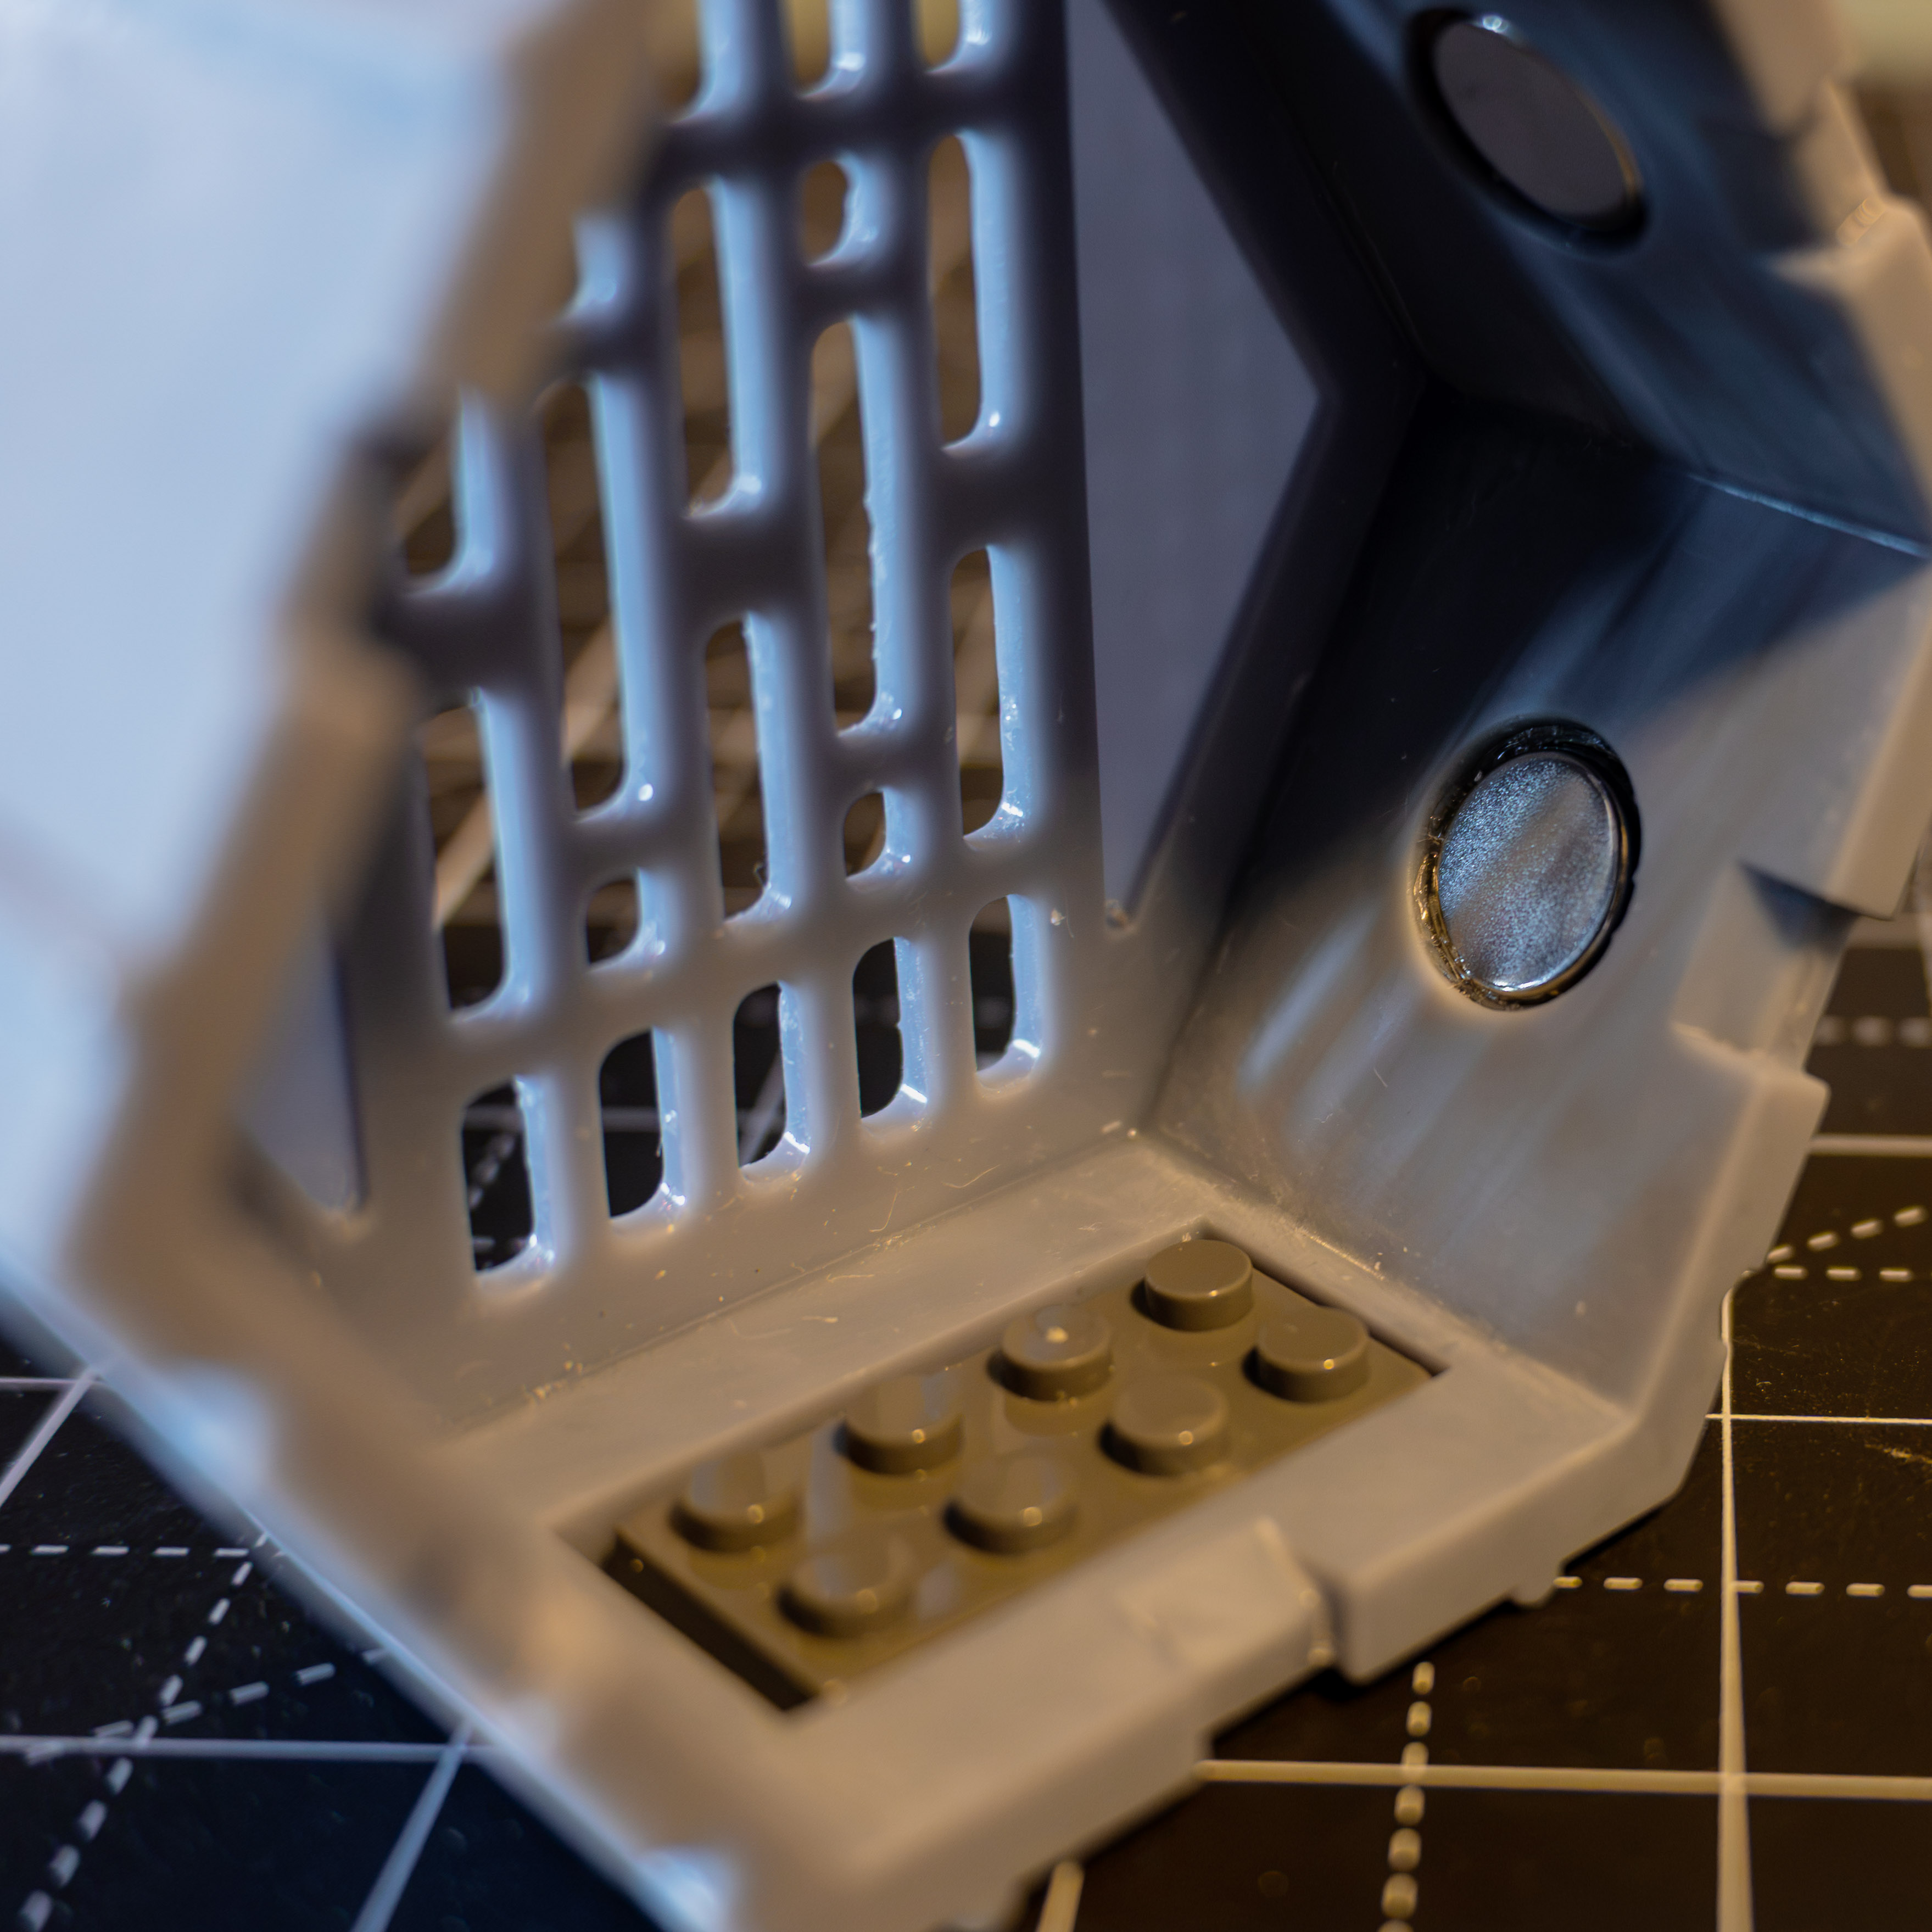
Support Plate
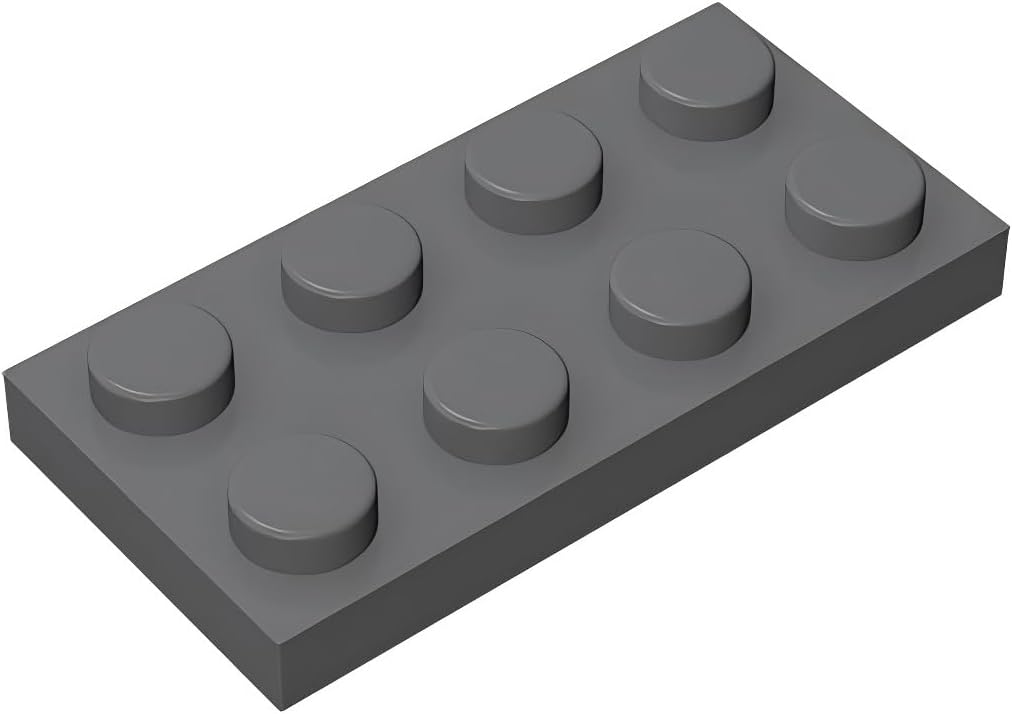
The second main modification to the original design was to use a 4x2 plate to hold the Lego figure (instead of 4x4). This was relatively easy to do and it was also pretty straightforward to find some knock-offs as I didn’t have nearly enough for my figures (and official ones are quite expensive for a project like this one).
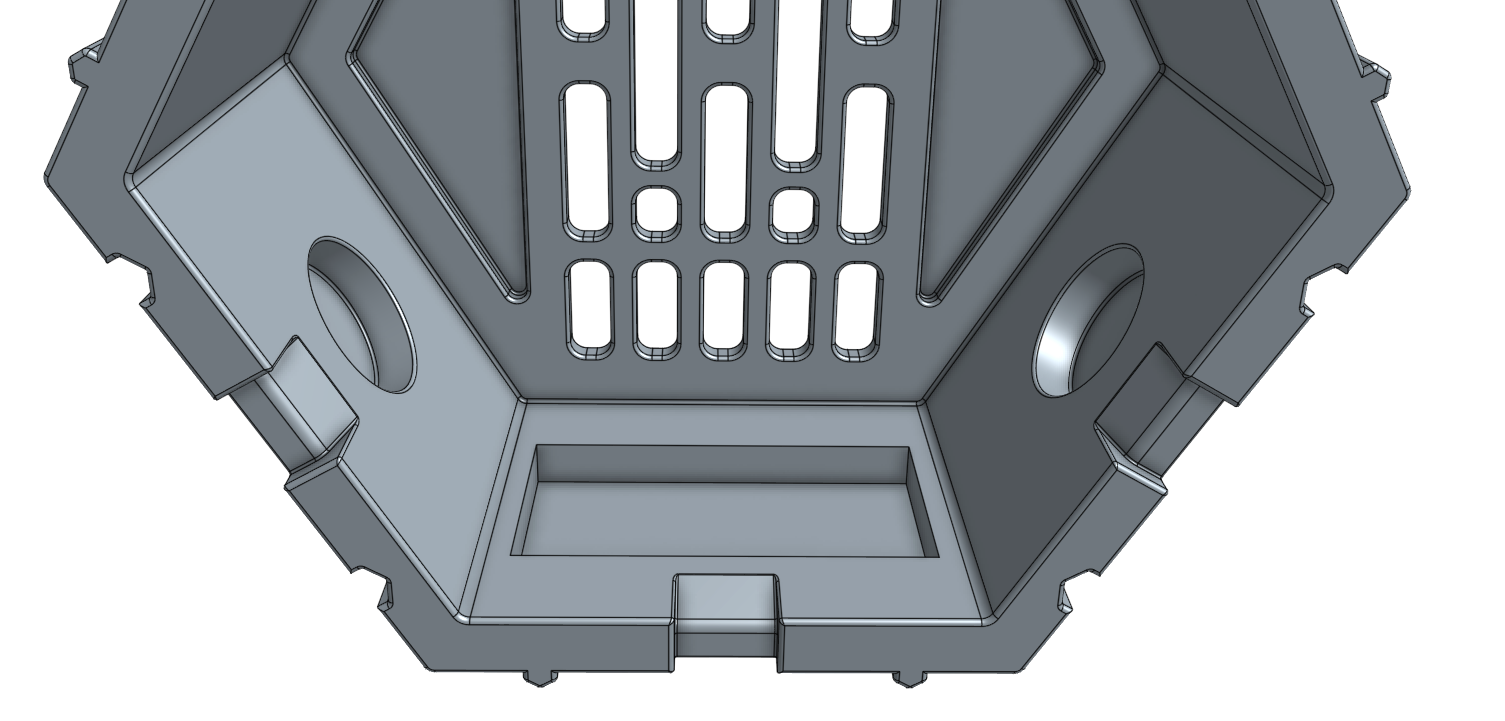
Hex Depth
One final change was to reduce the depth of the hex a small bit to make the printing process slightly faster and the model a bit cheaper.
Printing & Finishing
Resin and Profile
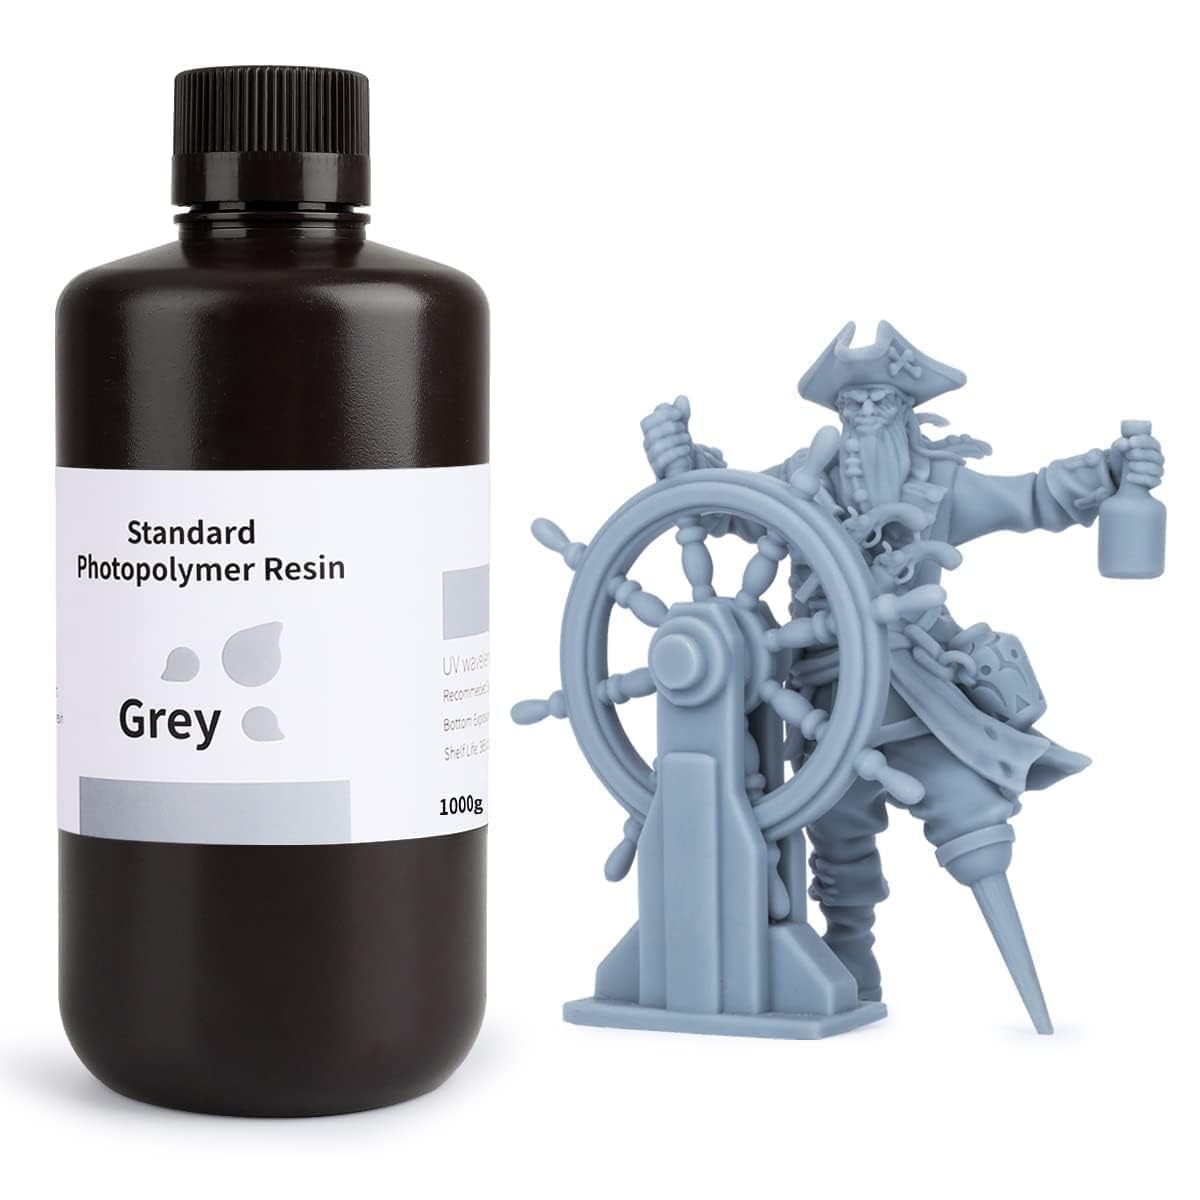
I used the Standard Elegoo Grey Resin as I already had all the parameters dialed in from previous projects. A small modification from the default supports was to increase the height from the base 5mm to 8mm so that it is easier to detach supports from the model base and I increased some of the exposure times for the layer exposure time (3.25 s) and bottom exposure time (35 s).
Printing
Nothing special in the printing process, which took around 3h for each 2 piece batch, as that was what I could fit in the plate of my Elegoo Saturn 8K. One minor detail worth noting is that I have been intermittently using a fermentation heating belt to keep the resin in the vat warm and prevent any printing failures due to low resin temperature.
Post-Processing
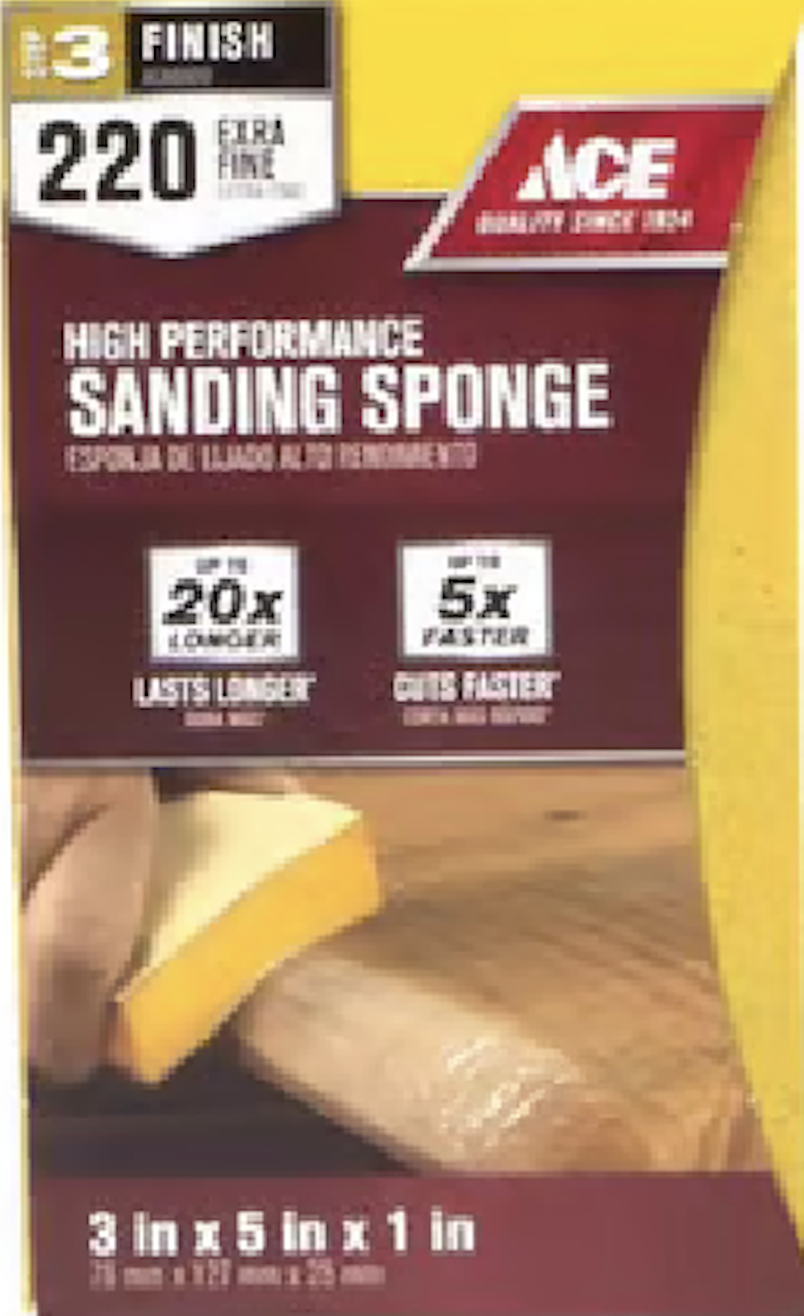
Aside from the usual isopropyl rinsing and UV curing there was just some slight sanding to do in order to fix printing imperfections. I found some sanding sponges walking around at Ace Hardware and they turned out to be really good in fixing some of the fixing imperfections and scratches that had happened in the printing and cleaning process.
Gluing
I haven’t found contact glue to work well at all on my resin prints so I decided to use E6000 for the magnets and epoxy glue for the base plates.
The magnets were relatively easy to set in place although some care had to be taken to make sure the poles were lined up correctly so that top halves would be attracted to bottom ones. To do this I simply set the first magnet on one of the hexagons and then just chained and glued another one, repeating the process up until they were all in place.
Base plates were a bit messier as the epoxy is a bit more difficult to handle and the plastic pieces are thinner. Easiest way to get the job done ended up being to apply the epoxy directly to the hexagon, mix it up in place and then just place the plate.
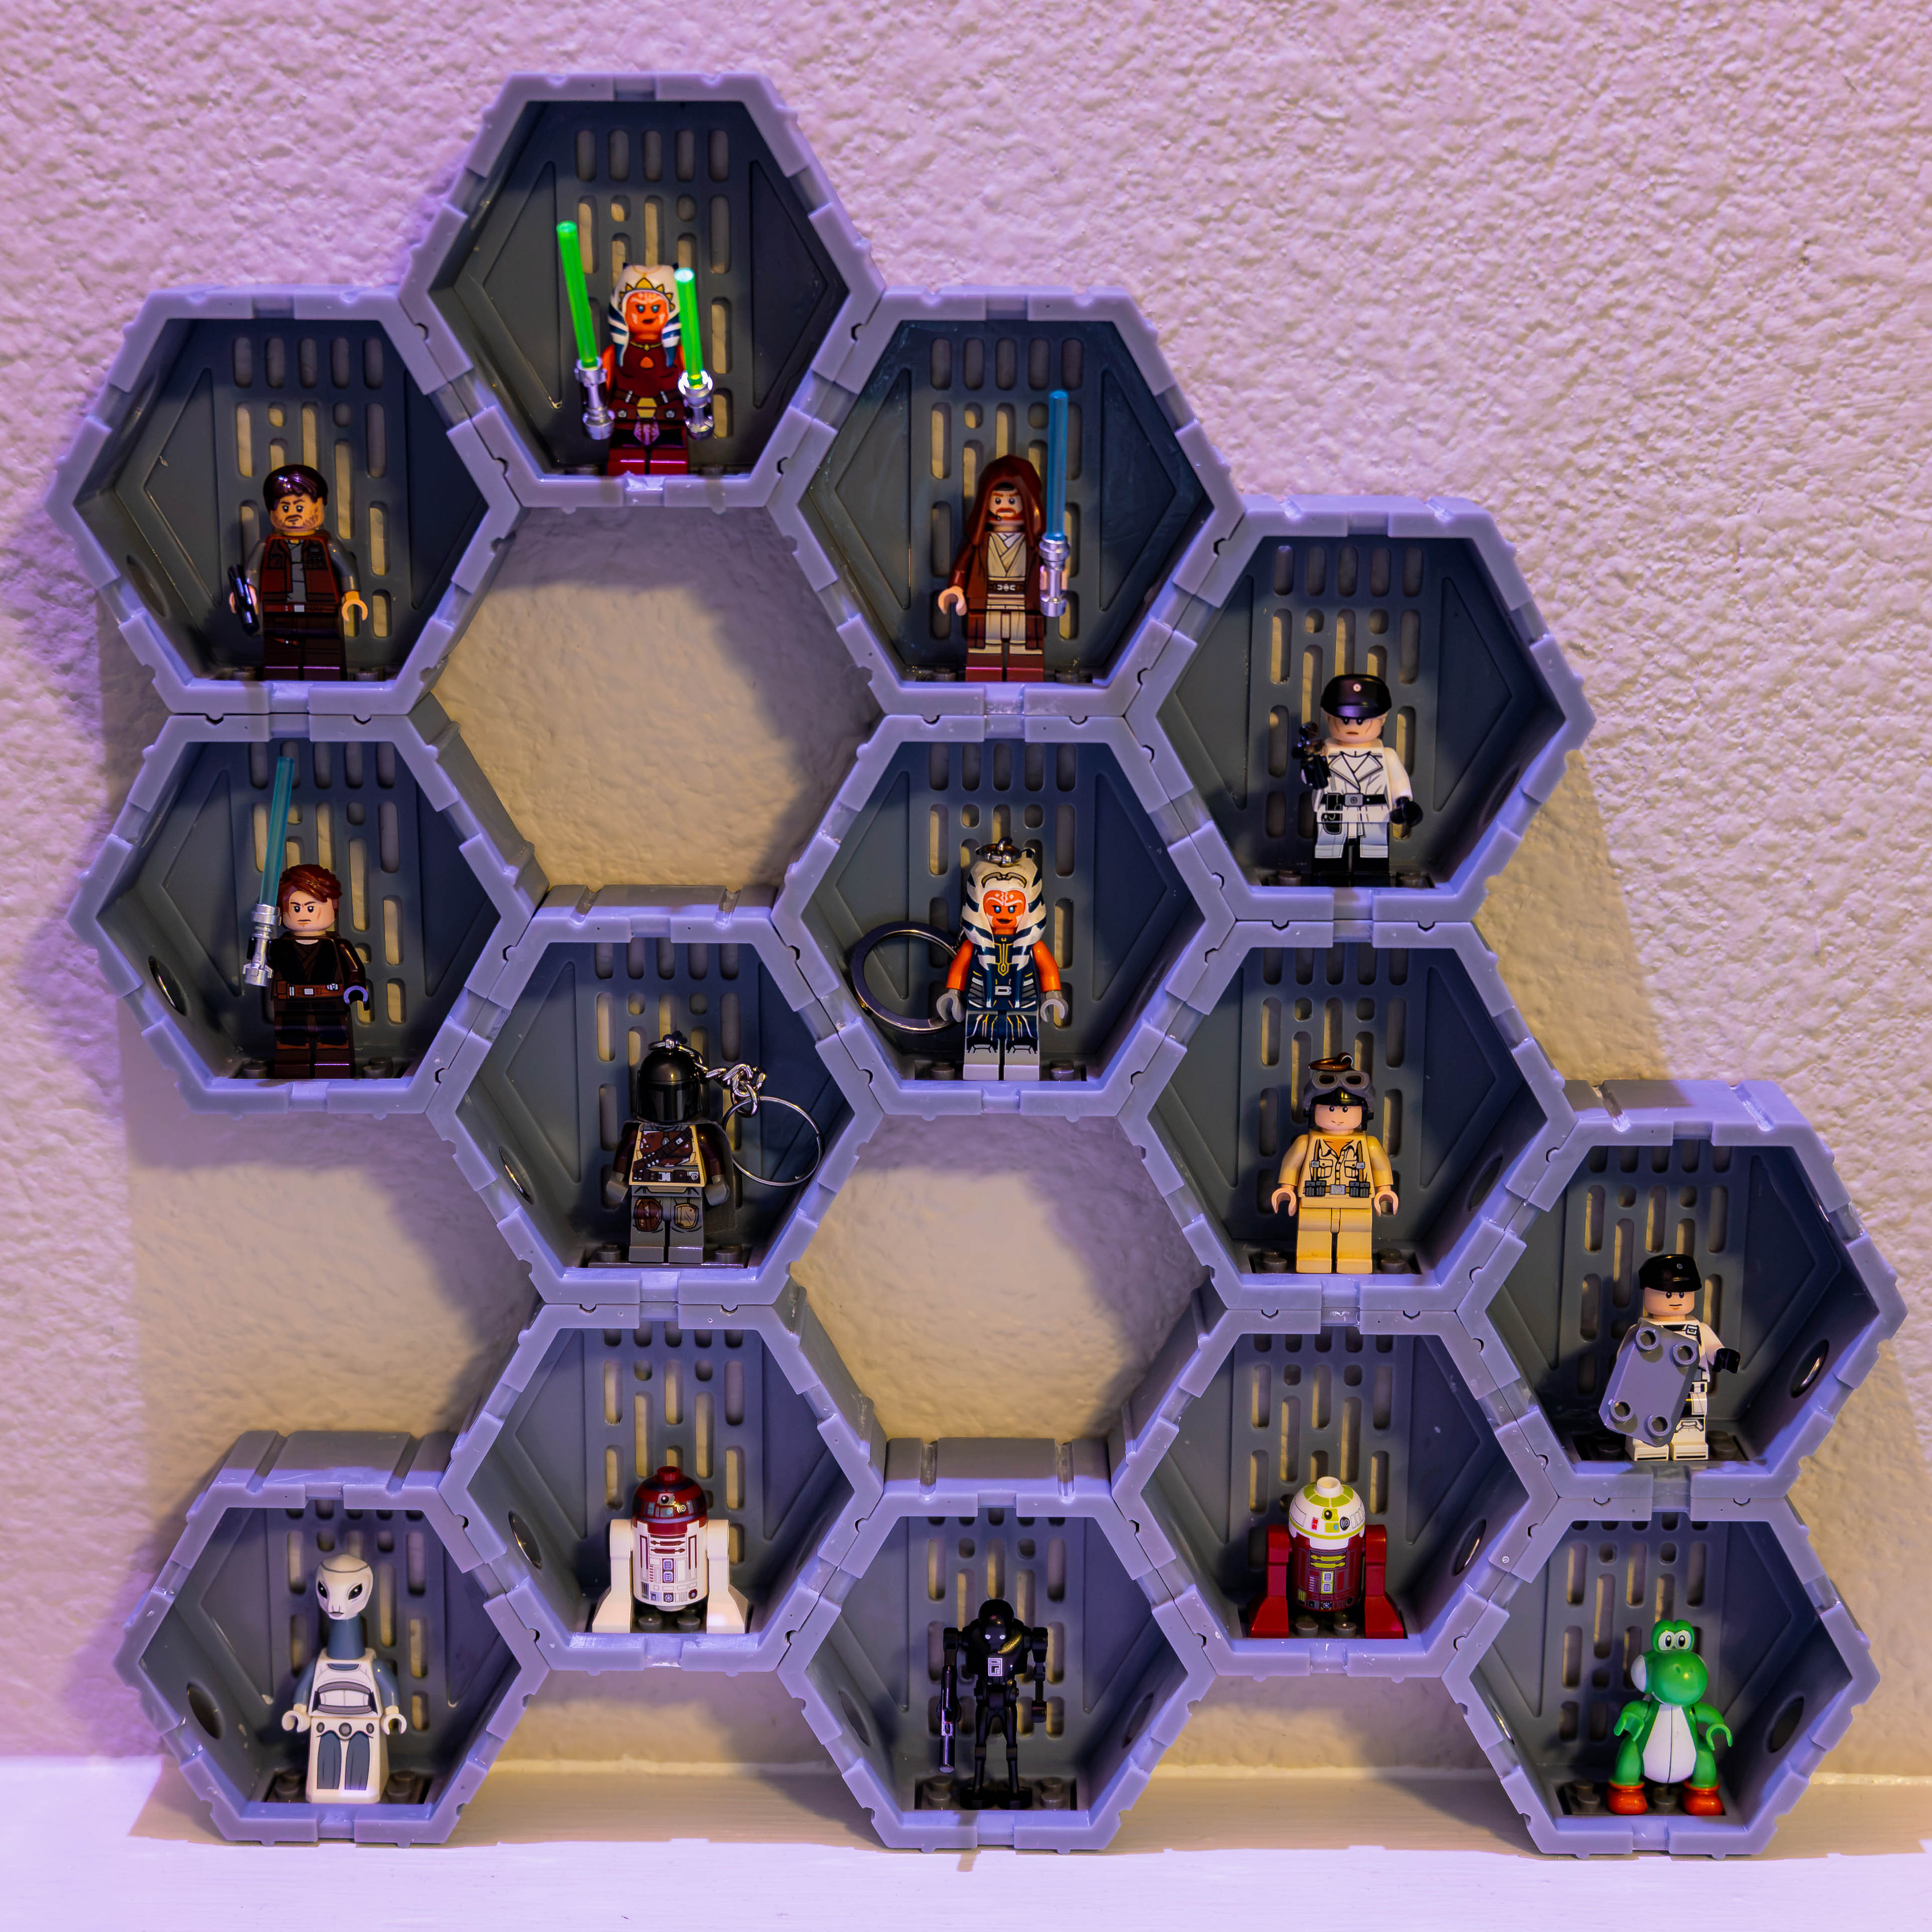
Final Thoughts
This has been quite a fun project so far. The magnetic snap between the hexagons is quite satisfactory and easy to switch around to try different layouts. I’m looking forward to painting, styling and collecting some more Lego figures.
Models
- OnShape: Model